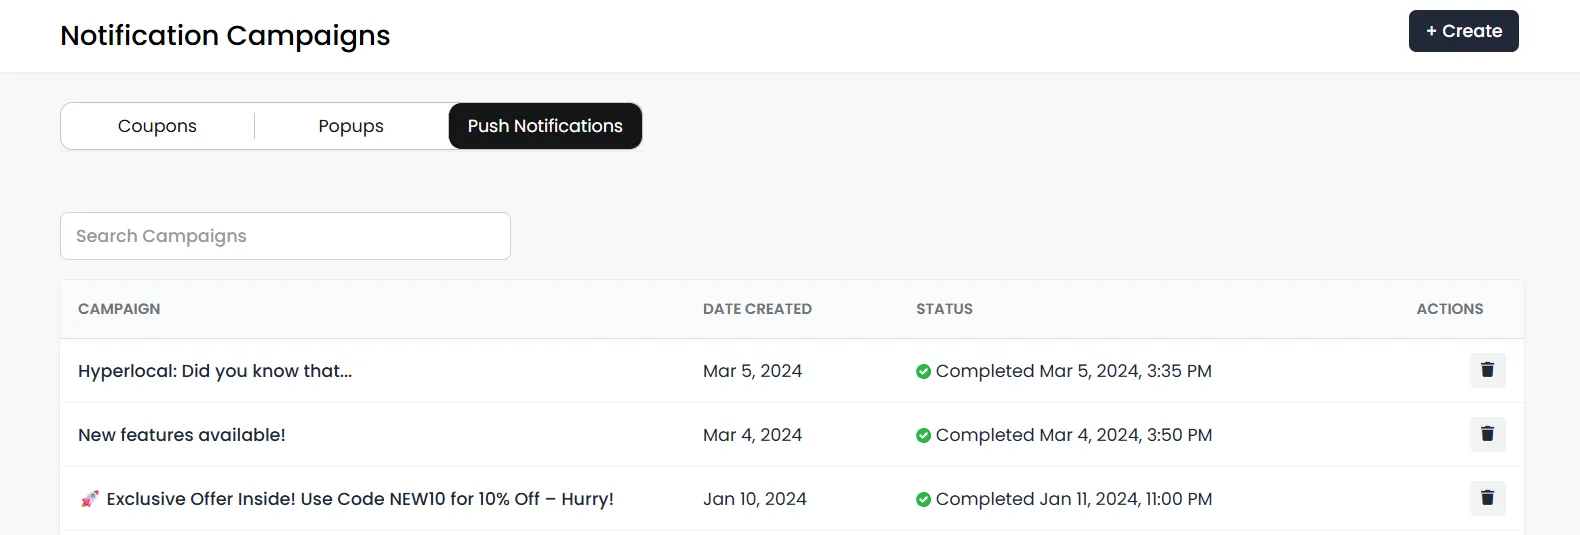
Push Campaign
How To Run a Push Notification Campaign?
Elevate your customer engagement with Push Notification Campaigns! Seamlessly connect with your audience, delivering timely updates and exclusive offers directly to their devices. Boost customer retention and drive conversions like never before.
Navigating to the Push Notifications Page:
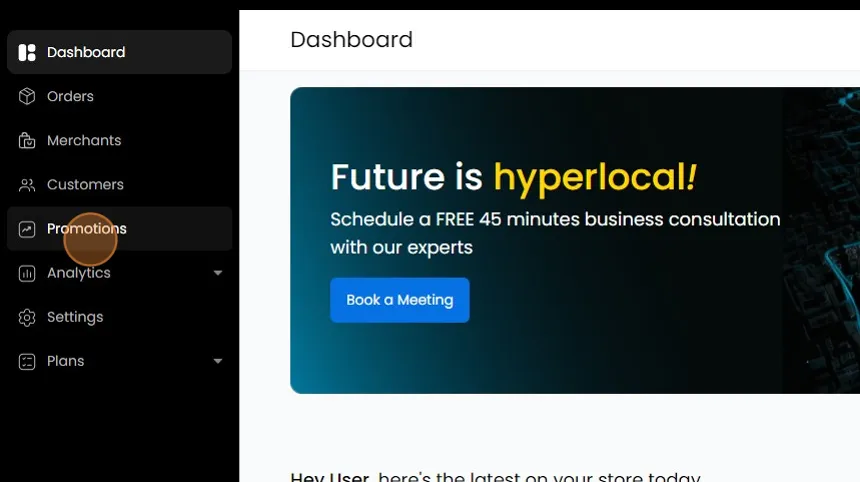
- Navigate to the Admin Panel, then click on "Promotions."
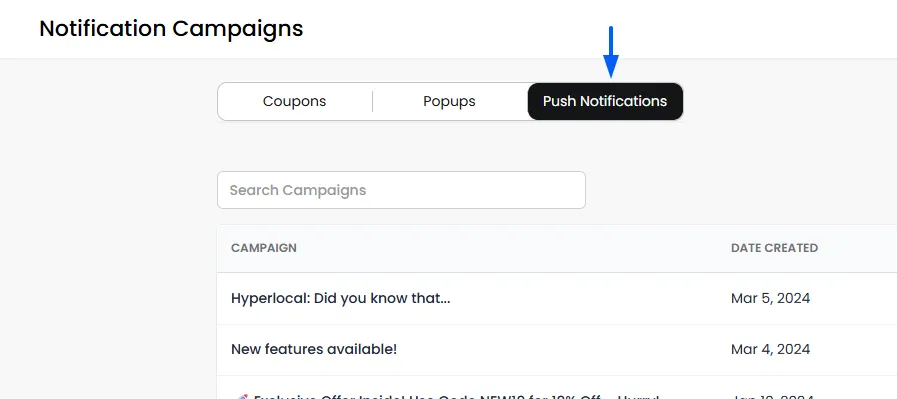
- Then click "Push Notifications."
Creating a Push Notification Campaign
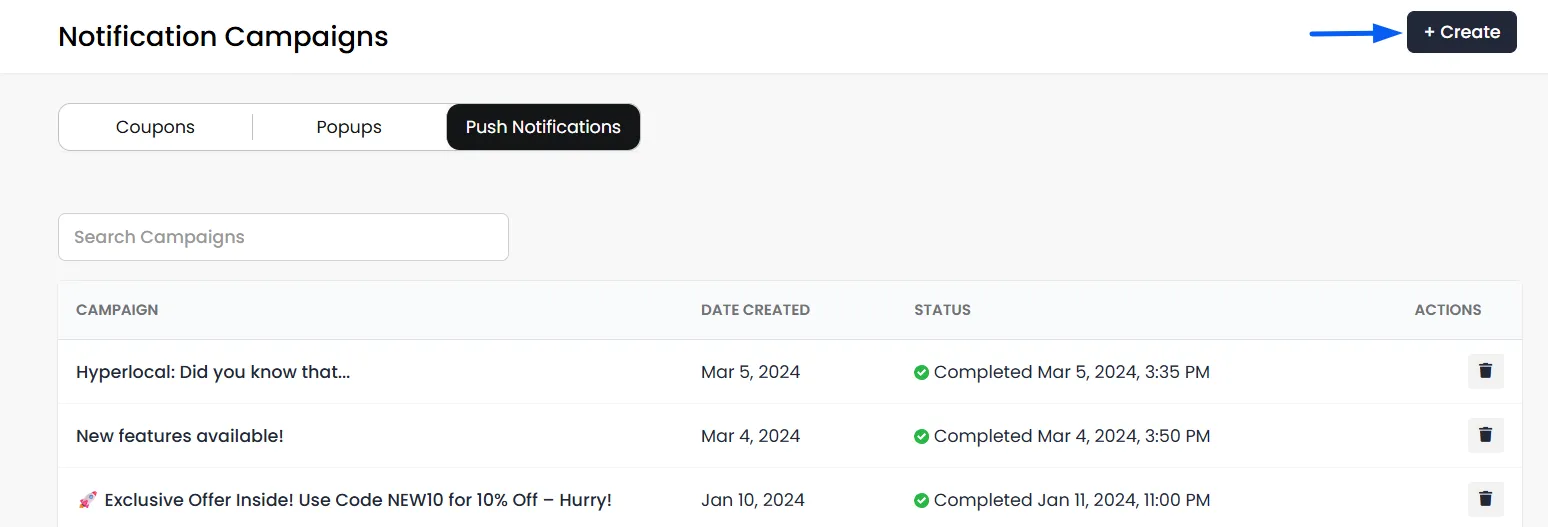
- For a new push notification, click "Create."
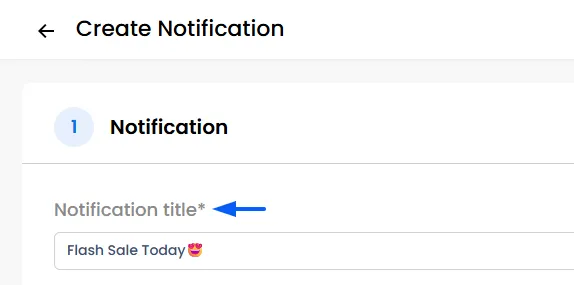
Notification Title: It serves as the heading for your push notification. You can enhance it by adding emoticons through the icon options available in the field.
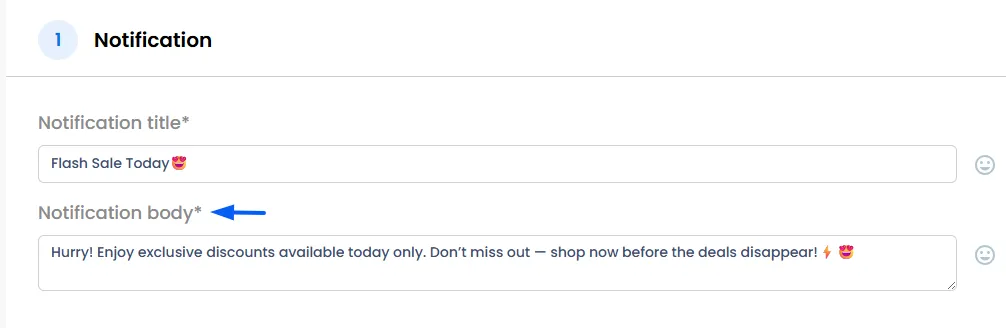
Notification Body: It delivers the main message to your users. It's a concise space to convey information. You can also make it more engaging by adding emoticons through the icon options.
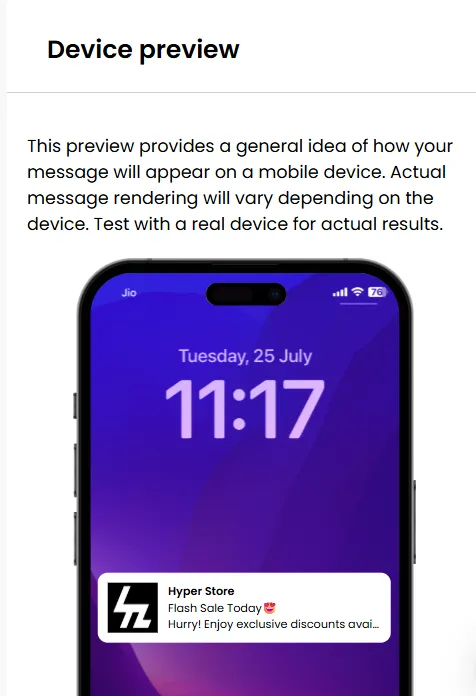
Notification Preview: On the right side, you can preview how the push alert will appear to your users.
Schedule Notifications Campaign
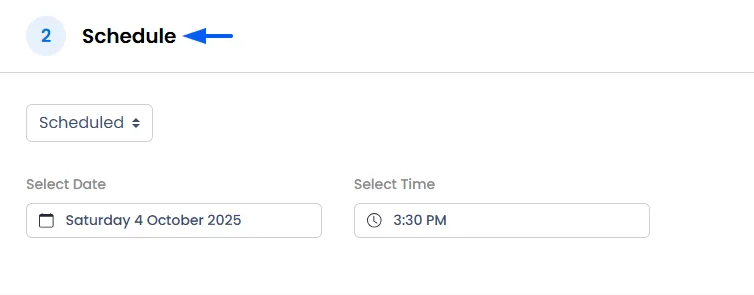
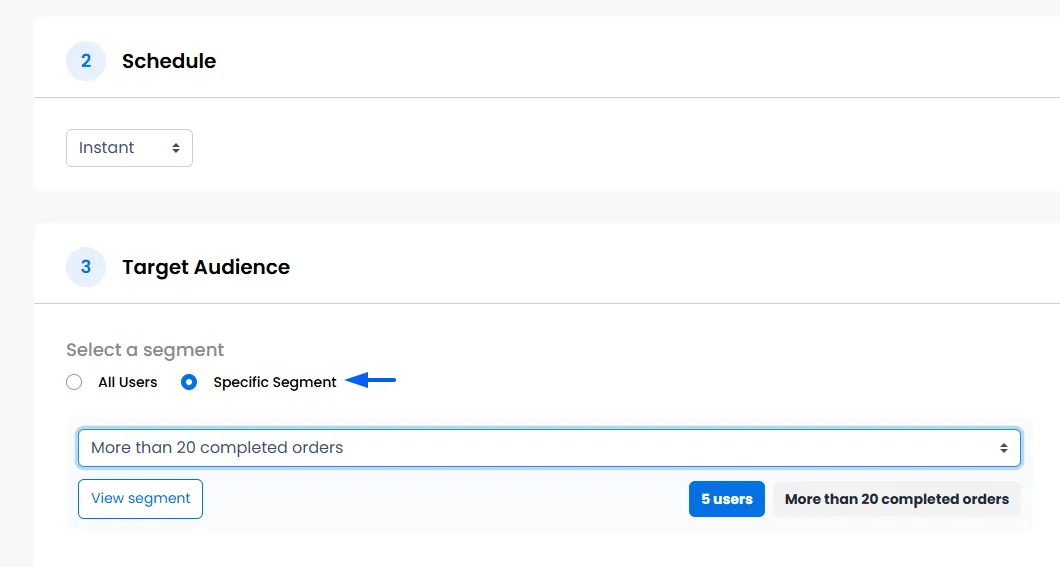
This section determines when your notification will be sent.
- Instant: If you select this option, your notification will be sent to all targeted users immediately after you click "Save."
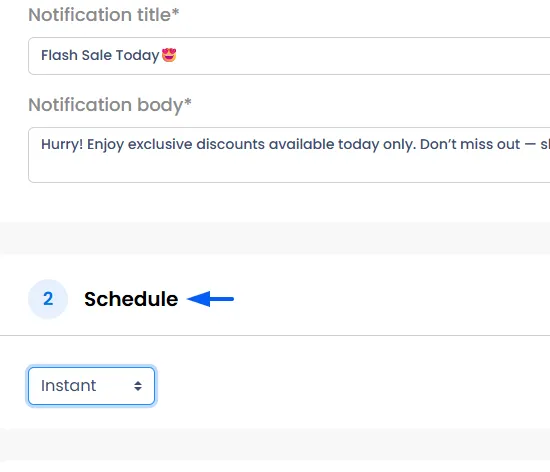
- Scheduled: You have an option to schedule the notification for a specific date and time in the future. This is perfect for planning your marketing campaigns in advance
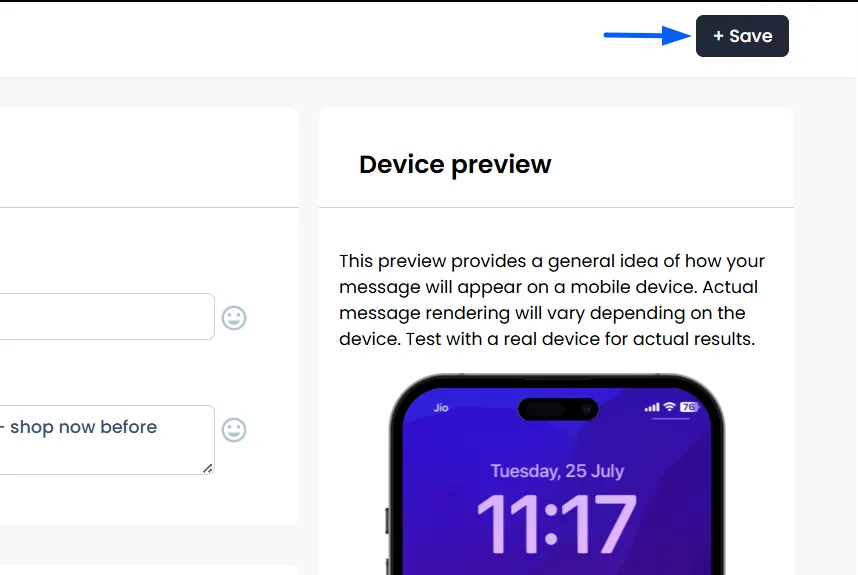
- Finally, Click Save
Target Audience
Choose the specific group of users who should receive the notification, ensuring your message reaches the right people.
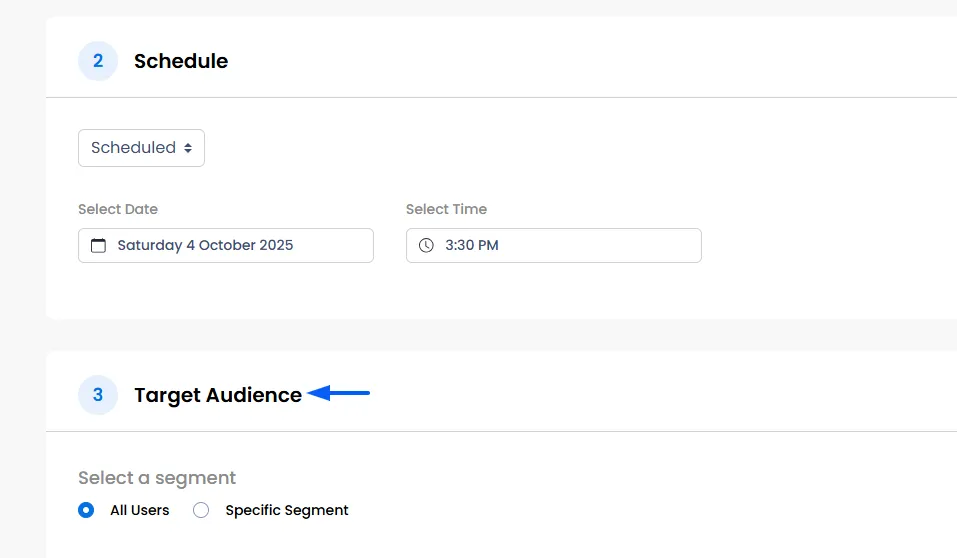
All Users: All customers can see the notification
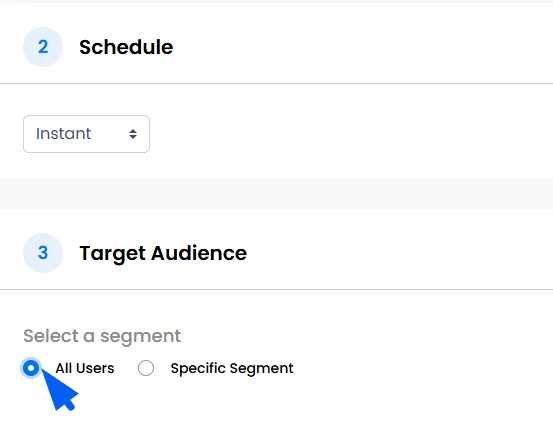
- Specific Customer Segment: You can limit the notification to show to a pre-defined group of customers (e.g., "New Customers"). You can configure a segment by going to Segmentation section in the Admin Panel.
After saving, you will be taken back to the Notification Campaigns dashboard, where you will see your new campaign listed.