Add the types of merchants available within the marketplace.
Navigating to the Categories Page
To the left, click on "Merchants"
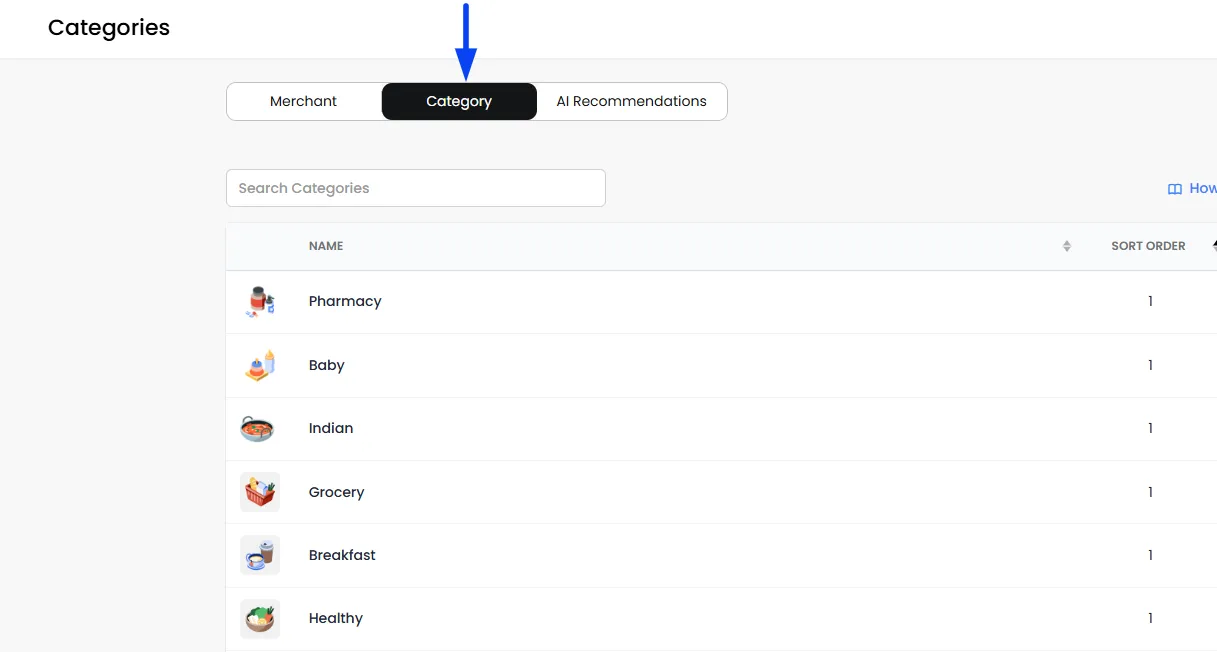
Then click "Category"
Creating a New Category
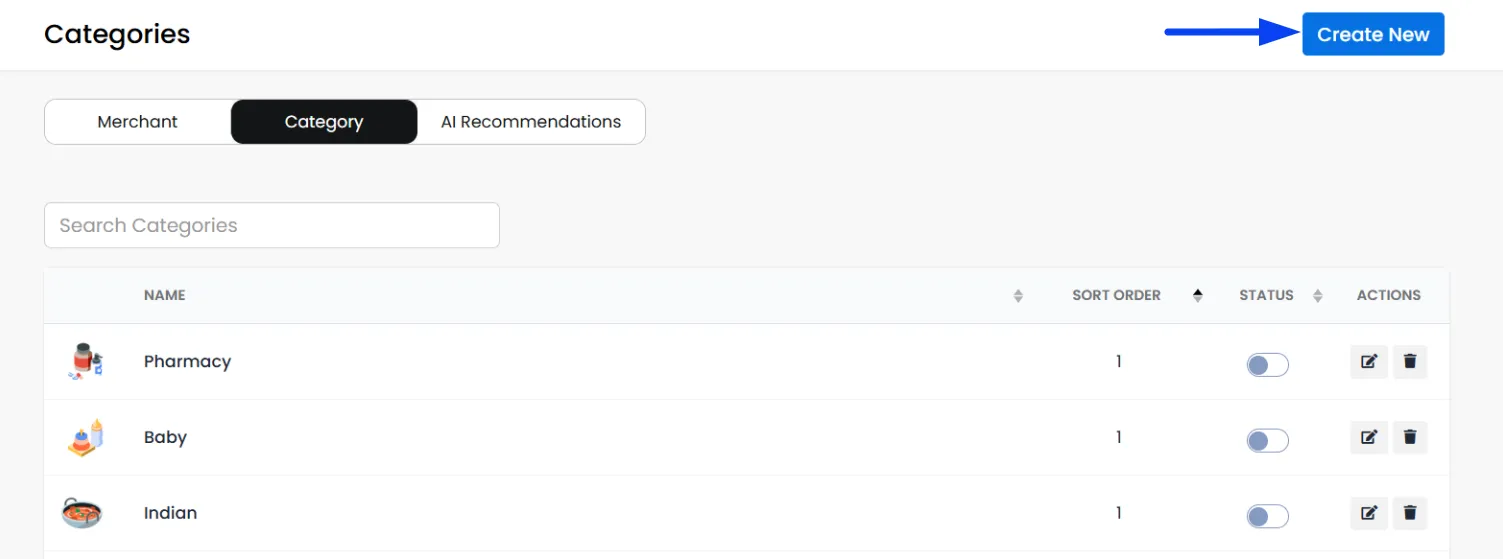
To add, click "Create New"
Select Language
Choose the language for the category name you are entering. Tailor your information to customer choices. Use language settings to add or remove options or choose the default language of your store.
Enter a Name
Enter a name that appears to your customers on ordering apps and websites.
Sort Order
Use this number for sorting purposes; the series starts from 0, arranging categories as 0, 1, 2, and so on.
Status
Activate or deactivate the category at any time.
Upload Image
Upload an image for the banner (PNG/JPEG) for the category. Now, click save, and the category will be created.
From the list, you can perform actions such as temporarily disabling/enabling, editing, or deleting categories.
Frequently Asked Questions (FAQs)
The correct size for the category image (PNG/JPEG) is 512x512 pixels.
Business Category: These are the categories that merchants (stores) are grouped into. For example, Grocery, Pharmacy, or Restaurants.
Product Category: These are the categories for the products inside a specific merchant’s store. For example, under a Grocery store, you might have Vegetables, Fruits, or Beverages.
In short, Business Categories classify merchants, while Product Categories classify the products within a merchant’s store.
You don’t need to manually copy or paste the category URLs. Instead, the system links them automatically when you select the right Action Type while creating a banner. To create a Banner, navigate to Admin Panel > Settings > Theme > Discovery Page or Merchant Page.
For Discovery Page banners:
Choose "Merchant Category" as the Action Type
Associate the banner with a merchant category (from Business Category settings in the Admin Panel under the Merchants Section)
For Merchant Page banners:
Choose "Product Category" as the Action Type
Associate the banner with a product category (from Product Category settings in the specific Merchant Panel > Catalog)
Once set, the banner will automatically redirect customers to the correct category page.
This usually happens if some of the products in that category are marked as Inactive.
To fix this:
Go to the Merchant Panel > Catalog
Find the product that is not showing.
Click Edit on that product.
Check the Status field; if it’s marked as Inactive, switch it to Active.
Once updated, the product will appear under the assigned category.
To change the order of the category, go to Admin Panel > Merchants > Category tab, and edit the category you want. In the Sort Order field, use this number for sorting purposes; the series starts from 0, arranging categories as 0, 1, 2, and so on. Once you save your changes, the updated order will be reflected in the store.