Loyalty Wallet
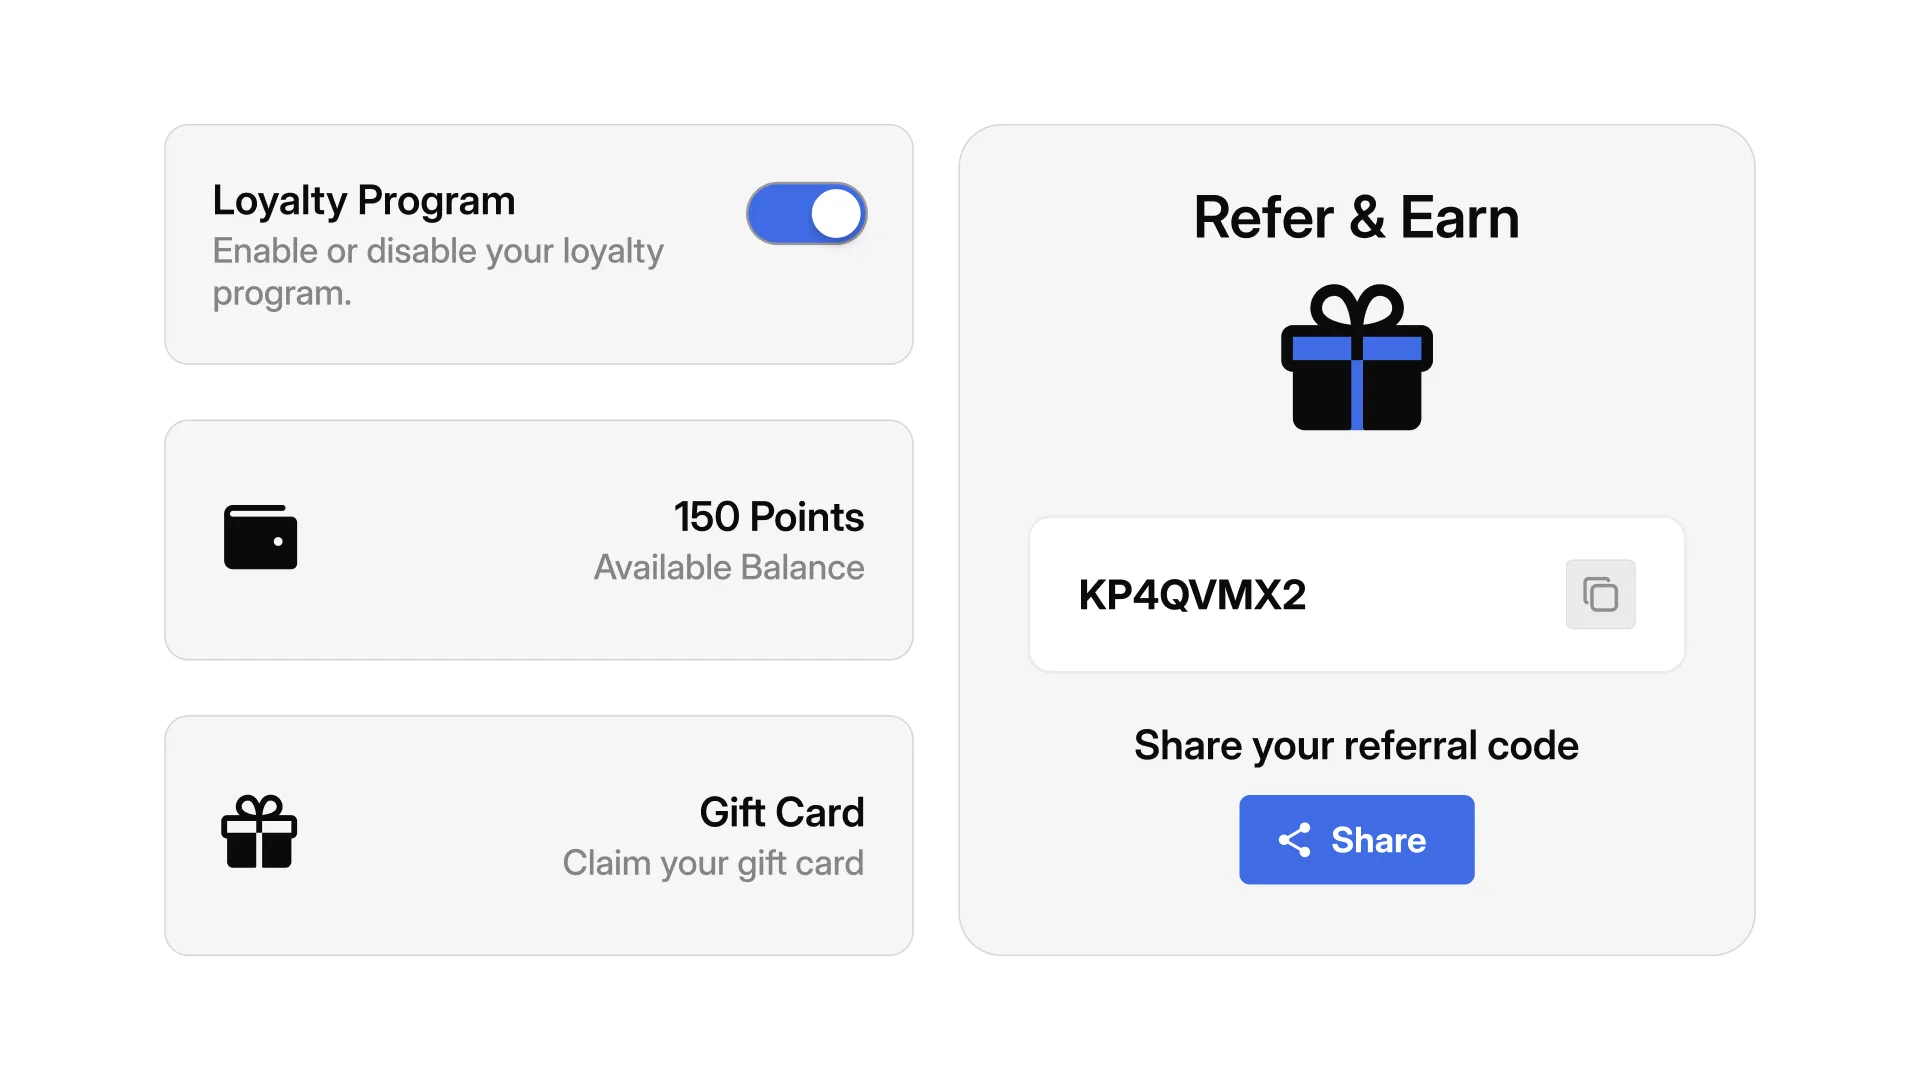
The Loyalty Wallet is designed to help you increase customer retention, reward your most loyal shoppers, and attract new ones through word-of-mouth.
Think of it as your all-in-one hub for creating:
- A classic Loyalty Points Program (e.g., "Earn points for every order spent").
- A viral Refer-a-Customer Program.
- A flexible Gift Card system.
Navigate to the Loyalty Wallet App
- Log in to your Hyperzod Admin Panel.
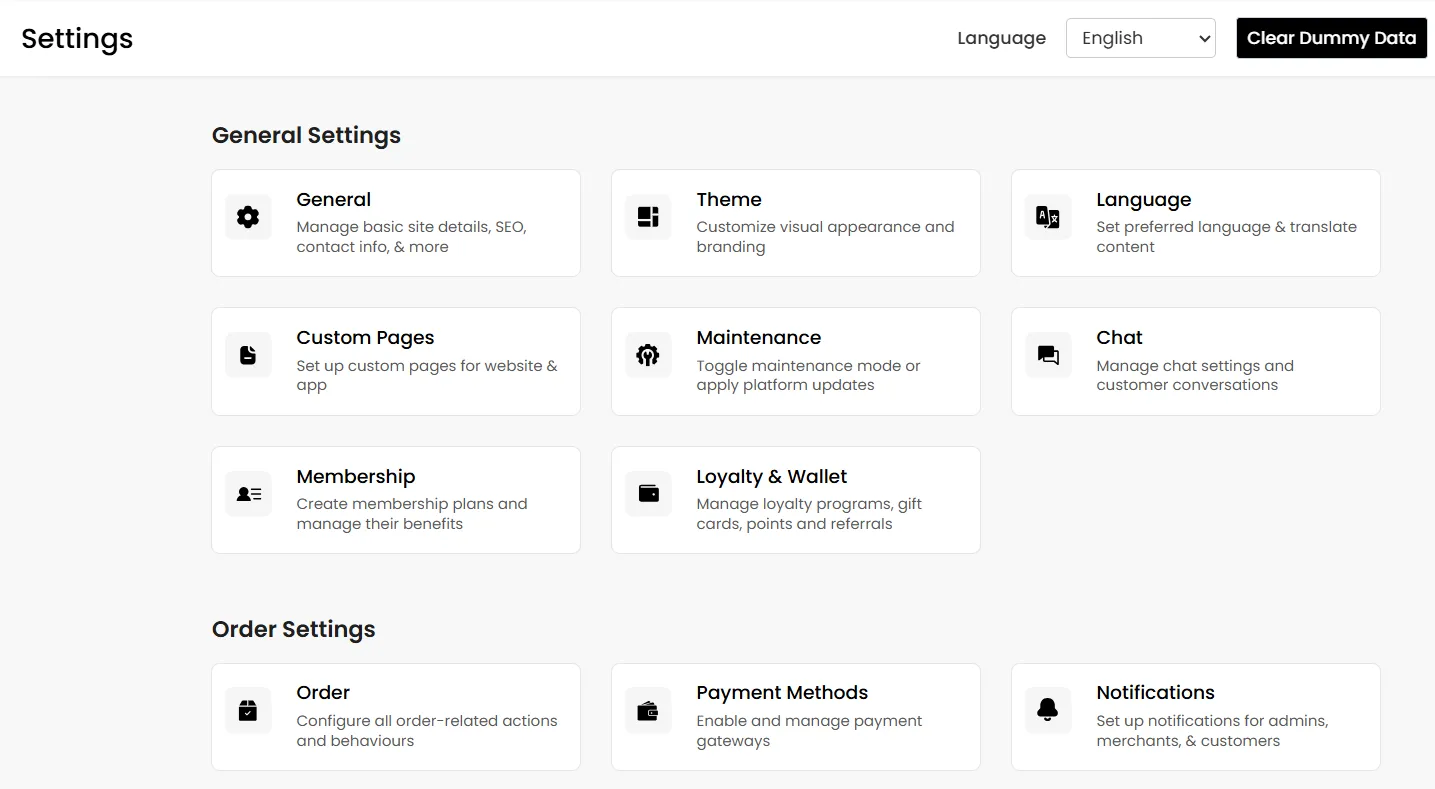
- Navigate to the Settings section
- Find Loyalty Wallet and click on it.
Understanding the Loyalty Dashboard
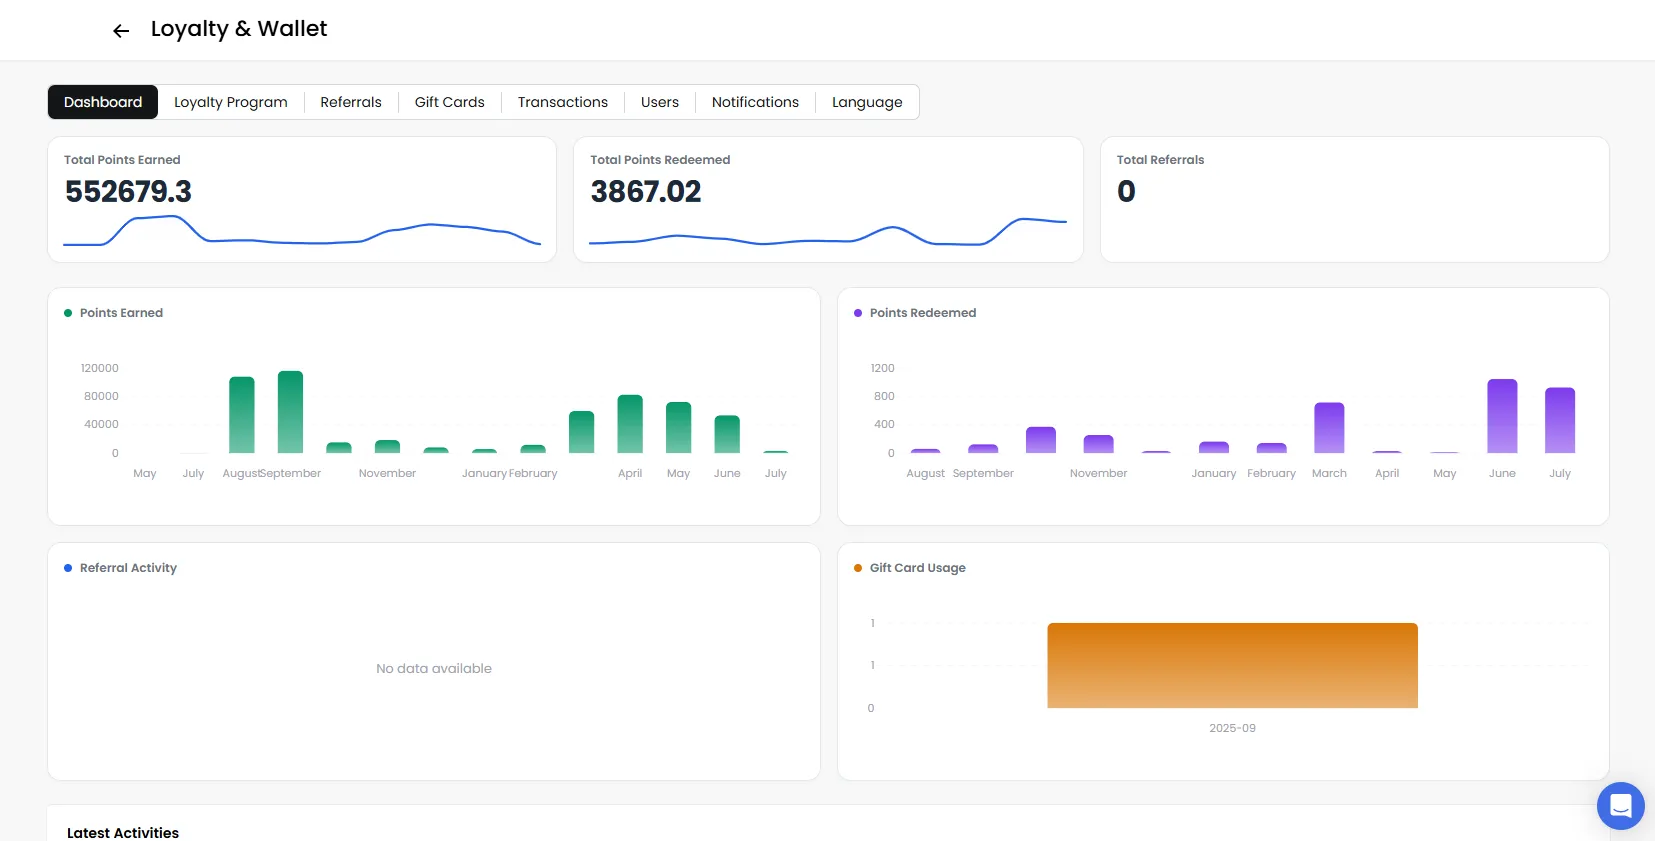
It gives you a quick, at-a-glance overview of how your programs are performing and shows you the latest customer activity in real-time.
Your At-a-Glance Metrics
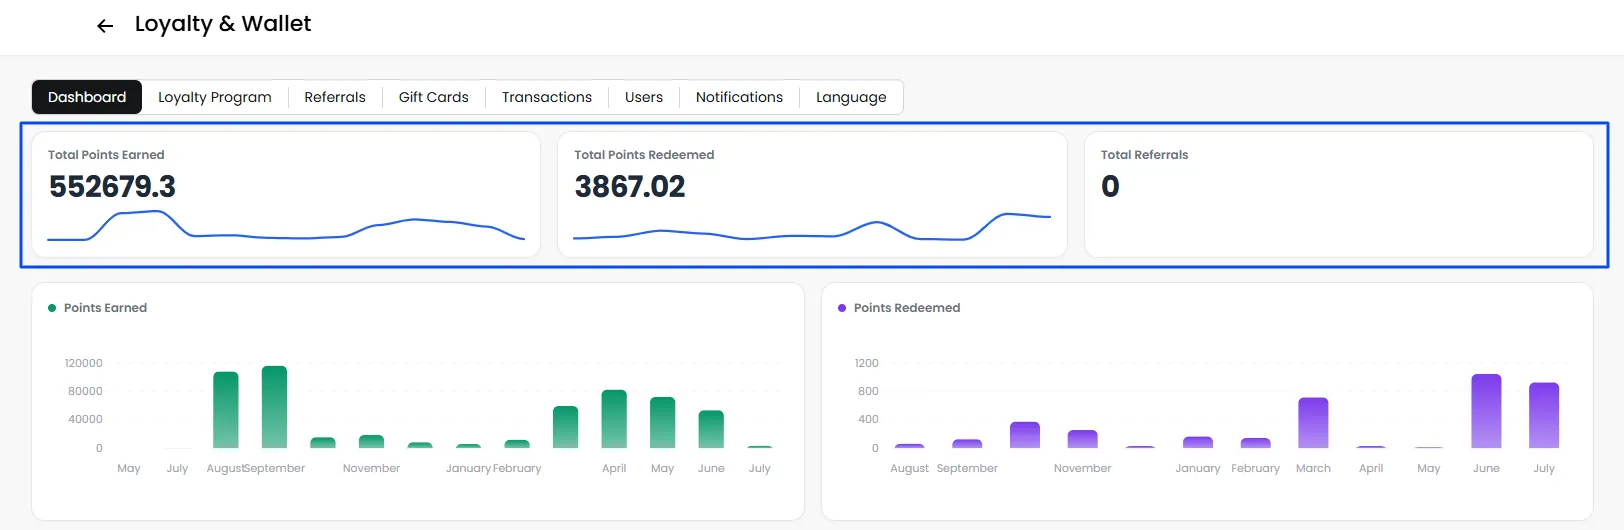
- Total Referrals: The total number of new customers who have signed up using a referral link from one of your existing customers.
- Total Points Redeemed: The total number of points that customers have spent to get discounts or other rewards.
- Total Points Earned: The total number of points that have been given out to customers through all activities (sign-ups, orders, etc.).
Visual Activity Charts
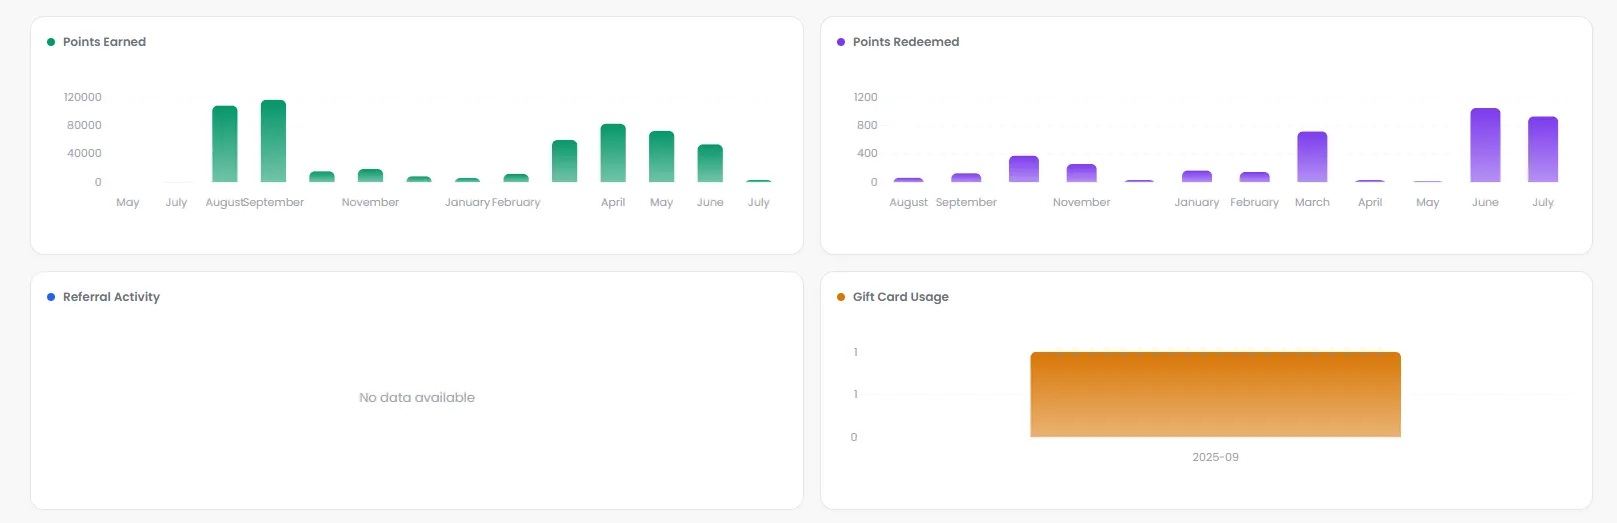
- Points Activity: This chart will show you trends for points being earned and points being redeemed.
- Referral Activity: Provides an overview of customer referrals made through the referral program.
- Gift Card Usage: Displays the number of gift cards redeemed during the selected period.
The Latest Activities Log
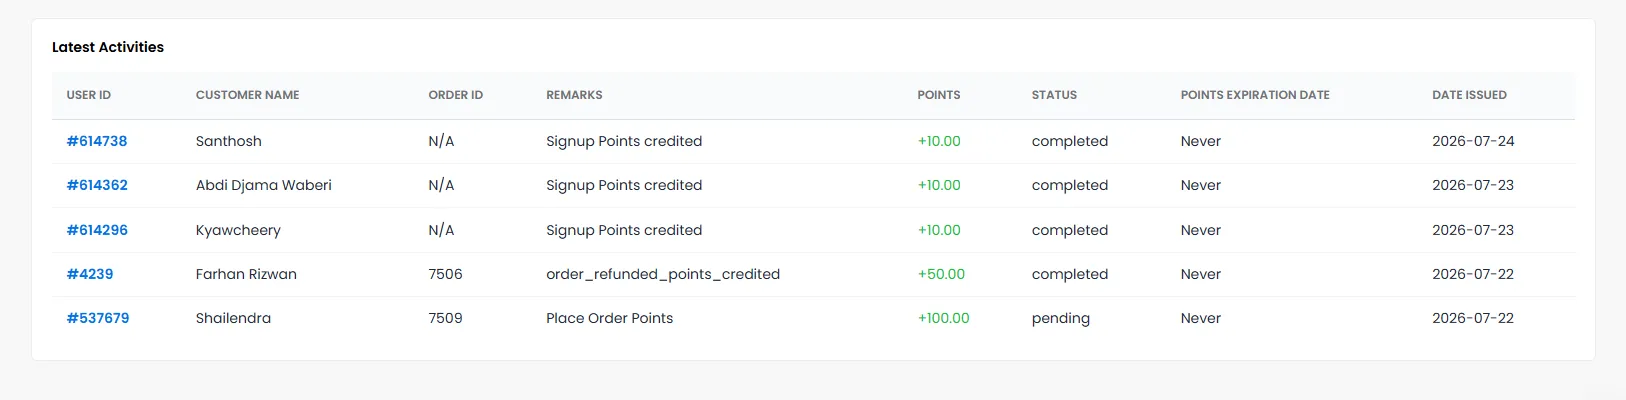
A list of every single loyalty transaction that occurs. The Latest Activities section helps you track how reward points are being credited to customers.
Loyalty Program
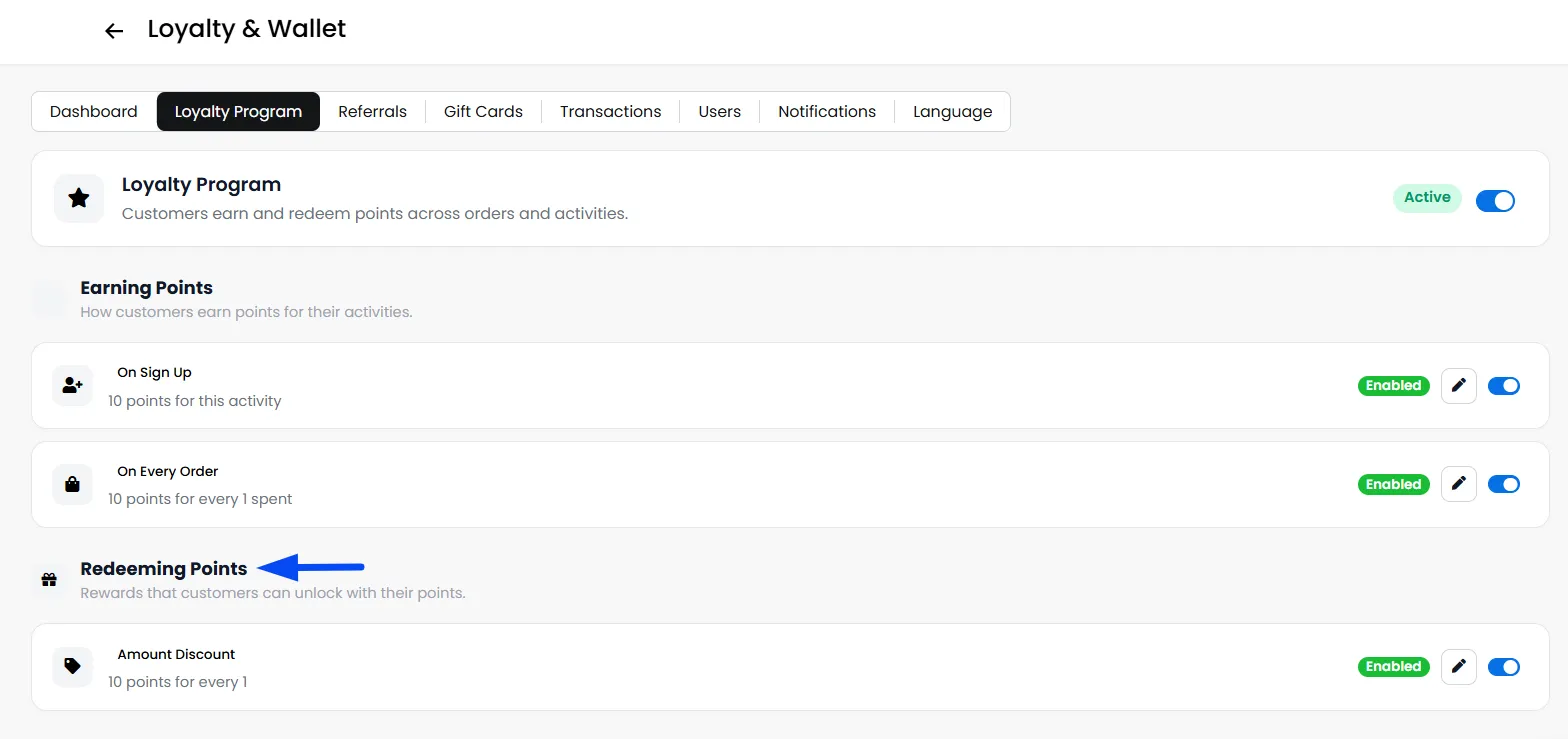
The Loyalty Program section allows you to manage how customers earn and redeem points.
At the top of the page, you'll see Loyalty Program Status. Click the toggle switch to turn it ON. It must be ON for the program to work.

Sign Up
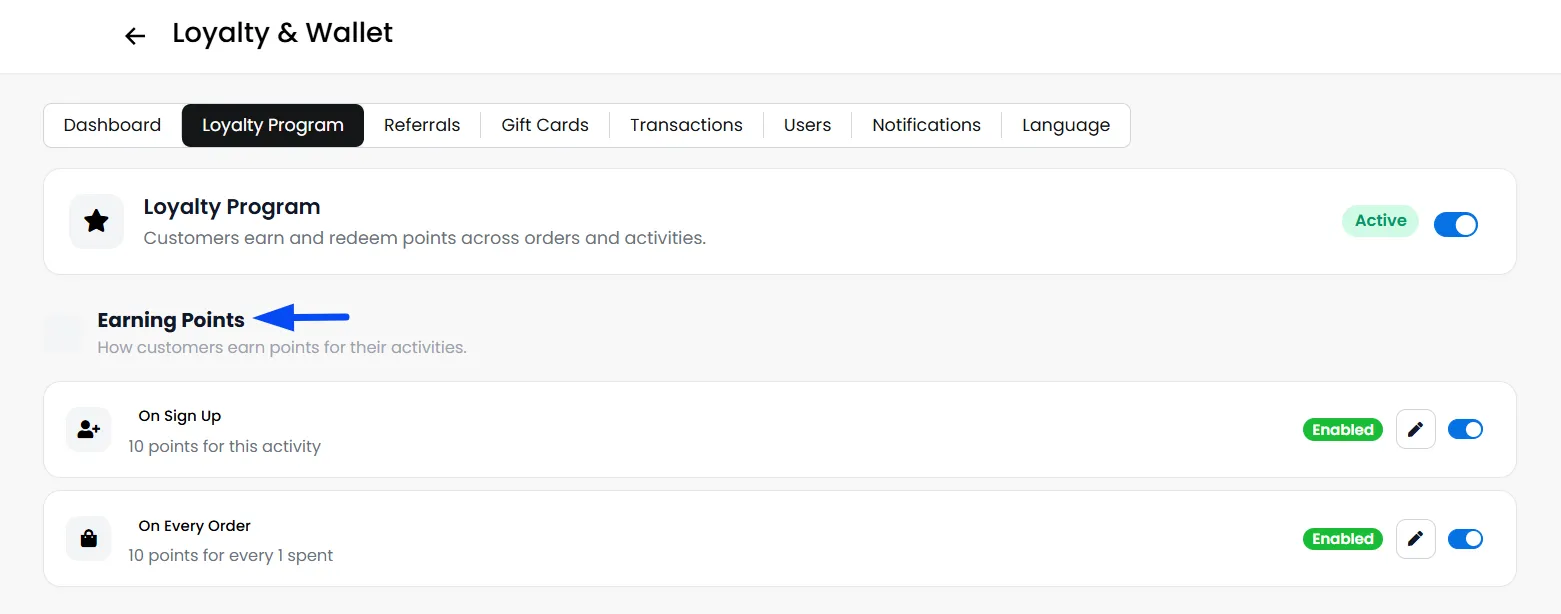
Reward new customers just for creating an account on your platform.
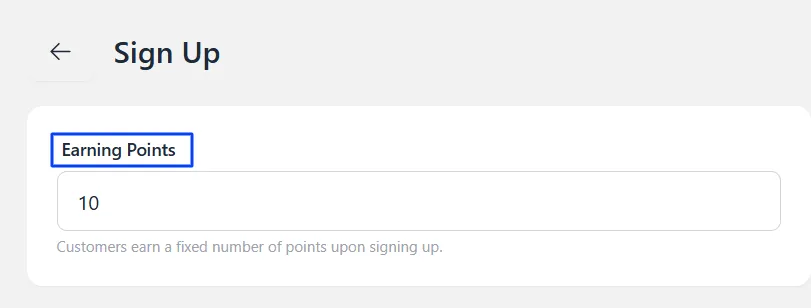
- Go to Earning Points > Sign Up and click the edit icon.
- Enter the number of points in the Earning Points field.
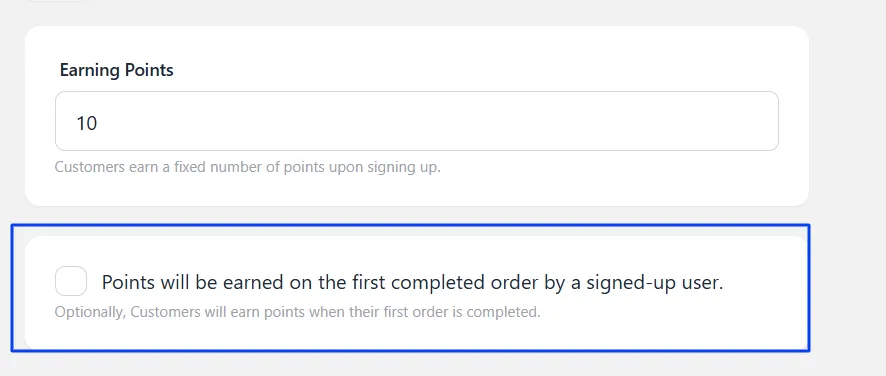
Delay Until First Order
Check this box if points should only be awarded after the customer places their first order.
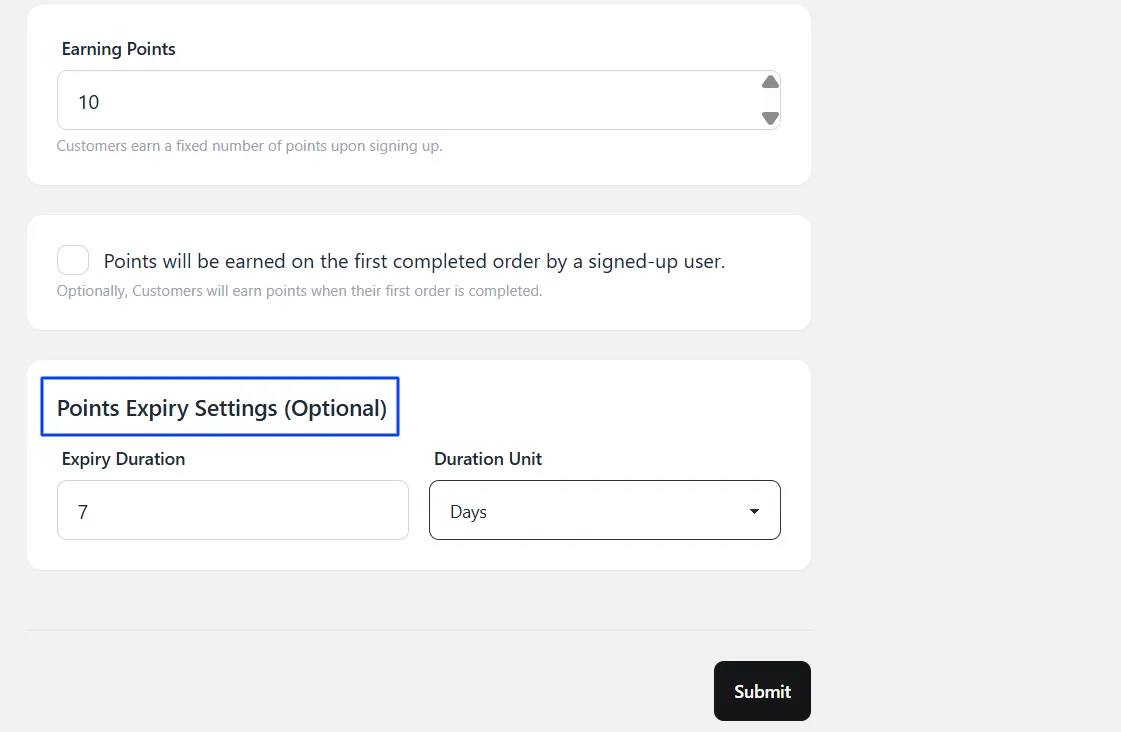
Set Expiry Date
Add an expiry period (e.g., 90 days) or leave blank for no expiry.
Note: The expiration period is calculated from the moment the points are earned.
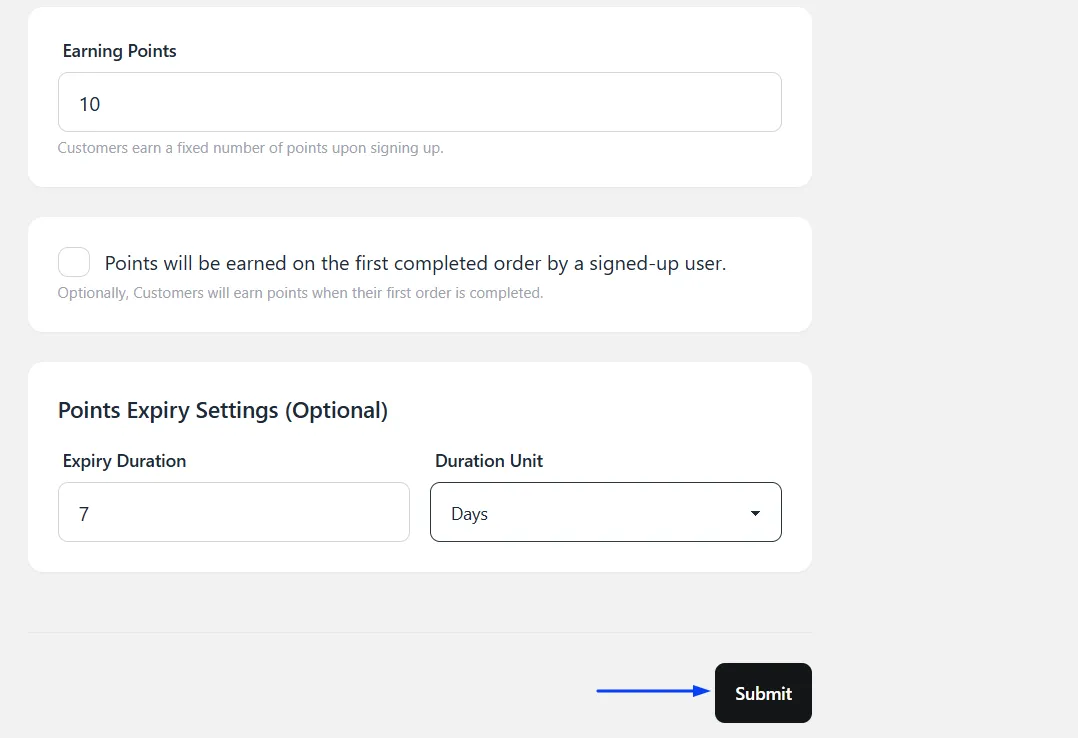
- Click Submit to save.
Place an Order
Reward customers with points whenever they place an order.
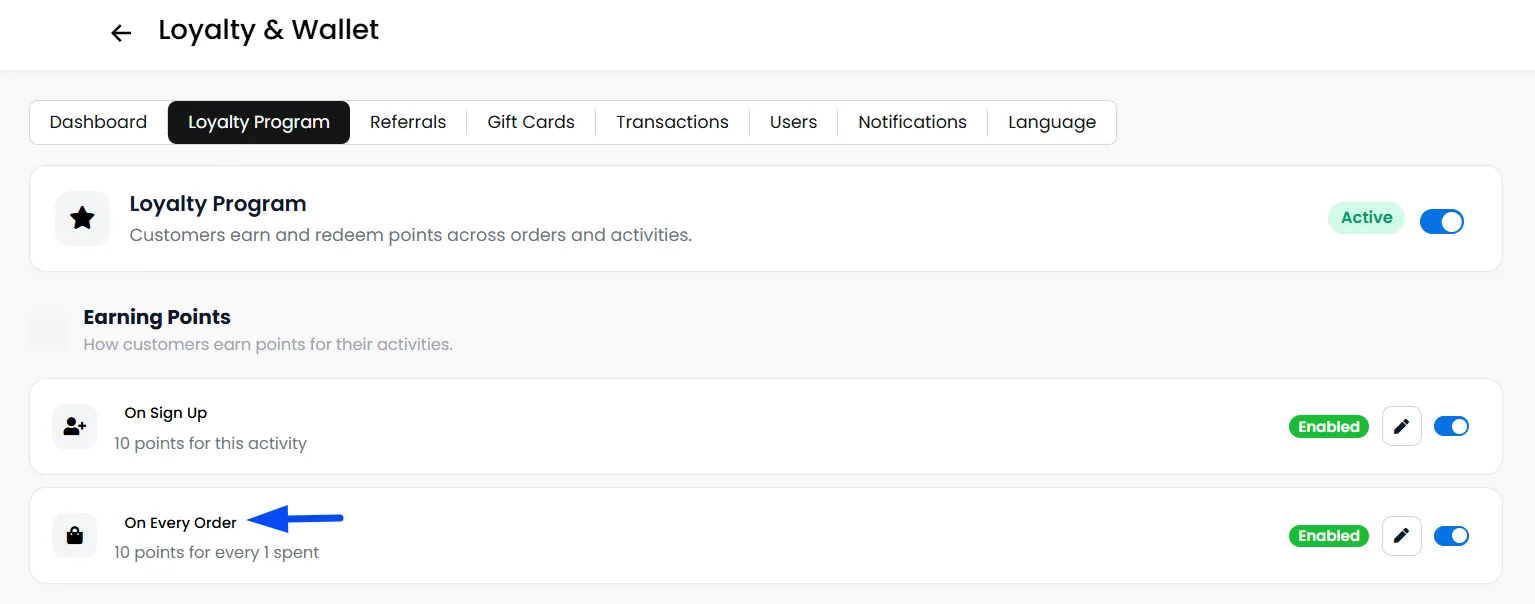
Earning Method
Incremented Points: Points are based on the order amount
Fixed Points: A fixed number of points per order.
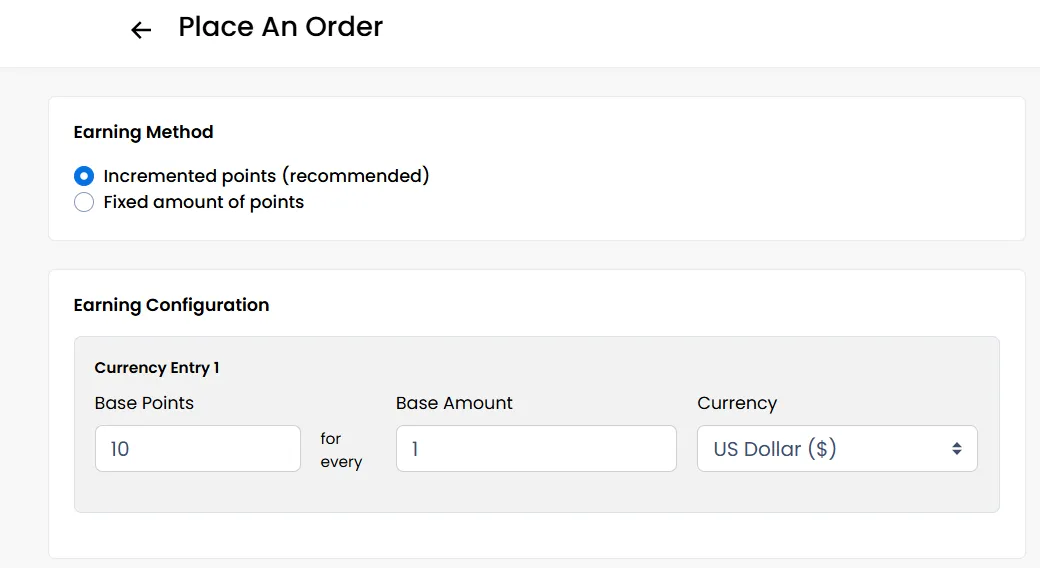
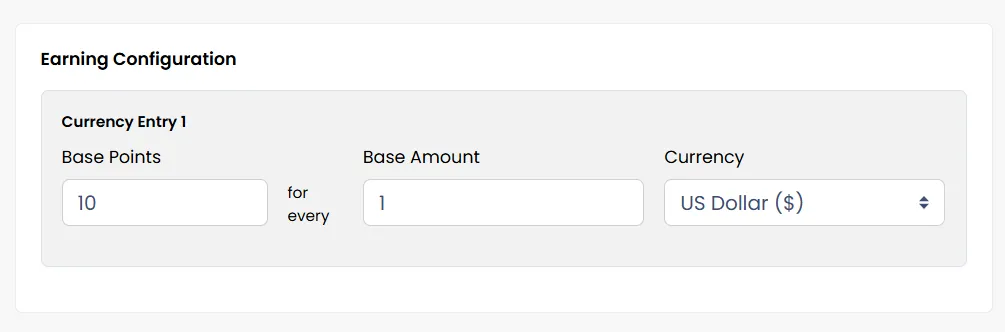
Earning Configuration
Enter how many points customers earn for a set amount spent (e.g., 10 points for every £10).
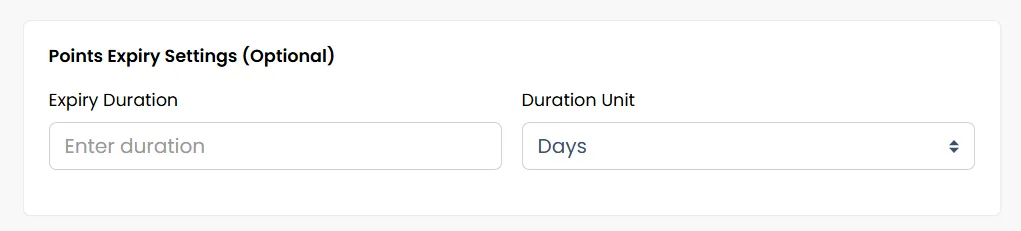
Points Expiry – Set an expiry period for earned points (e.g., 90 days). Leave blank for no expiry.
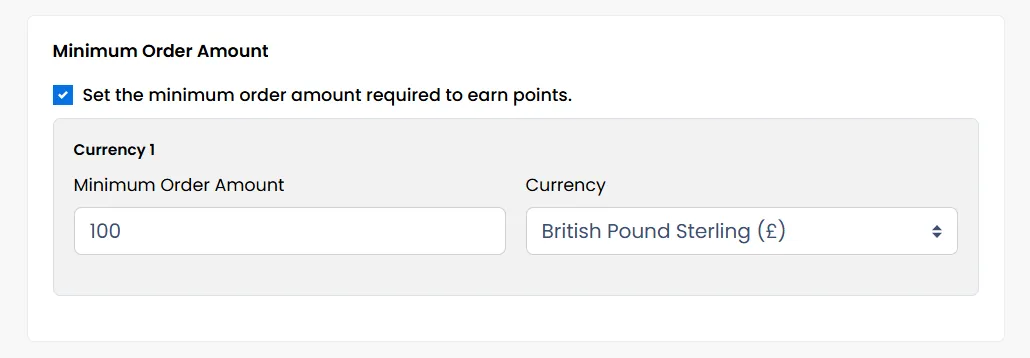
Minimum Order Amount – Require a minimum spend before customers can earn points.
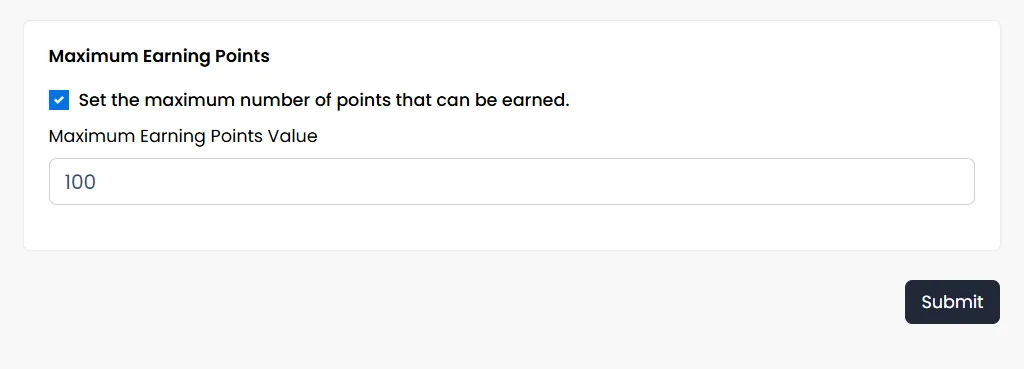
Maximum Earning Points – Limit the total number of points a customer can earn per order.
Amount Discount
Allow customers to redeem their points for discounts. Click the edit icon on the Amount Discount card in the "Redeeming Points" section.
Note: When a customer redeems points on their order, and in cases where an order is cancelled, those points are automatically credited back to the user's account since the order was not completed.
Note: The Loyalty discount points that the customer redeems will be deducted from the order subtotal
Reward Configuration
Set how many points are required for a specific discount value (e.g., 1 point = £1 discount).
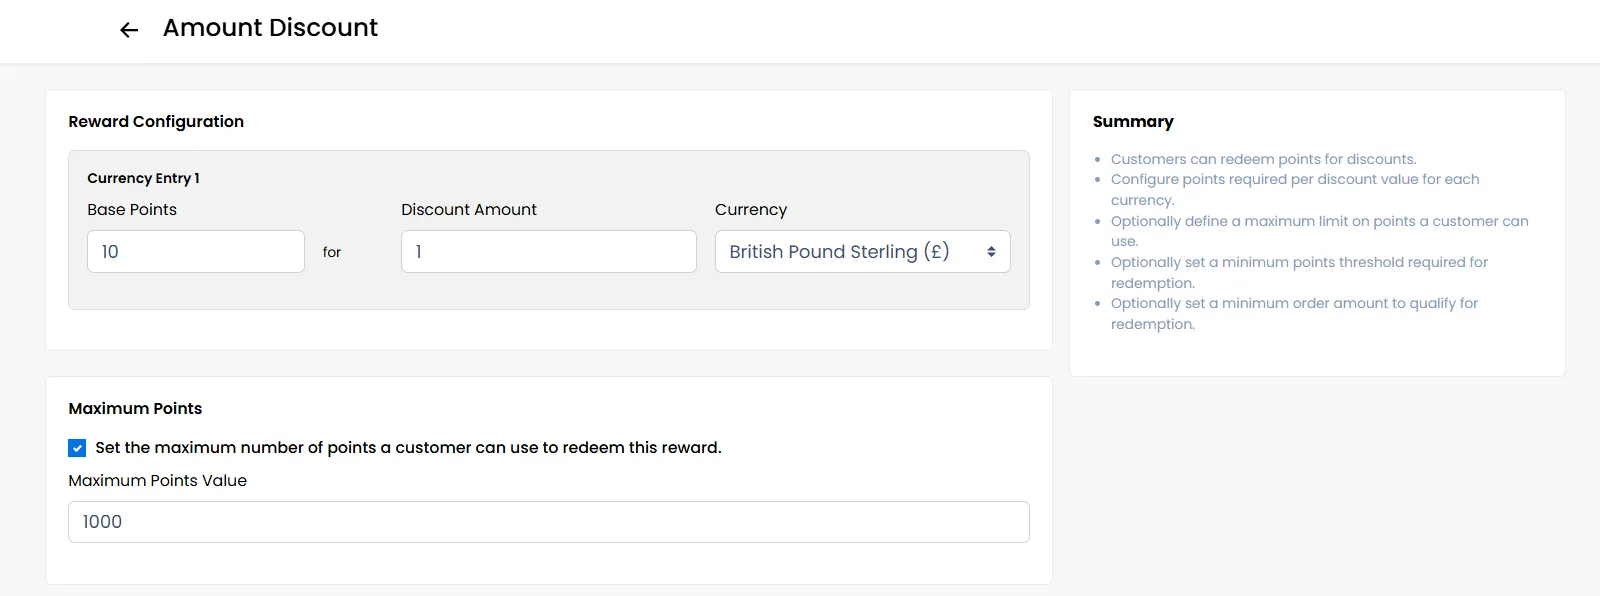
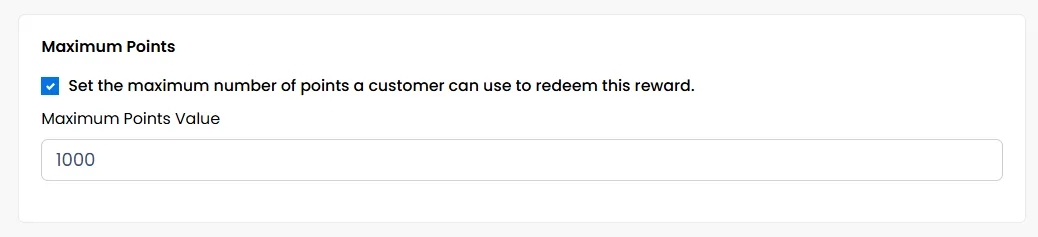
Maximum Points
Limit the maximum number of points a customer can redeem in one transaction.
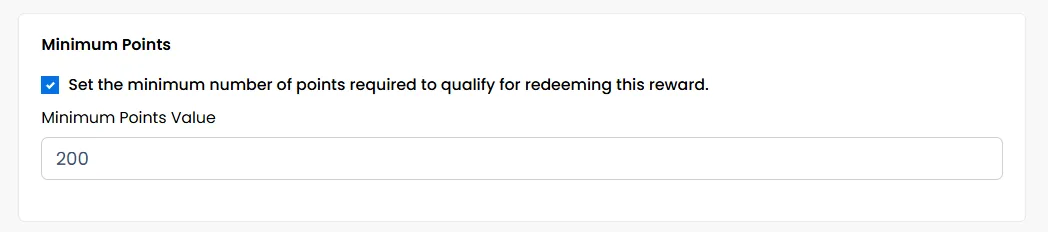
Minimum Points
Require a minimum number of points before customers can redeem them.
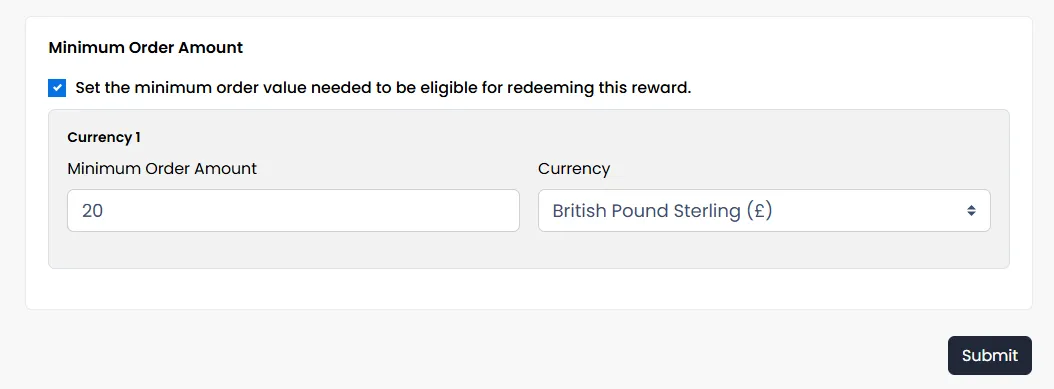
Minimum Order Amount
Set a minimum order value that must be met before points can be redeemed.
Refer & Earn Program
A referral program is one of the best ways to grow your customer base. It transforms your existing happy customers into a marketing team, rewarding them for bringing new users to your platform.
Before we begin, let's clarify the two roles in this program:
- The Advocate: This is your existing customer who shares their unique referral link with friends.
- The Referral: This is the new customer who signs up using the Advocate's link.
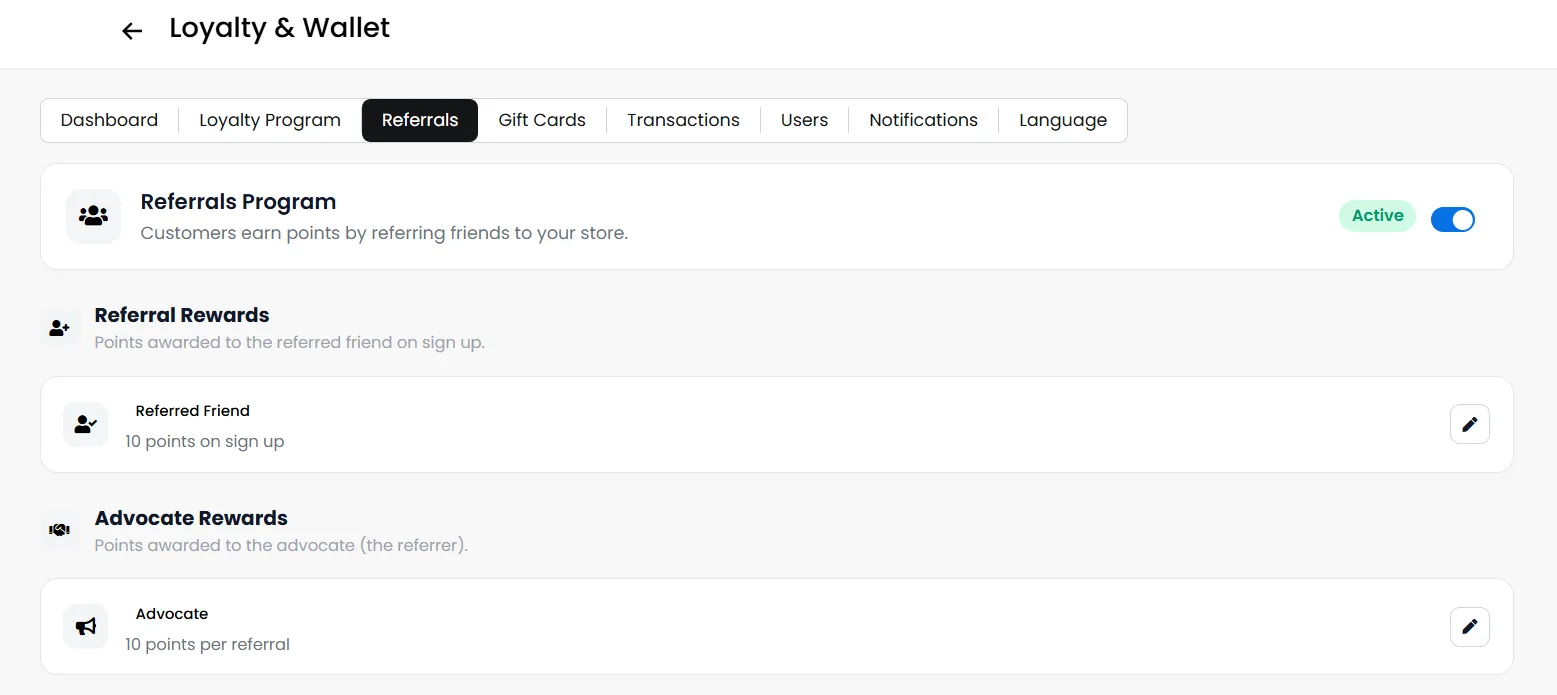
Activate the Referrals Program
At the top of the page, click the Referrals Program Status toggle switch to turn it ON. This is the master switch for the entire referral system.

Referral Rewards
This is the reward the new user gets for signing up through a referral link.
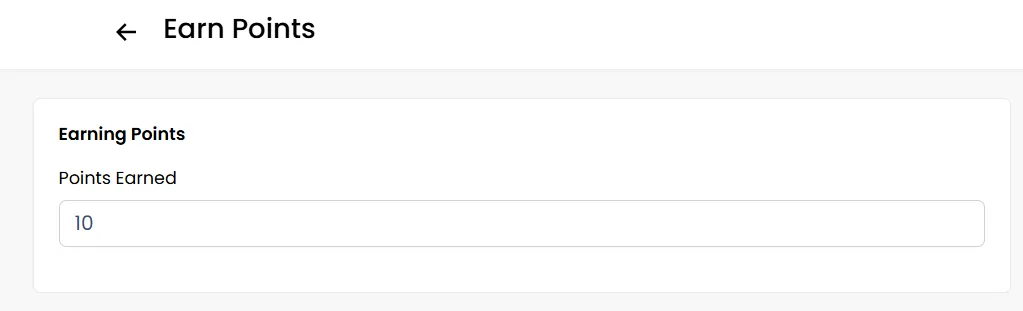
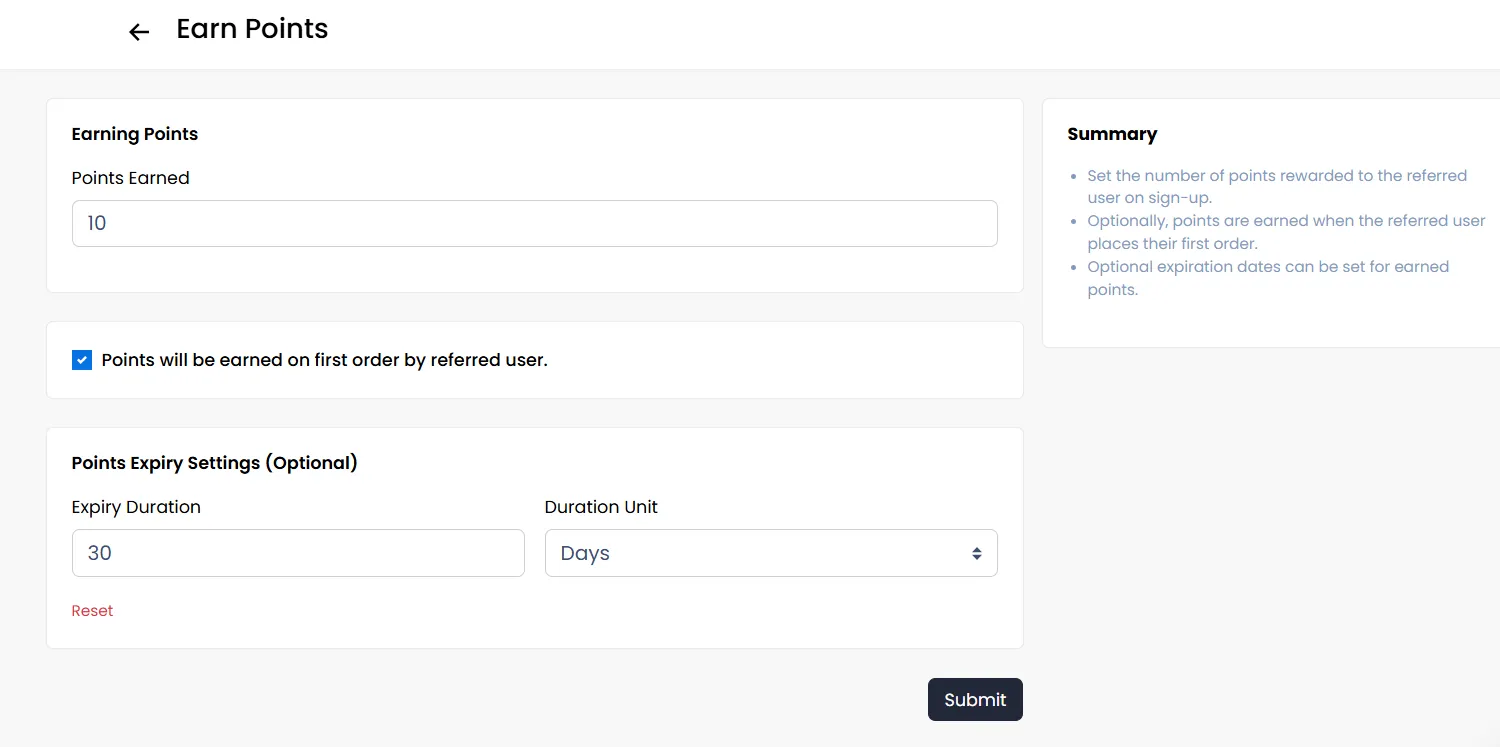
Points Earned – Enter the number of points a customer receives (e.g., 10 points)
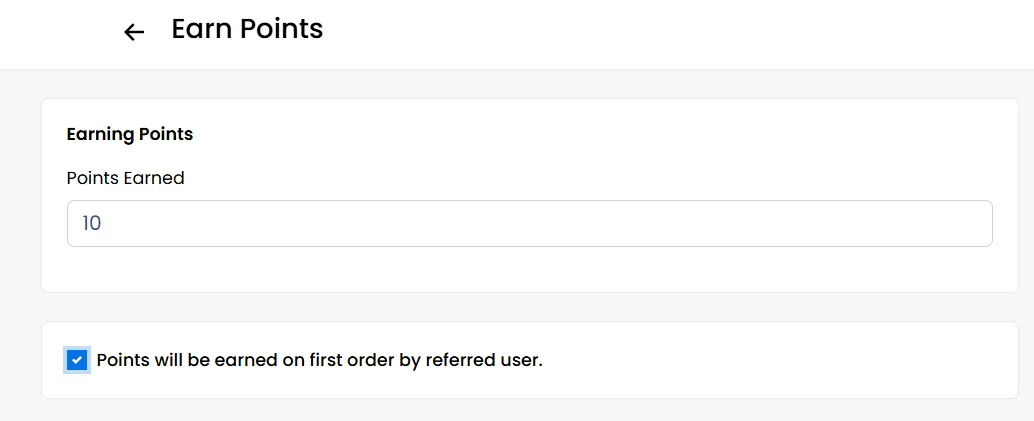
First Order by Referred User – Enable this if points should only be awarded when the referred user places their first order.
Points Expiry – Set an expiry duration (e.g., 90 days). Leave blank for no expiry.
Advocate Rewards
Reward existing customers (advocates) when they refer new users.
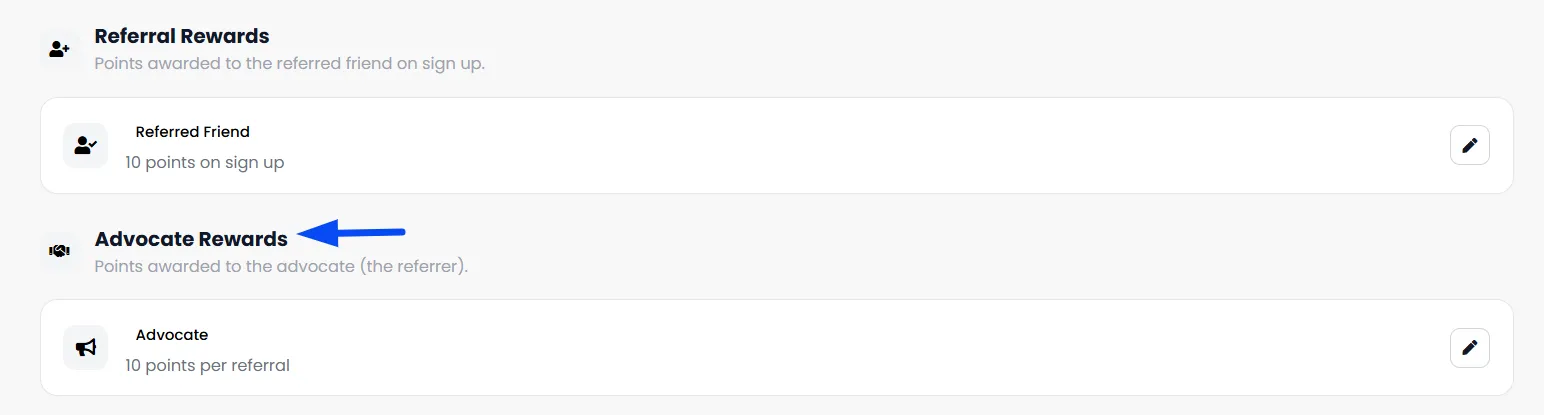
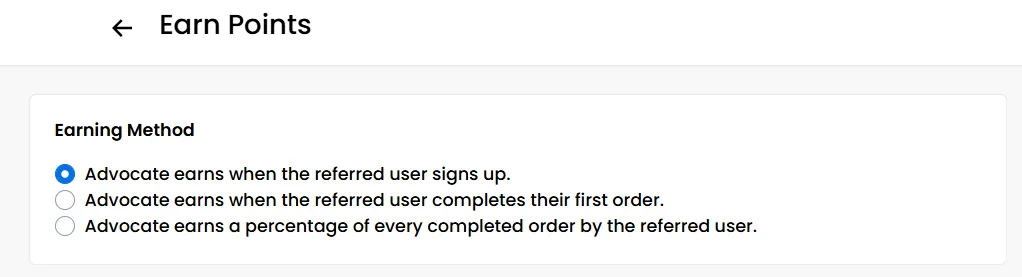
You can choose how the advocate earns points.
- On Sign Up – Advocate earns points when the referred user signs up.
- On First Order – Advocate earns points only when the referred user completes their first order.
- Percentage of Every Order – Advocate earns a percentage of the total value of every order placed by the referred user.
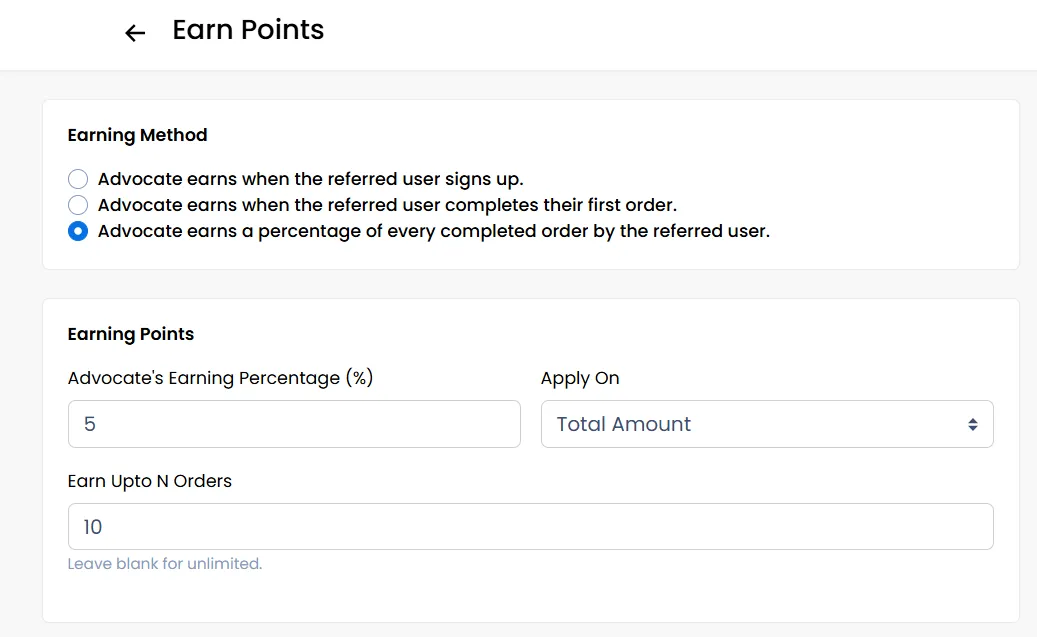
If You Select “Percentage of Every Order”
- Enter the percentage of the order value the advocate earns (e.g., 5%).
- Choose whether the percentage applies to the Total Amount or another calculation base.
- Earn Upto N Orders – Limit the number of orders for which the advocate can earn (leave blank for unlimited).
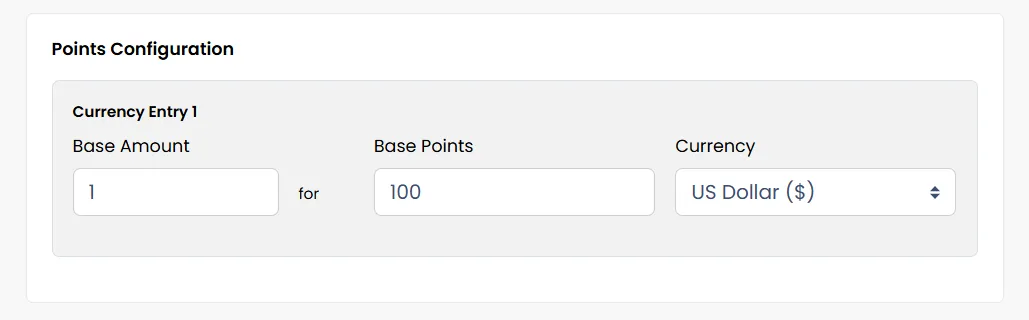
Points Configuration
- Define how points convert from currency spent (e.g., 100 points for every £1).
- Select the correct currency.
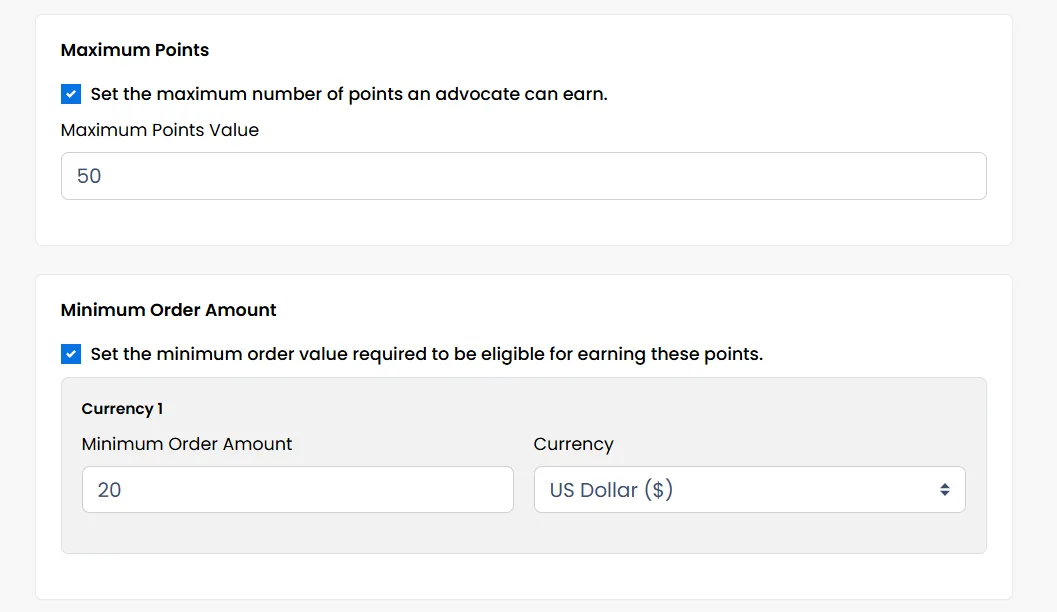
Limits & Conditions
- Set a maximum number of points an advocate can earn.
- Set a minimum order amount that the referred user’s purchase must meet for points to be awarded.
Points Expiry
- Add an expiry duration (e.g., 7 days) or leave blank for no expiry.
Creating and Managing Gift Cards
Gift cards are a flexible way to offer value to your customers. You can create digital gift cards with a specific point value that can be sold, used in marketing campaigns, or given to customers as a special reward.
Navigate to the Gift Cards Page
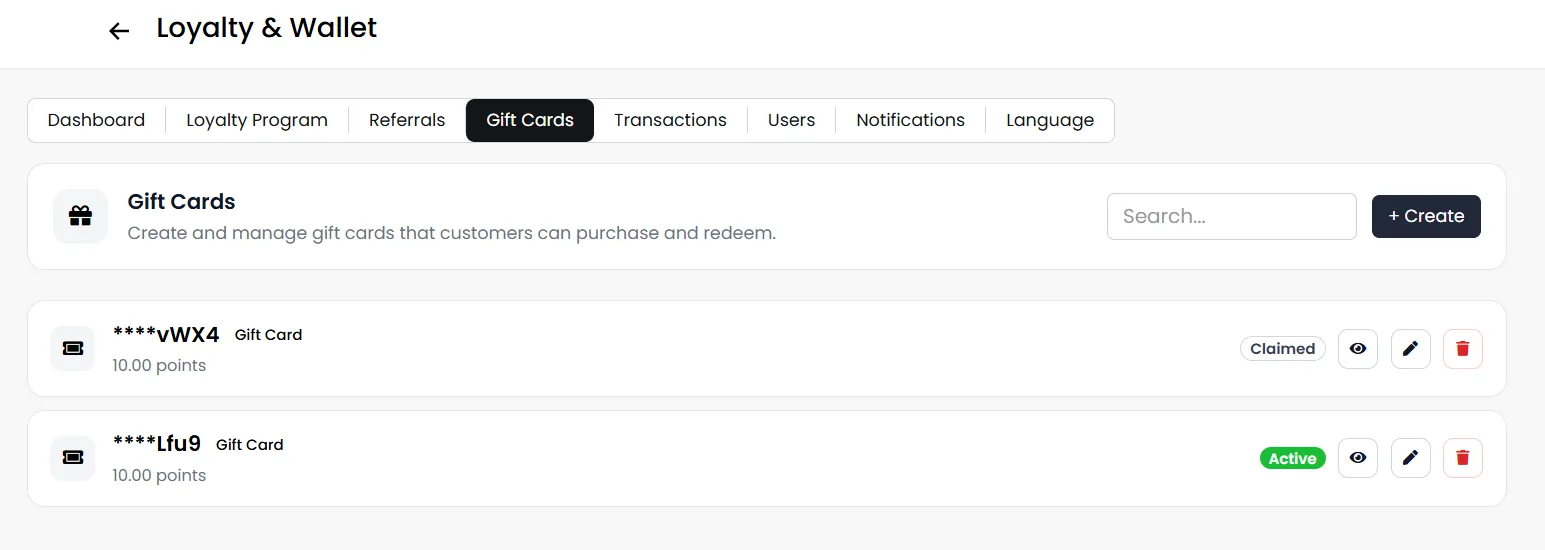
- In the Loyalty Wallet section, click on the Gift Cards tab.
- To create a new one, click the "Create" button.
Configure Your New Gift Card
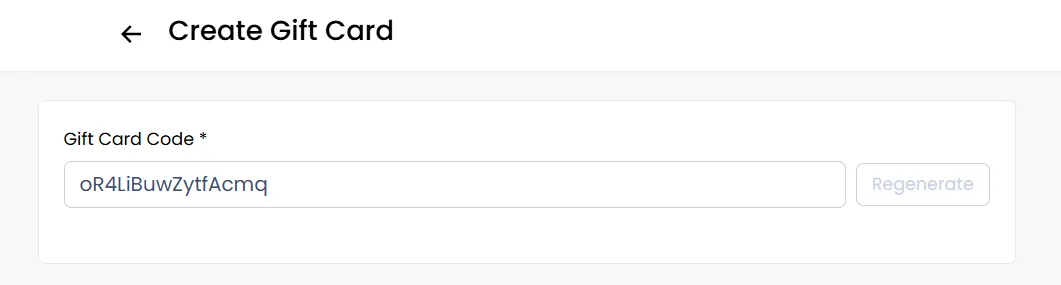
You will now be on the "Create Gift Card" page. Let's go through each field.
- Gift Card Code: This unique code is automatically generated for you by the system. You don't need to create one. Simply copy this code to share with your customer.
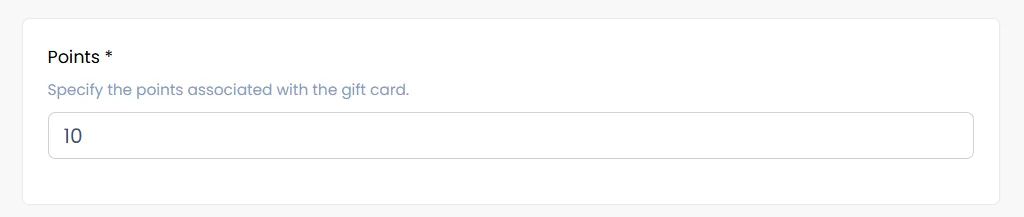
- Points: Enter the number of loyalty points this gift card will be worth when a customer redeems it.
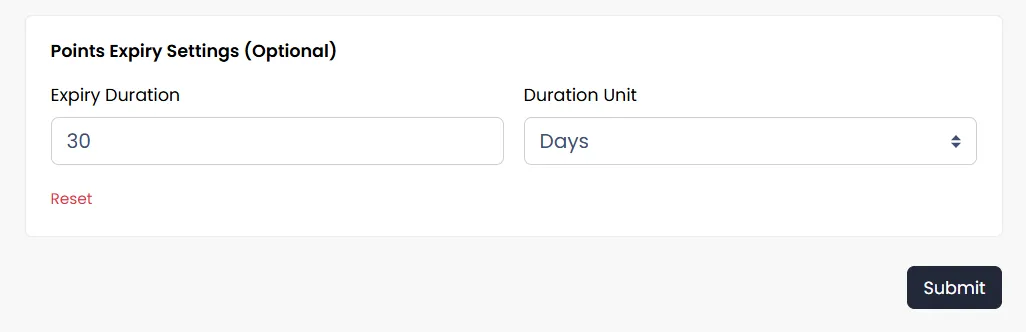
Set Expiry Dates: This is a crucial section. You can set two different types of expiry dates.
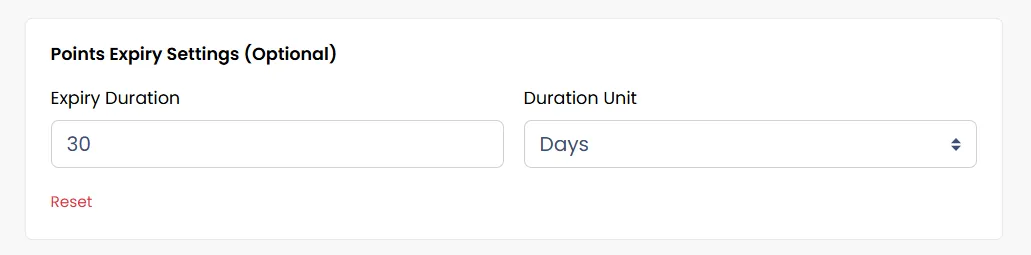
Points Expiry Settings: This controls how long the points themselves are valid after a customer has redeemed the gift card code. For example, if you set this to 30 days, the customer has 30 days to spend the points from their wallet before they disappear.
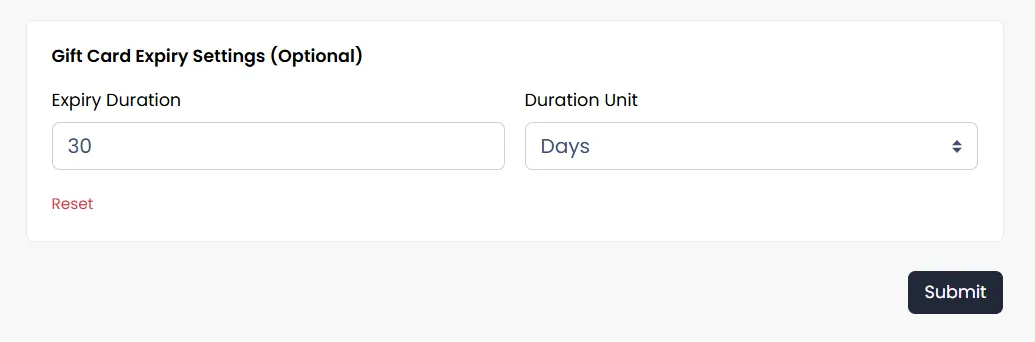
Gift Card Expiry Settings: This controls how long the gift card code itself is valid before it is redeemed. For example, if you set this to 90 days, the customer has 90 days to enter the code into their app before it becomes invalid. After you have configured all the settings, click the Submit button.
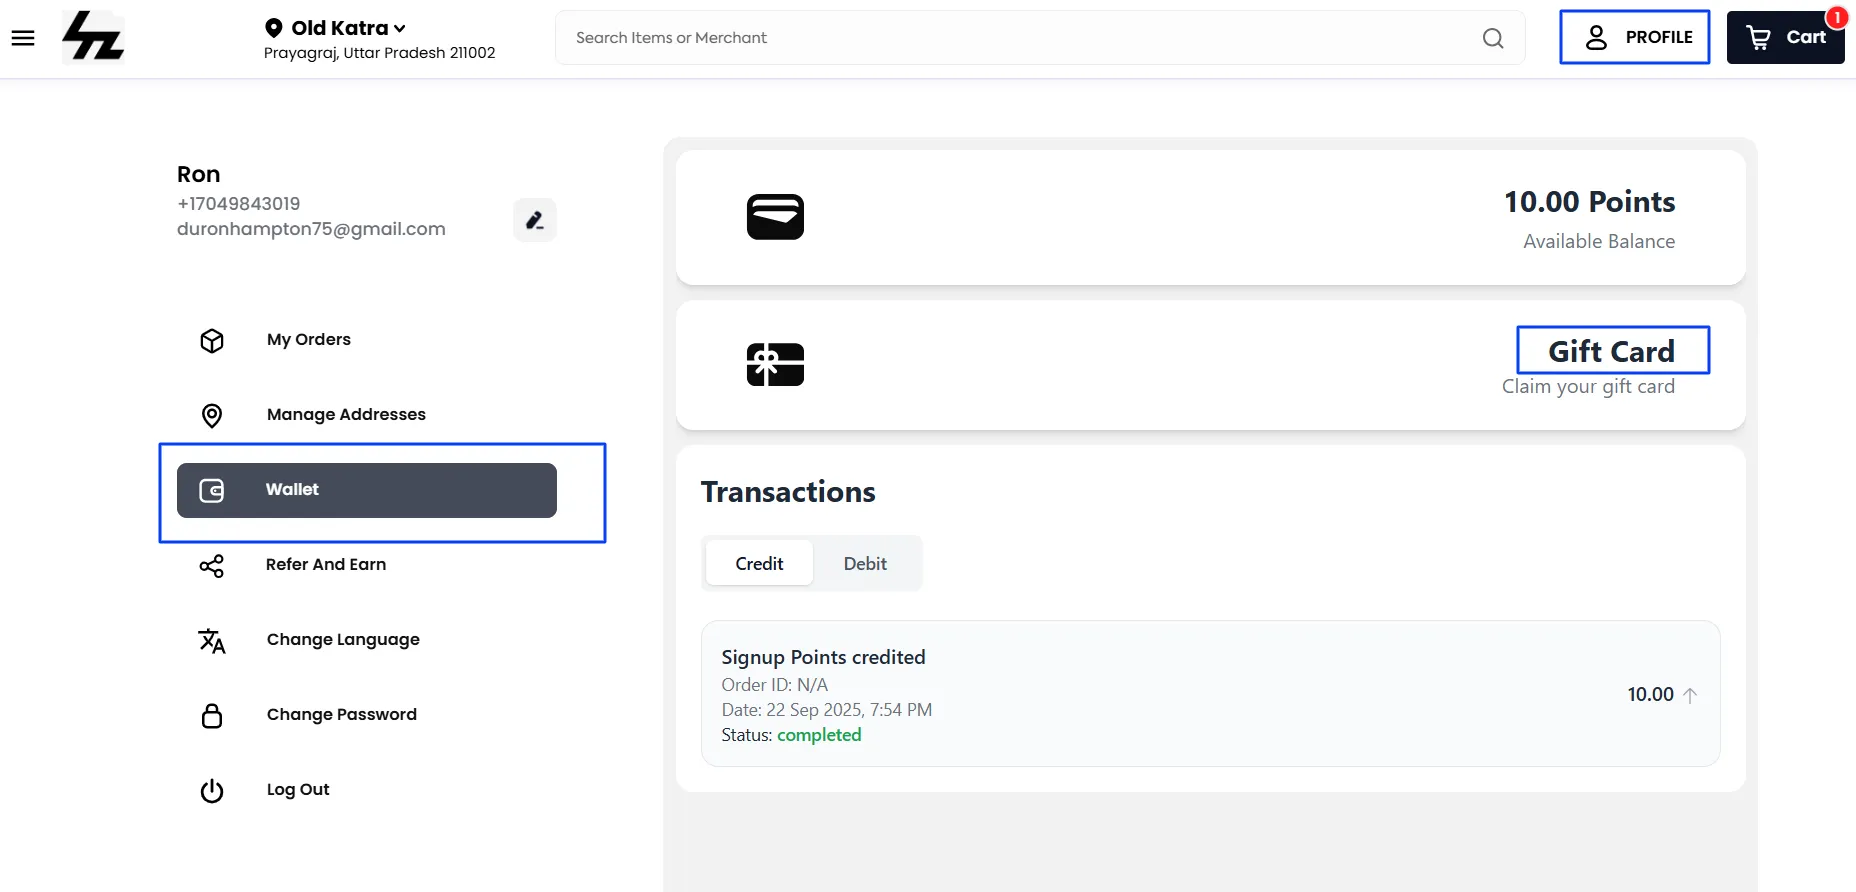
Once the Gift Card is created, simply copy the code, navigate to the customer's Profile section, and paste the code into the Wallet > Gift Cards and paste the code to add the points to the customer's wallet. Through this method, you can add points to the customer's wallet directly.
Transactions
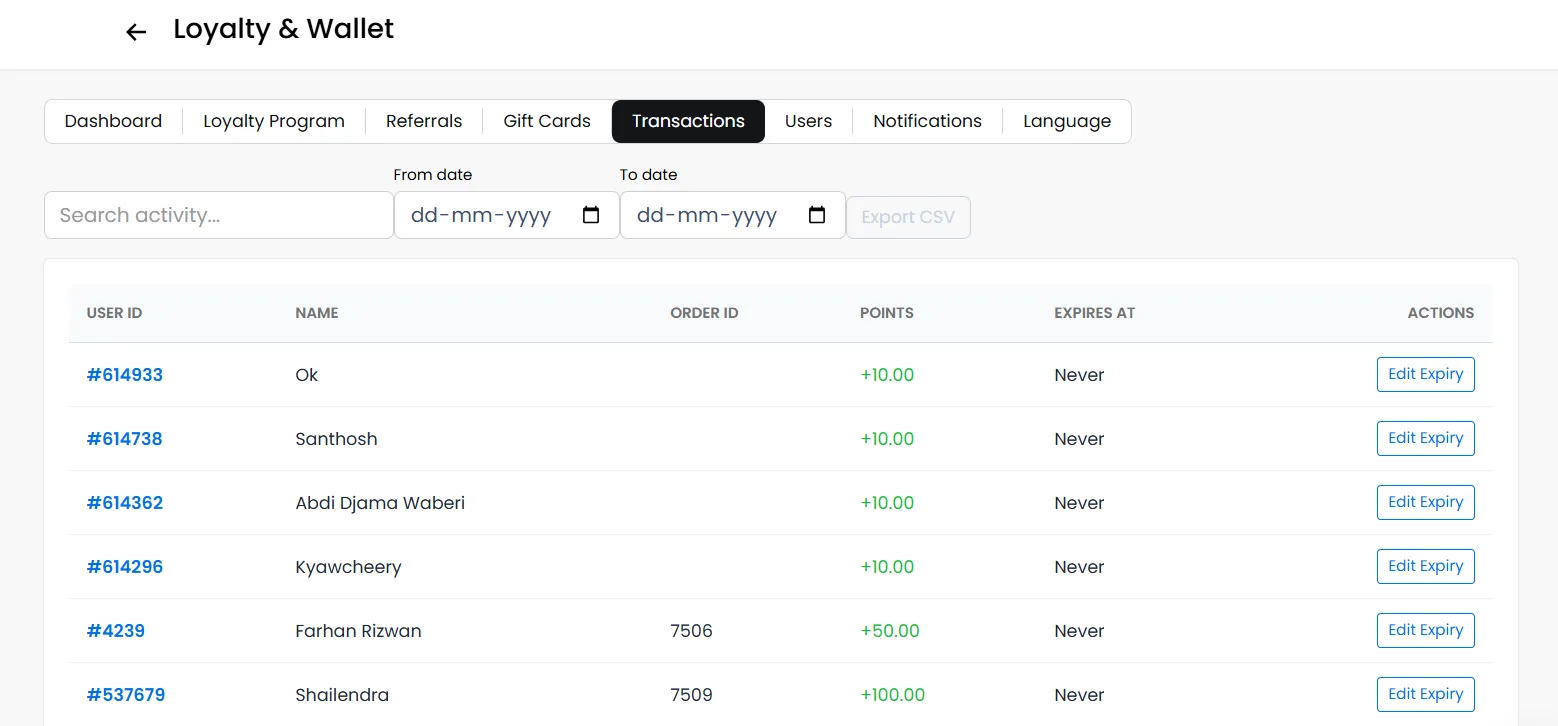
The Transactions tab provides a complete record of all loyalty points awarded to customers. You can also download the transaction history for reporting and record-keeping, and modify the expiry date of the loyalty points for a specific transaction whenever required.
Managing Your Loyalty Customers
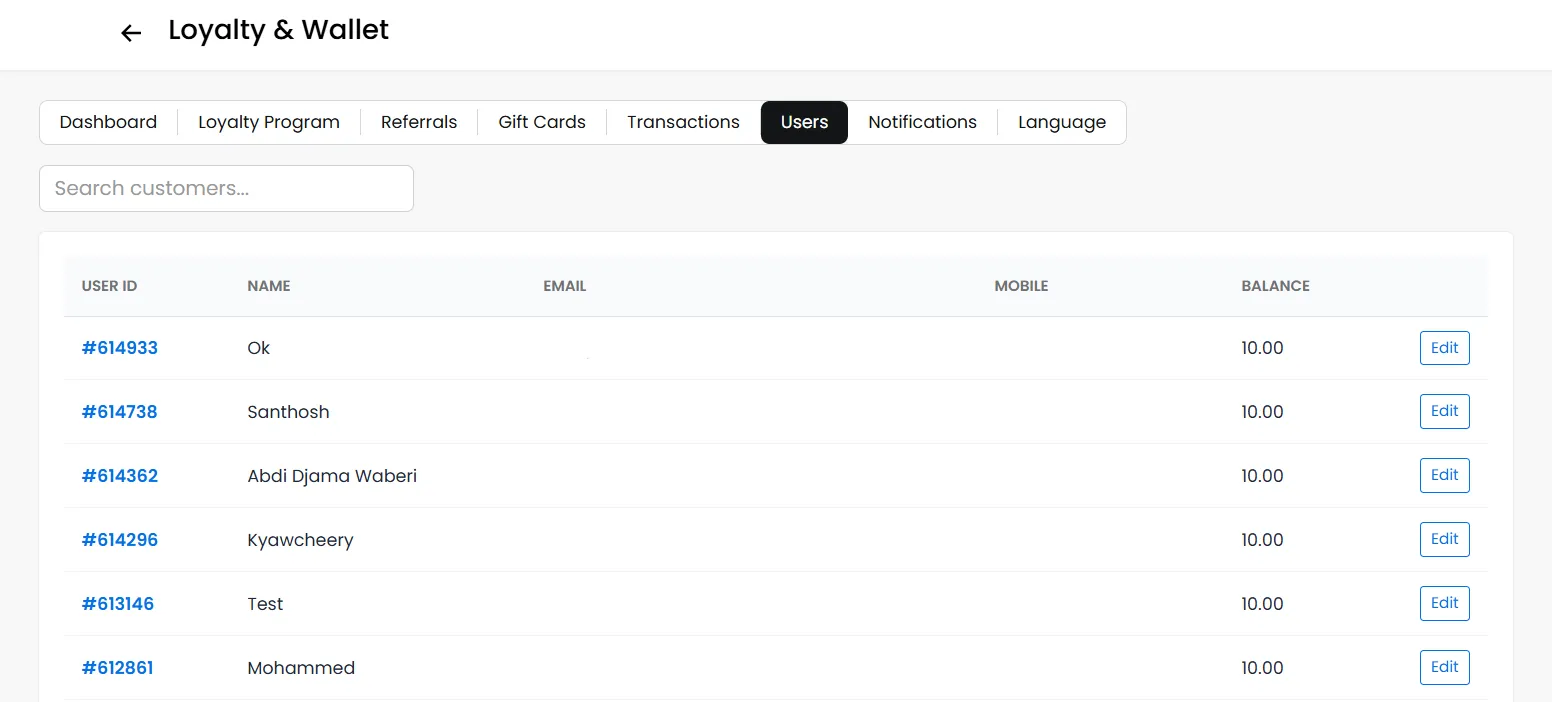
The Customers page provides a centralized view of every user who is part of your loyalty programs. This is where you can search for specific users and see their status.
Customer Information
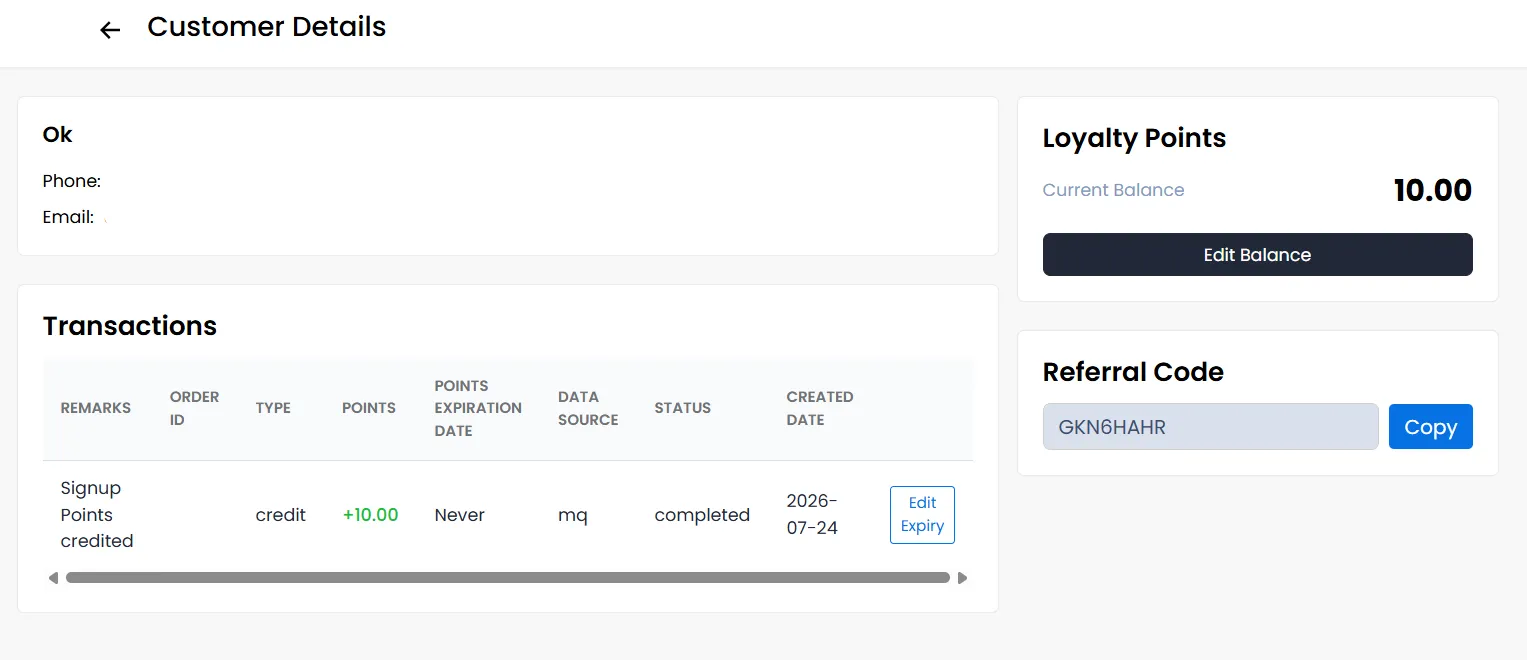
At the top of the page, you can view the customer's basic details, including their name, phone number, and email address, making it easy to verify the account before making any changes.
Loyalty Points Balance
The Loyalty Points card displays the customer's current available points balance. If required, click Edit Balance to adjust the customer's points manually.
Transaction History
The Transactions section provides a complete record of all loyalty point activities for the selected customer.
Notifications
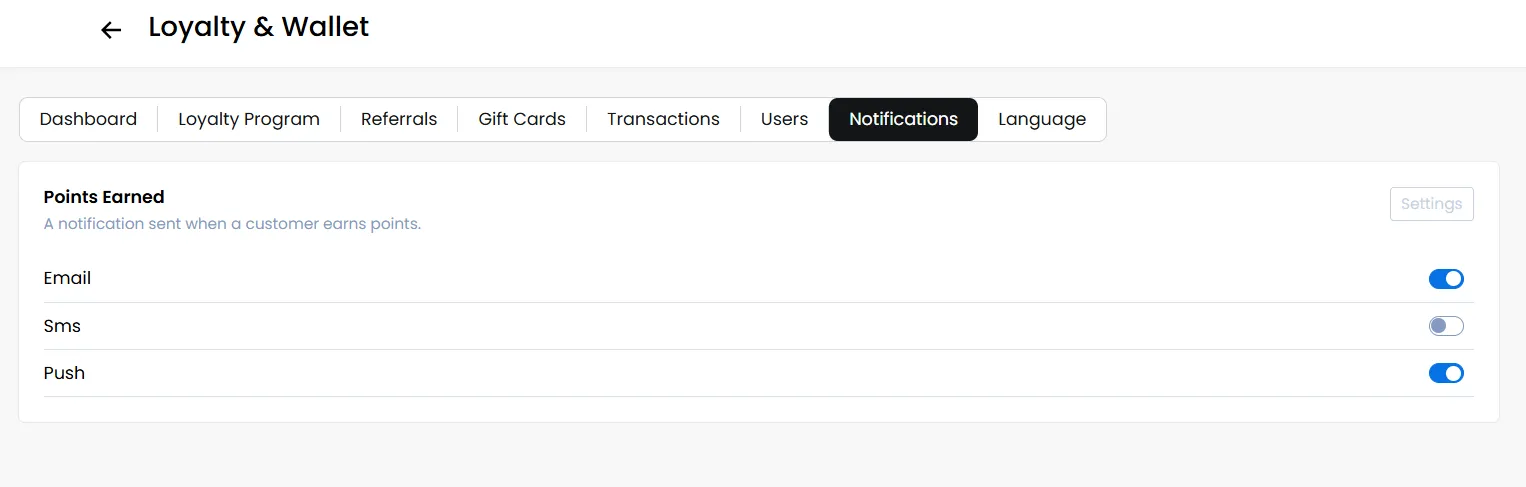
The page lists Events, such as "Points Earned." The Notification Settings let you alert customers when they earn points.
- Email: Sends a notification to the customer under the registered email address.
- SMS: Sends a text message to the customer under the registered mobile number.
- Push: Sends a push notification directly to the customer's phone.
Editing Notifications
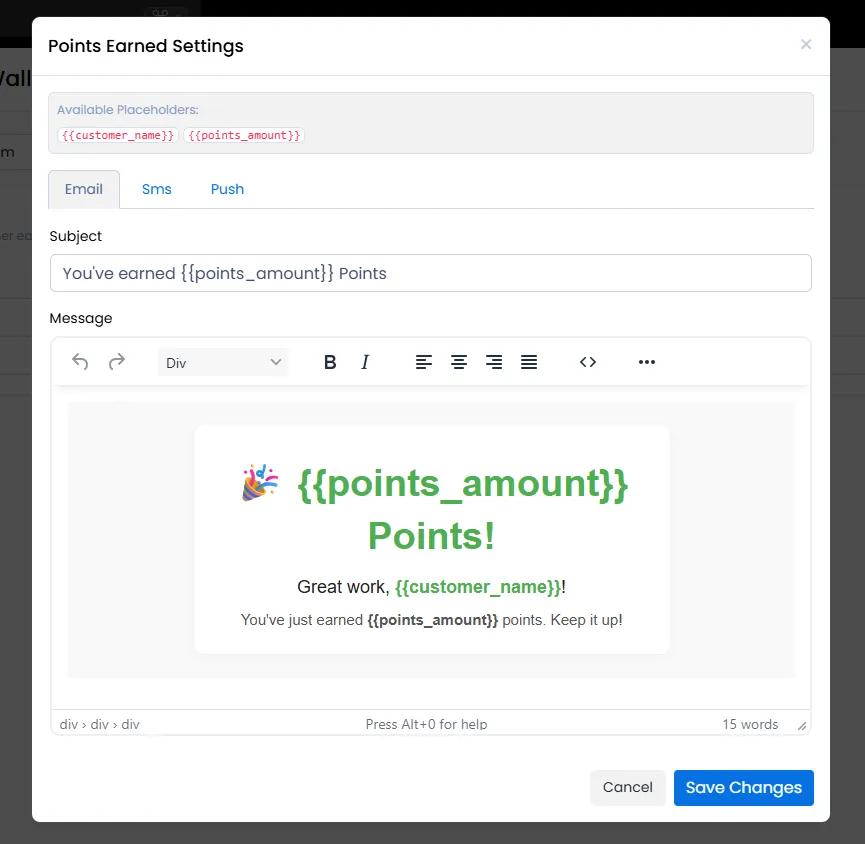
When you click the settings icon, you can customize how notifications are sent to customers:
- Email - Edit the subject and body. You can use placeholders like {{customer_name}} and {{points_amount}} to personalize messages. Supports HTML for styled emails.
- SMS - Create short text messages to notify customers instantly about their earned points.
- Push - Set up quick in-app alerts to engage customers in real time.
This allows you to control the message, tone, and format across all channels while keeping notifications aligned with your brand.
Language and Translations
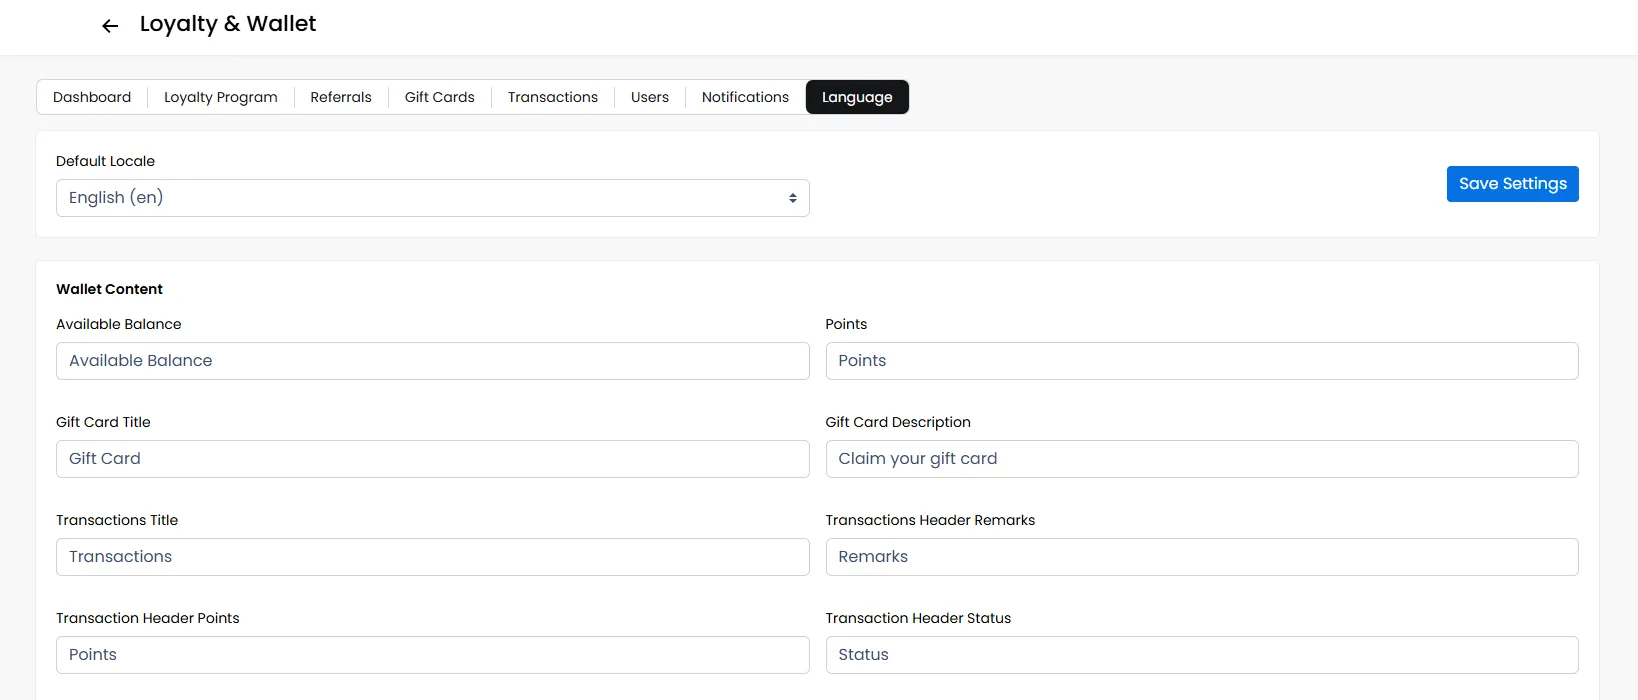
If your customer base is multilingual, this section is essential. It allows you to choose multiple languages and also provide custom translations for all the text your customers see related to the Loyalty Wallet.
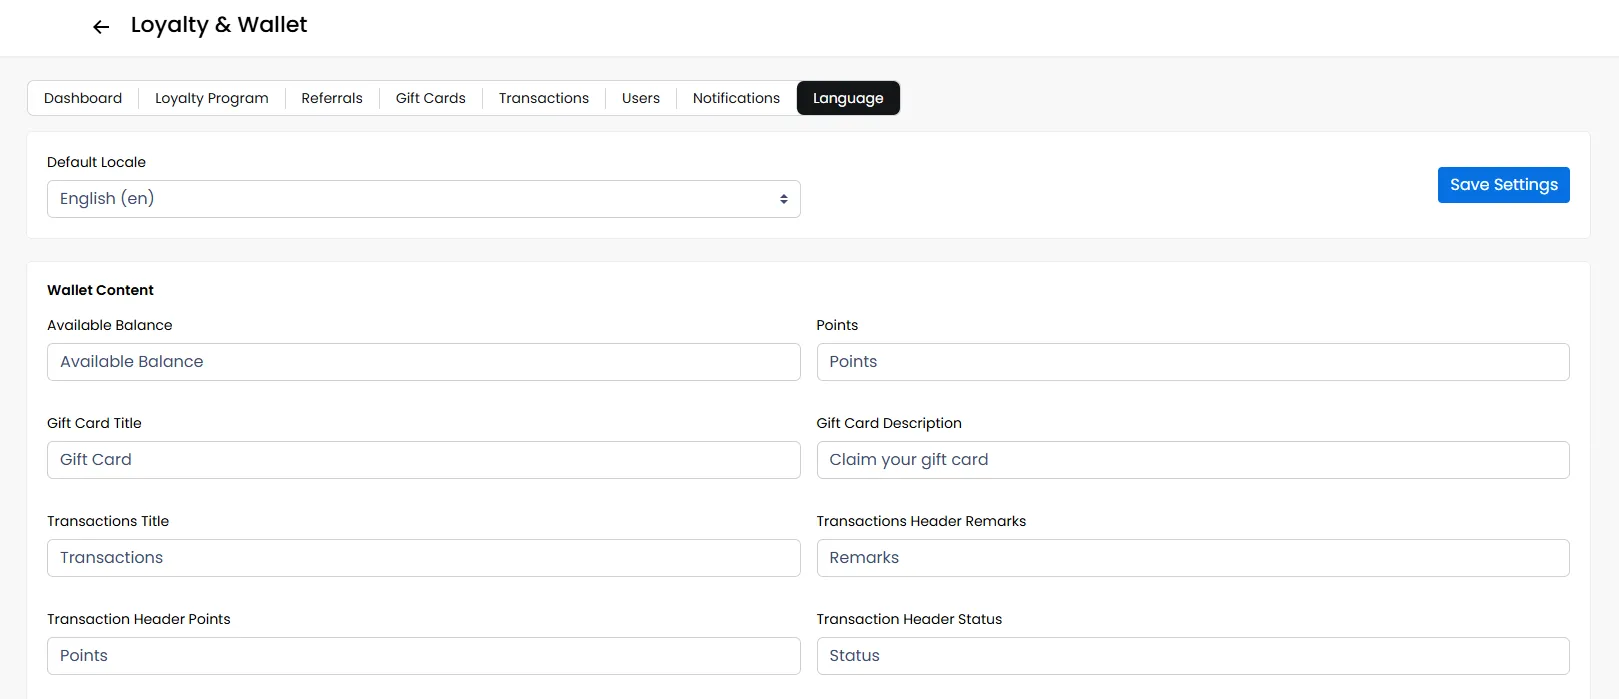
Enable the Languages You Need
- You will see a long list of available languages. To enable one, find it from the list and choose the default one you wish to display to the users
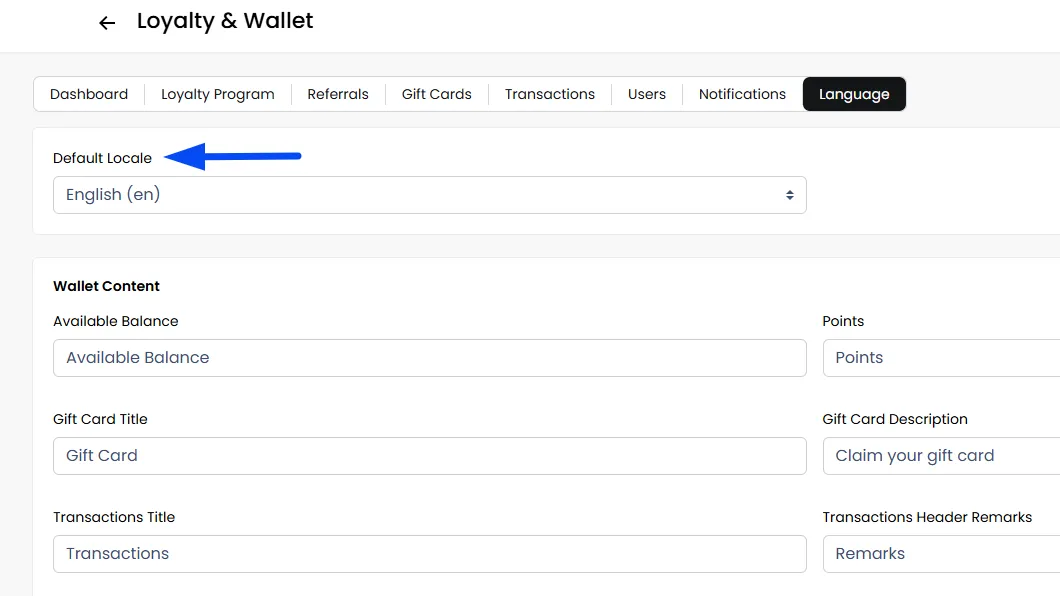
Add Your Custom Translations
Customize translations for key areas like Wallet, Transaction Status, Remarks, Gift Cards, Refer & Earn, Checkout, and Notifications
- Click on the phrase you want to translate, allowing you to type in your own custom translation.
- Once you’ve made your changes, click Save to apply them.