Merchant Page
The Merchant Pages section provides you with the tools to personalize and enhance individual store pages, making them more engaging for customers. You can add banners to promote offers, highlight specific product categories, or create a collection grid to organize and showcase main categories with linked subcategories. This section also allows you to include custom sections, like the store’s story or additional information, to further enrich the customer experience
The Merchant Page customization features are now also available for Pick & Drop services.
When a Pick & Drop merchant is selected from the merchant dropdown, you can customize its page using the same theme elements, including Header, Footer, Banners, Image with Text, and Custom Code sections.
Navigating to the Merchant Page
- To navigate to a merchant page, from your Admin panel, go to Theme located in the left-side navigation menu.
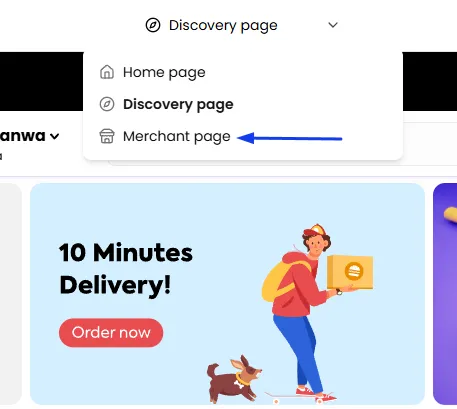
- At the very top of the screen is a dropdown menu. Click on it and select the Merchant page.
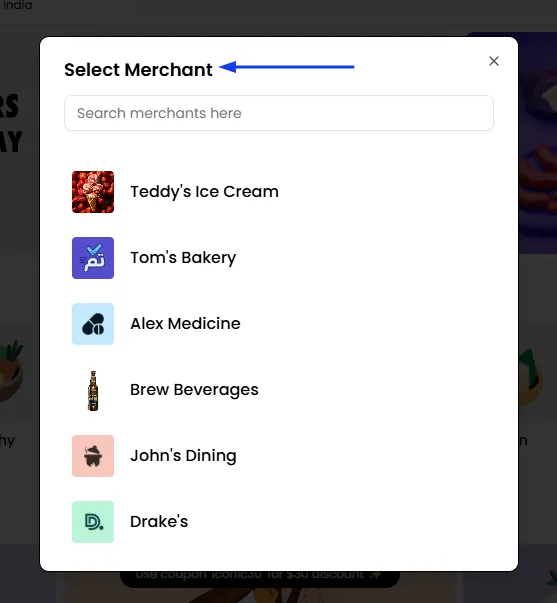
- Select the merchant for which you want to make the customisations.
Hide/Unhide Sections
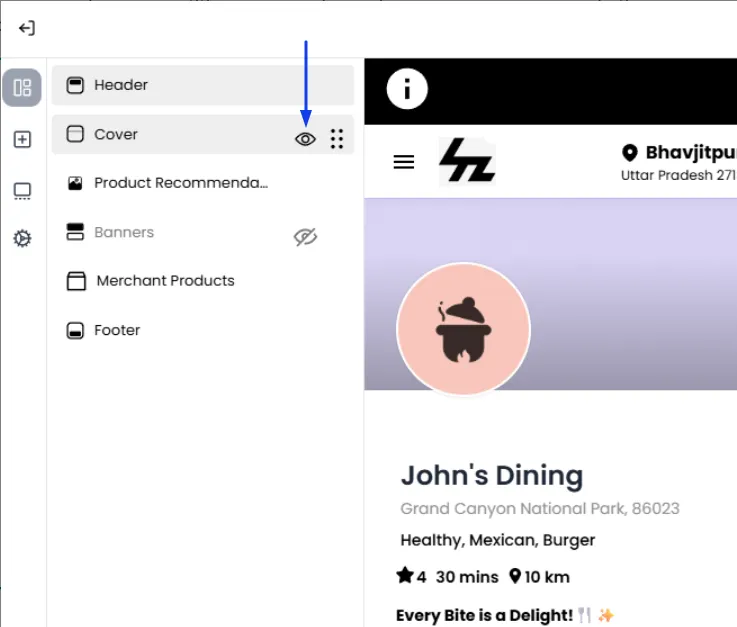
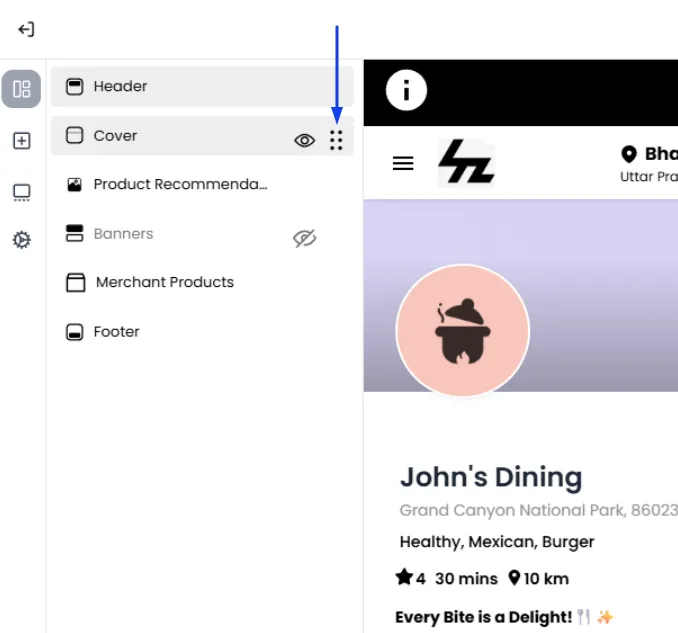
Utilize the eye icon to toggle the visibility of any element on the selected page. This allows you to easily hide or unhide the welcome banner or custom sections as needed.
Rearrange Sections
To rearrange the welcome banner or custom sections on the selected page, simply drag and drop them into your preferred order.
Header
The Header is the very top section of your website that appears on every page.
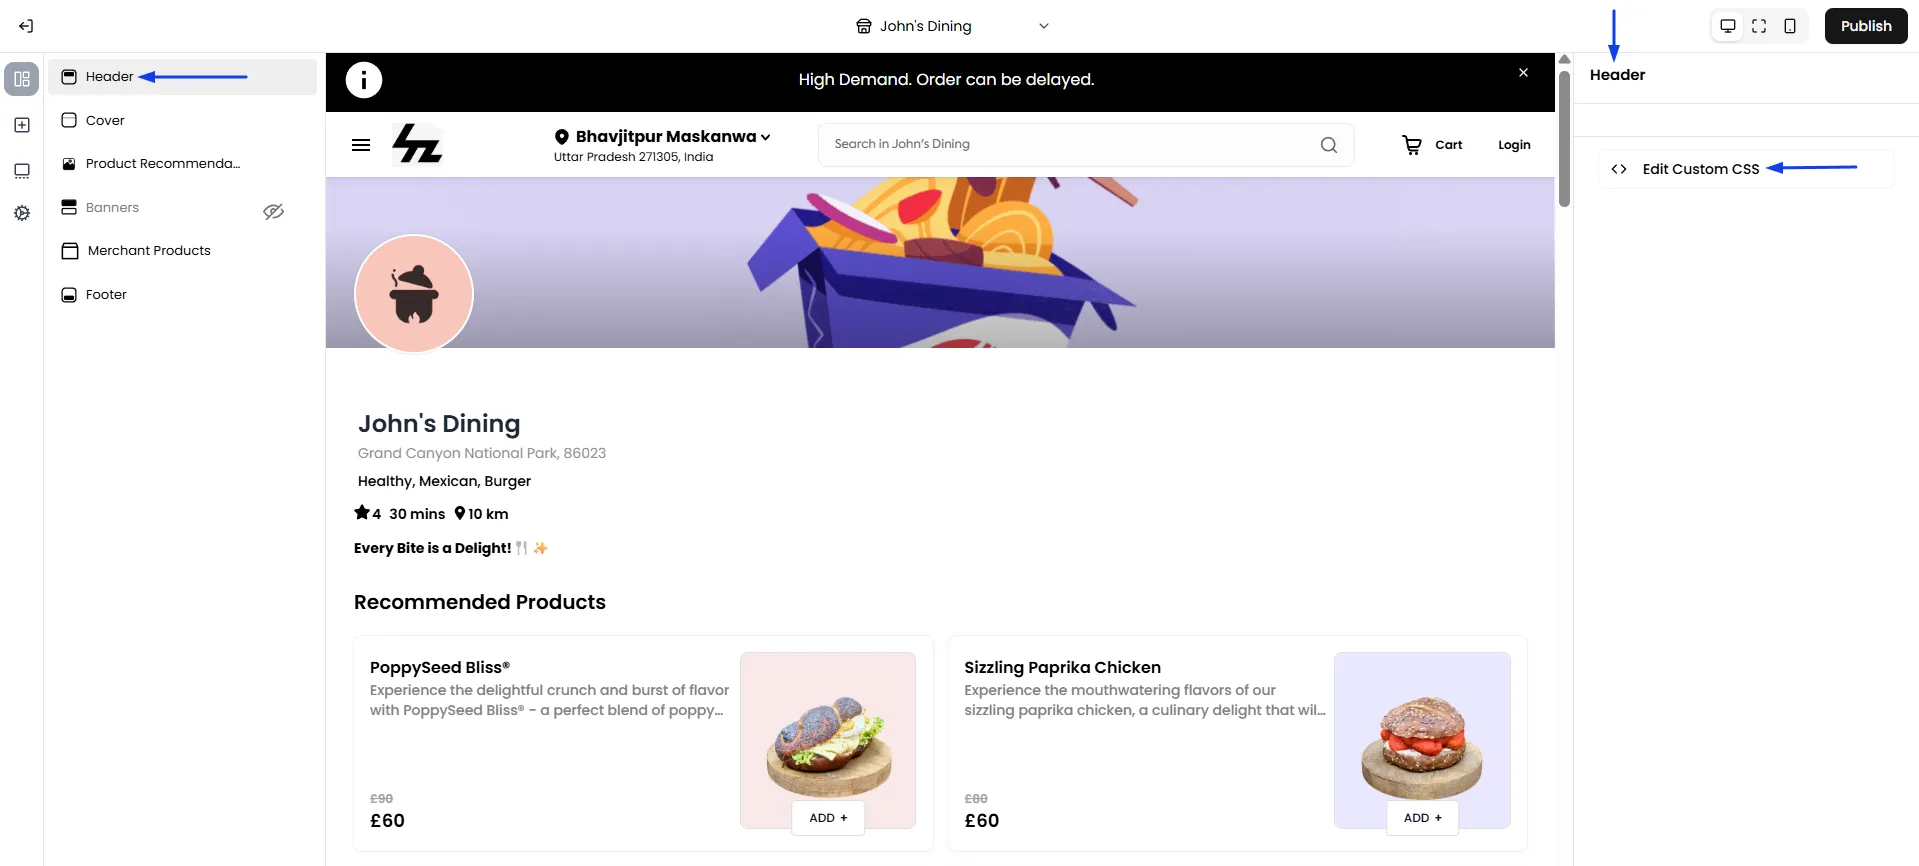
- Click on the Header in the section list to edit.
- You can also use Custom CSS to go beyond the standard options, for example, adding a border, changing colors, or applying other custom styles.
Cover
The Cover is the top-most section of a merchant's page, containing their main banner image and their logo. It's the first thing a customer sees, and it instantly sets the tone, communicates the brand's personality.
Where to upload the logo and cover image?
To upload them, the merchant must navigate to Merchant Panel > Settings > Branding.
- Logo: 512x512 pixels
- Cover: 2000x1000 pixels
Choosing Your Layout
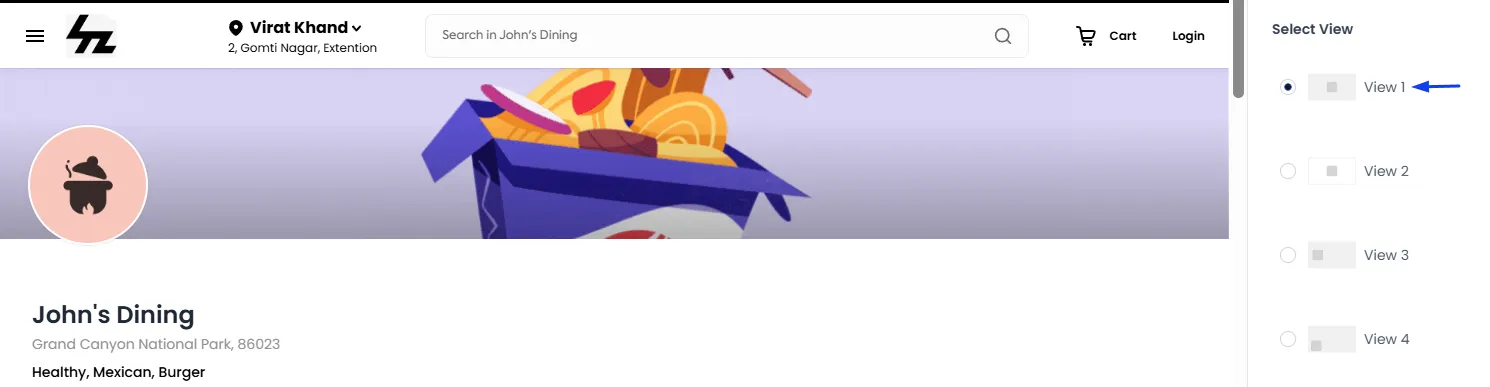
View 1
- This view typically places the merchant's logo in a position overlapping the top-left corner of a large, edge-to-edge banner.
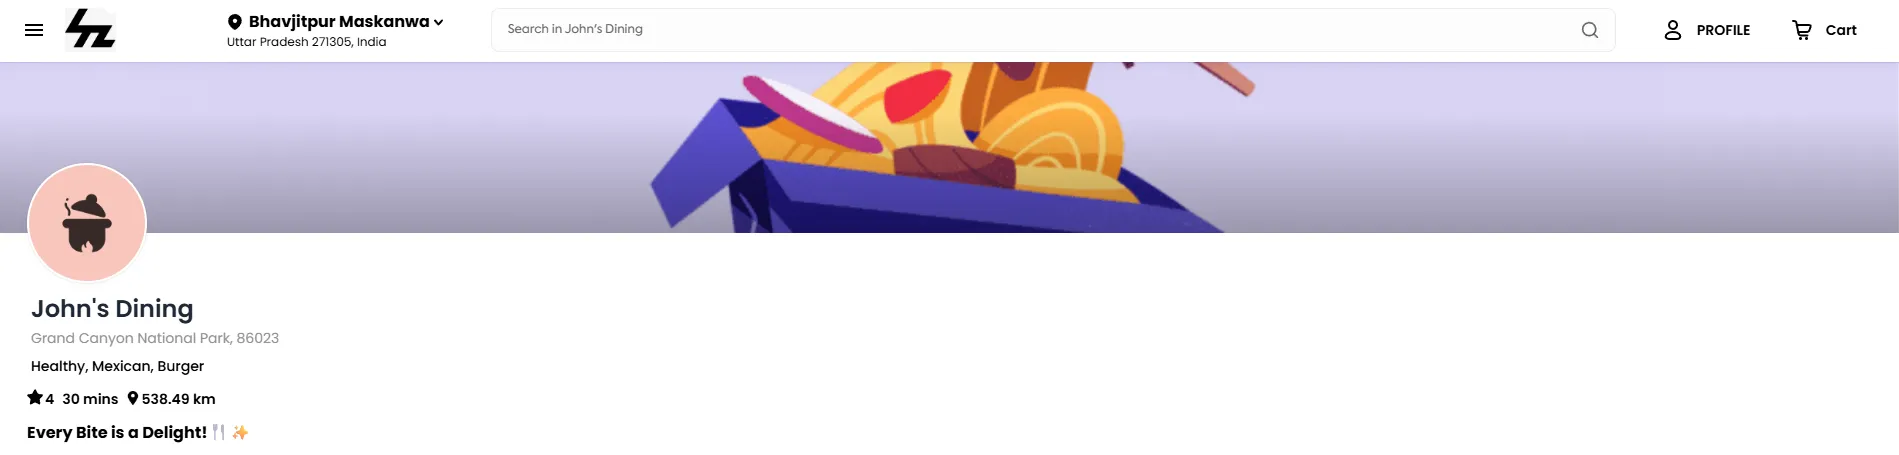
View 2
- This view separates the logo from the banner.


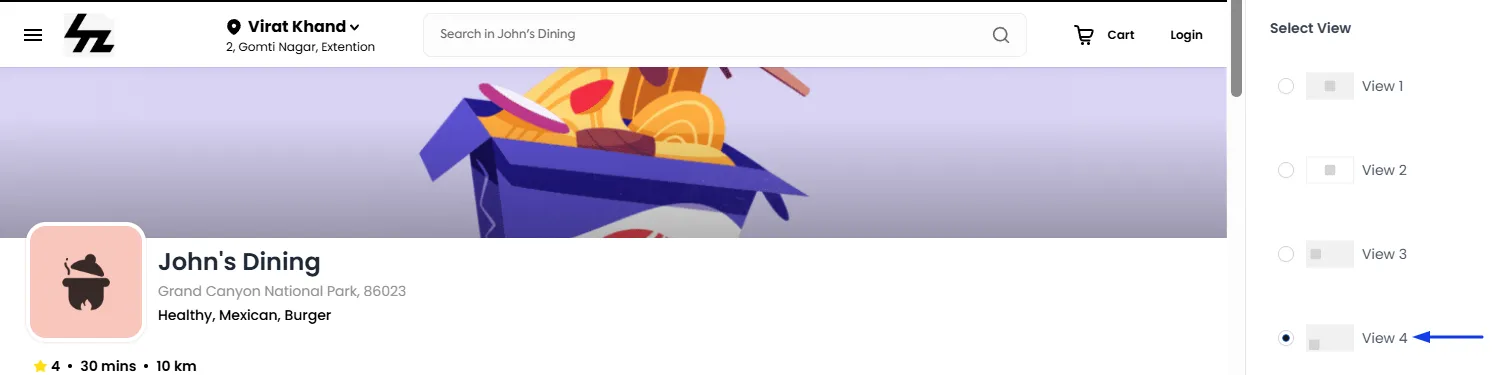
View 3 & 4
- These views will continue to alter the layout by changing the logo's position.
The Best Approach: Click through each of the four views and see which one best complements the specific logo and banner style of the merchant you are previewing.

Logo Display Style
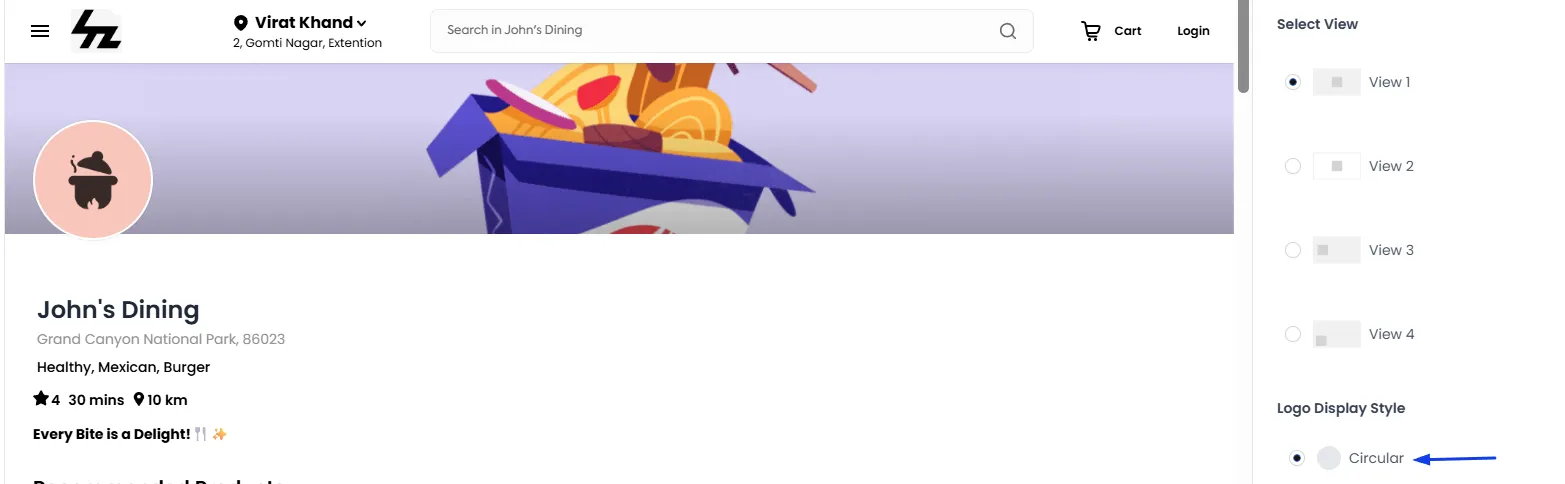
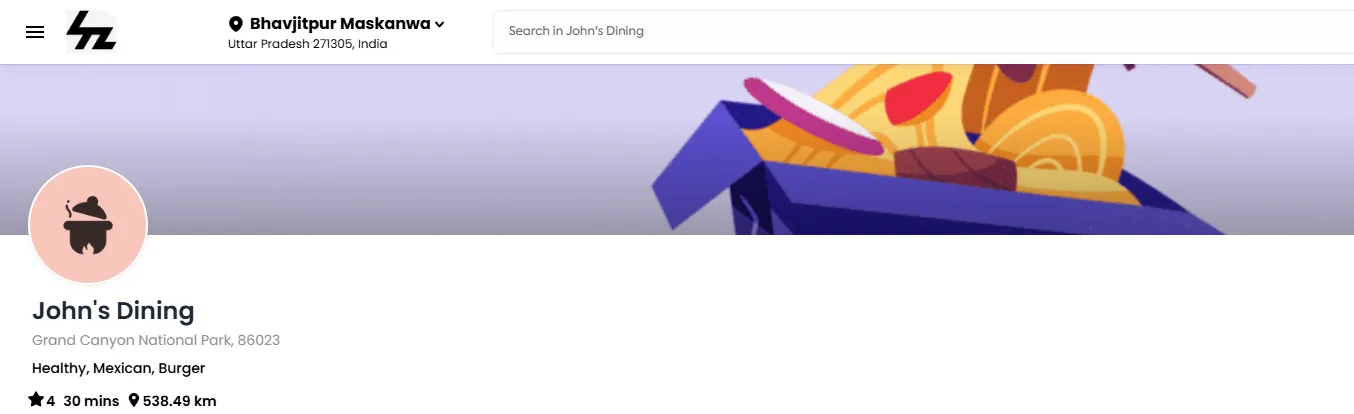
This setting gives you control over the shape of the merchant's logo.
Circular
- Places the merchant's logo inside a perfect circular frame.
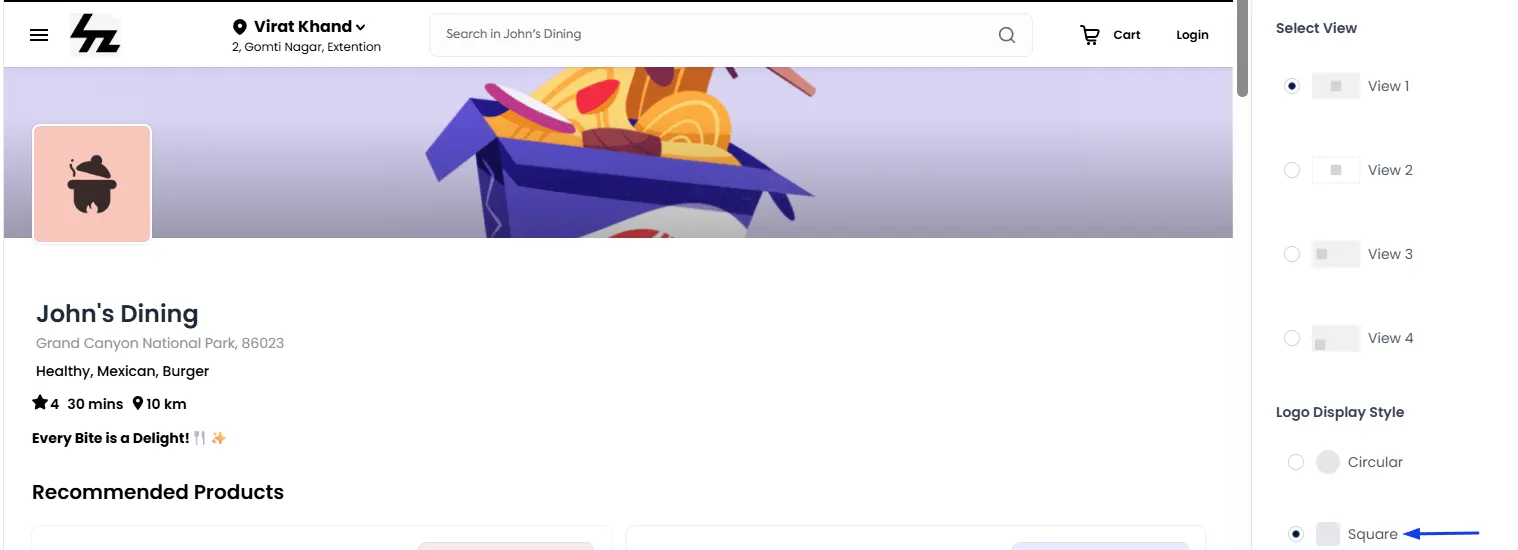
Square
- Keeps the logo in its original square shape, with slightly rounded corners.
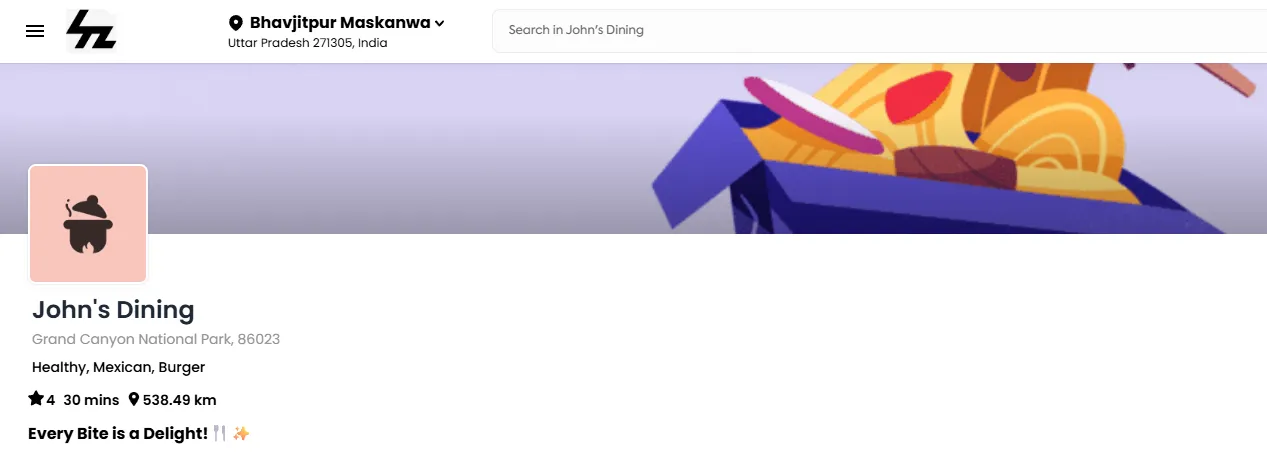
Customizing Sections with CSS
- To modify the styling, shape, you can apply Custom CSS to achieve the desired changes, tailoring each section's appearance to your specific needs.
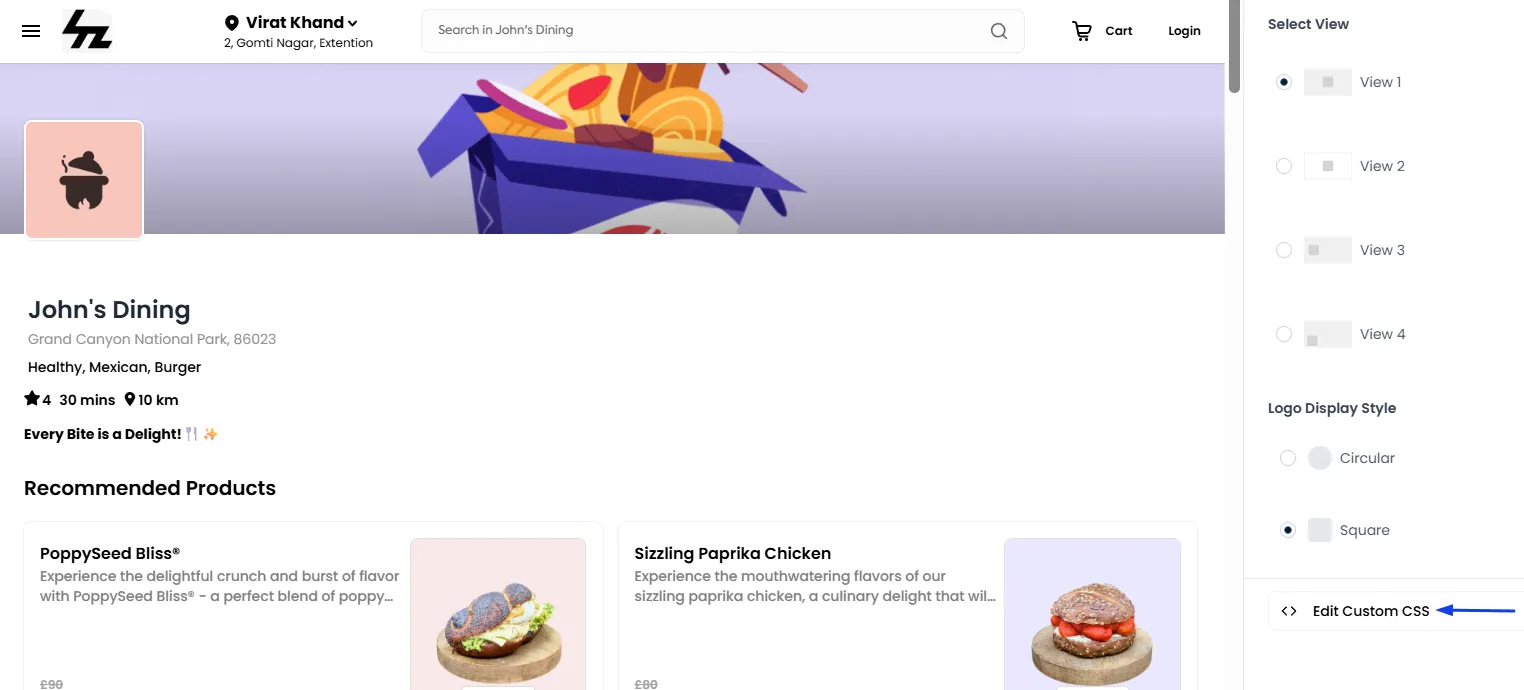
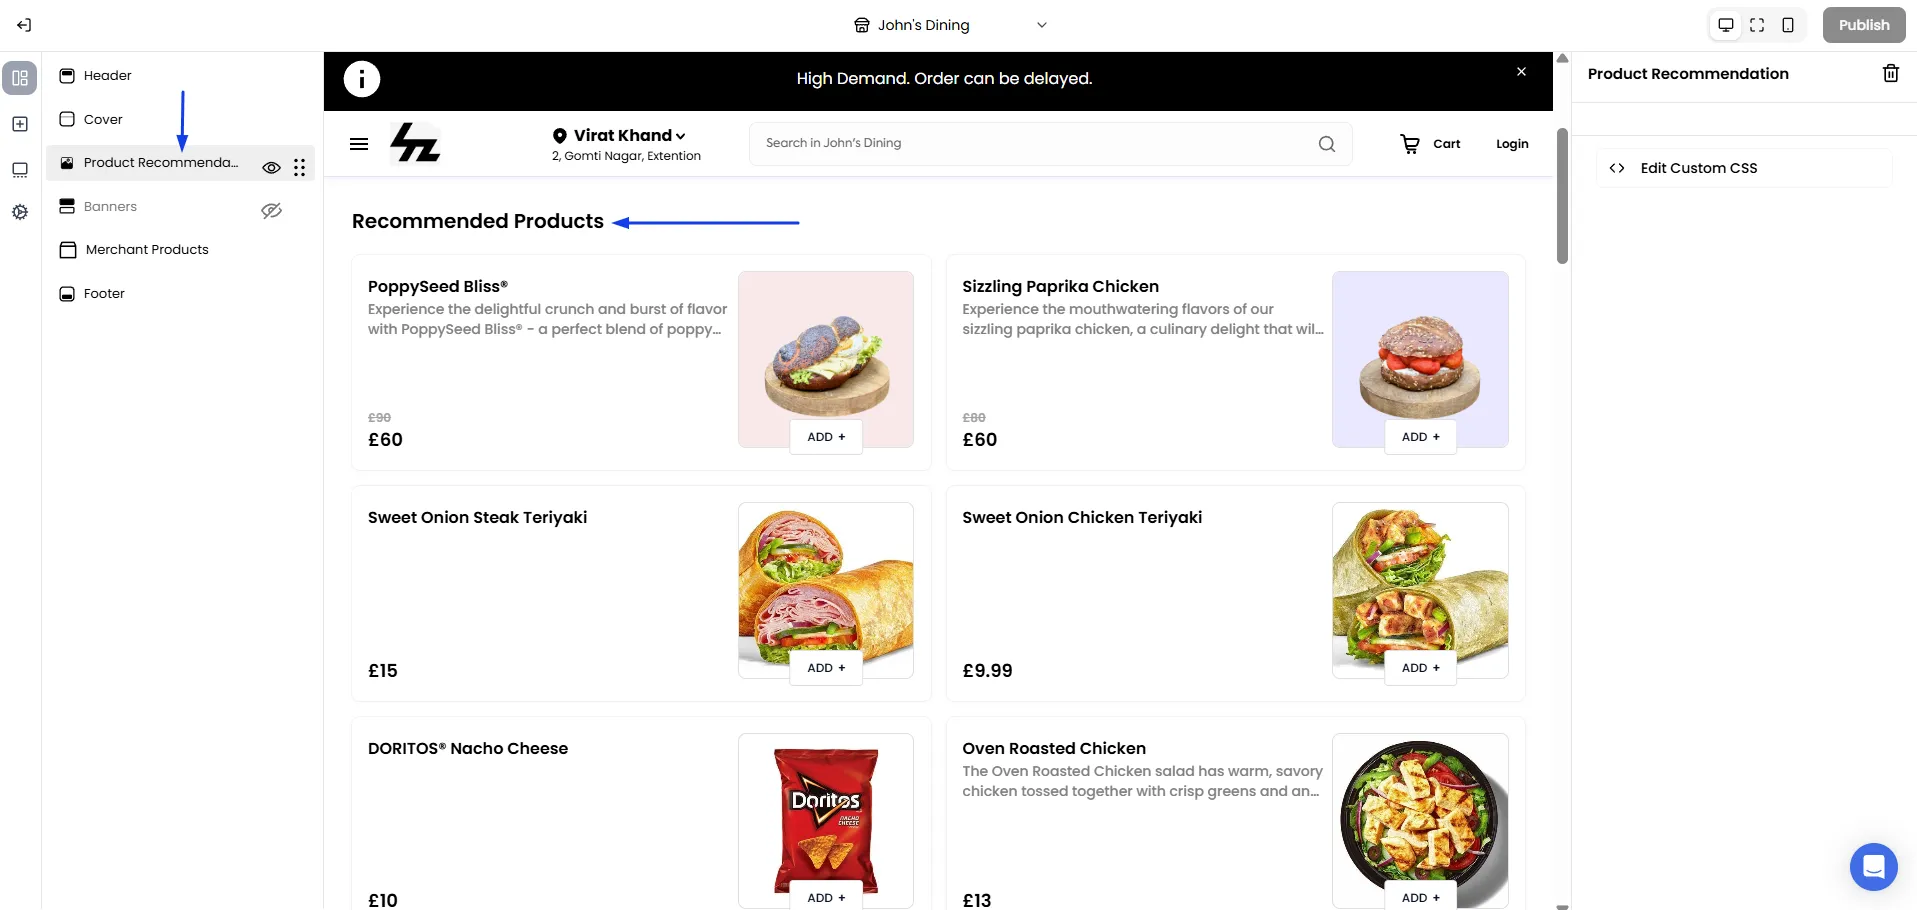
Product Recommendation
Instead of showing a static list of items, this powerful section uses Artificial Intelligence to create a personalized showcase of products based on their past purchase history, for each specific customer most likely to be interested in.
The products displayed are chosen by the AI based on two different scenarios:
- For Your Logged-In, Returning Customers: The AI analyzes the customer's purchase history with your platform. It then suggests them products in the "Recommended Products" section for the customer most likely to be interested in.
- For New Visitors or Guests: A new visitor doesn't have an order history, so the AI can't personalize the list yet. Instead of showing random items, the system automatically analyzes the merchant's catalog data to highlight their most popular, bestselling, and top-rated products.
How to enable AI Recommendation: The AI Recommendations can be enabled from the Admin panel. Learn more in the detailed guide.
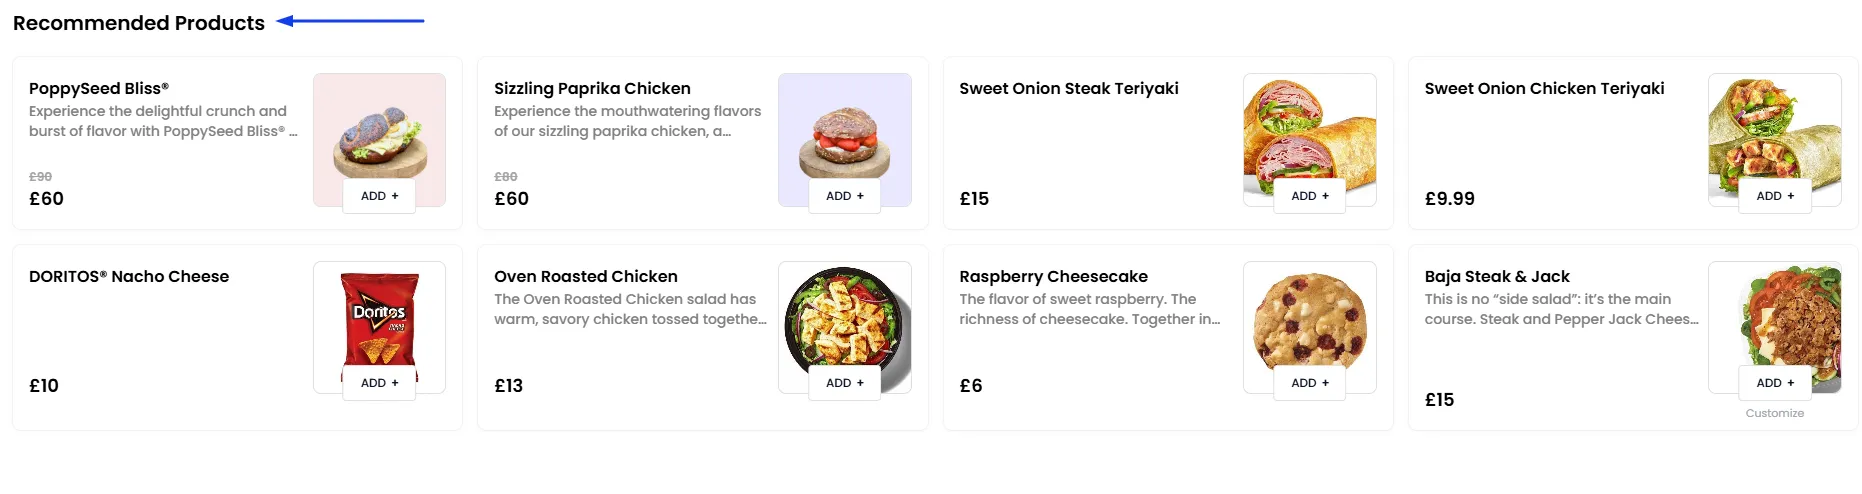
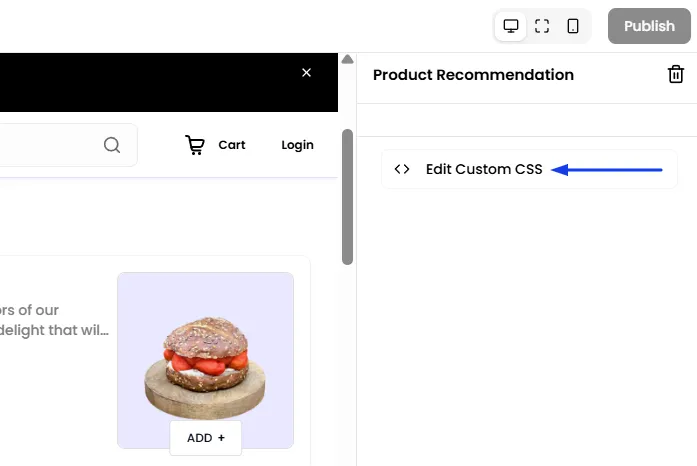
Customizing Sections with CSS: To modify the styling, shape, you can apply Custom CSS to achieve the desired changes, tailoring each section's appearance to your specific needs.
Merchant Banners
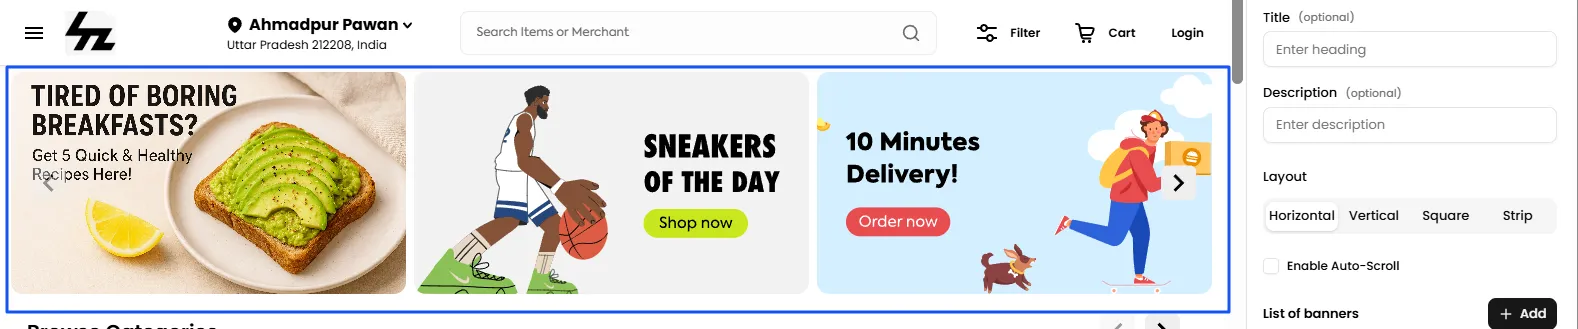
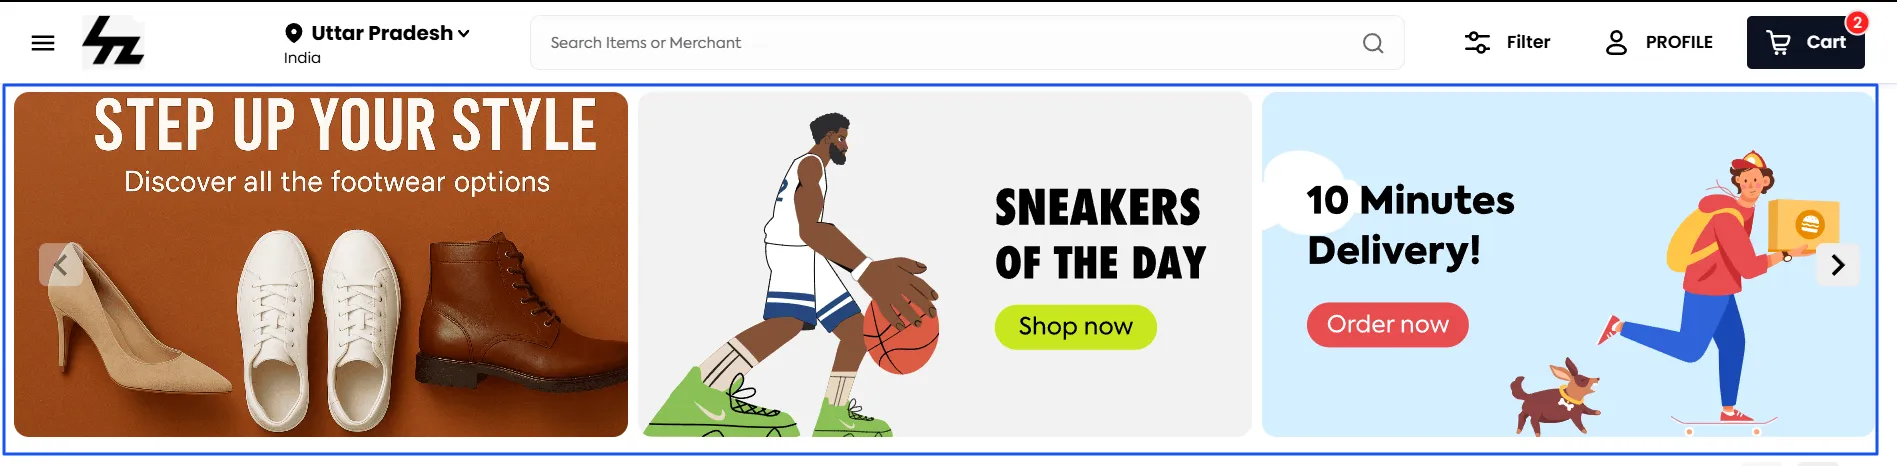
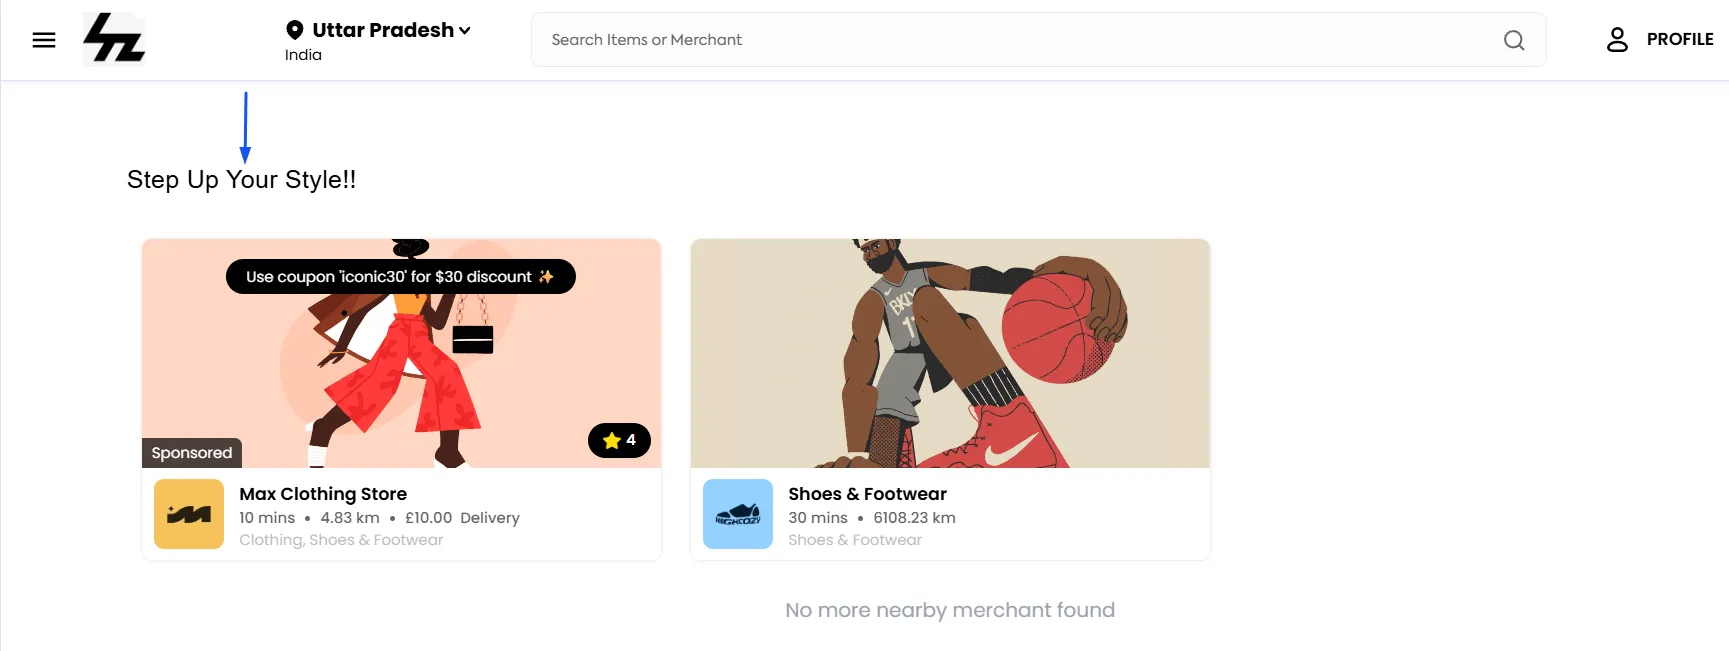
Banners are a versatile tool, designed to grab attention and highlight key promotions. Whether showcasing discounts or linking to external third-party websites, banners offer a dynamic way to engage users. They can also be used to feature ads or redirect customers to merchant categories or store menus for seamless navigation.
How to Configure the Main Banner Section
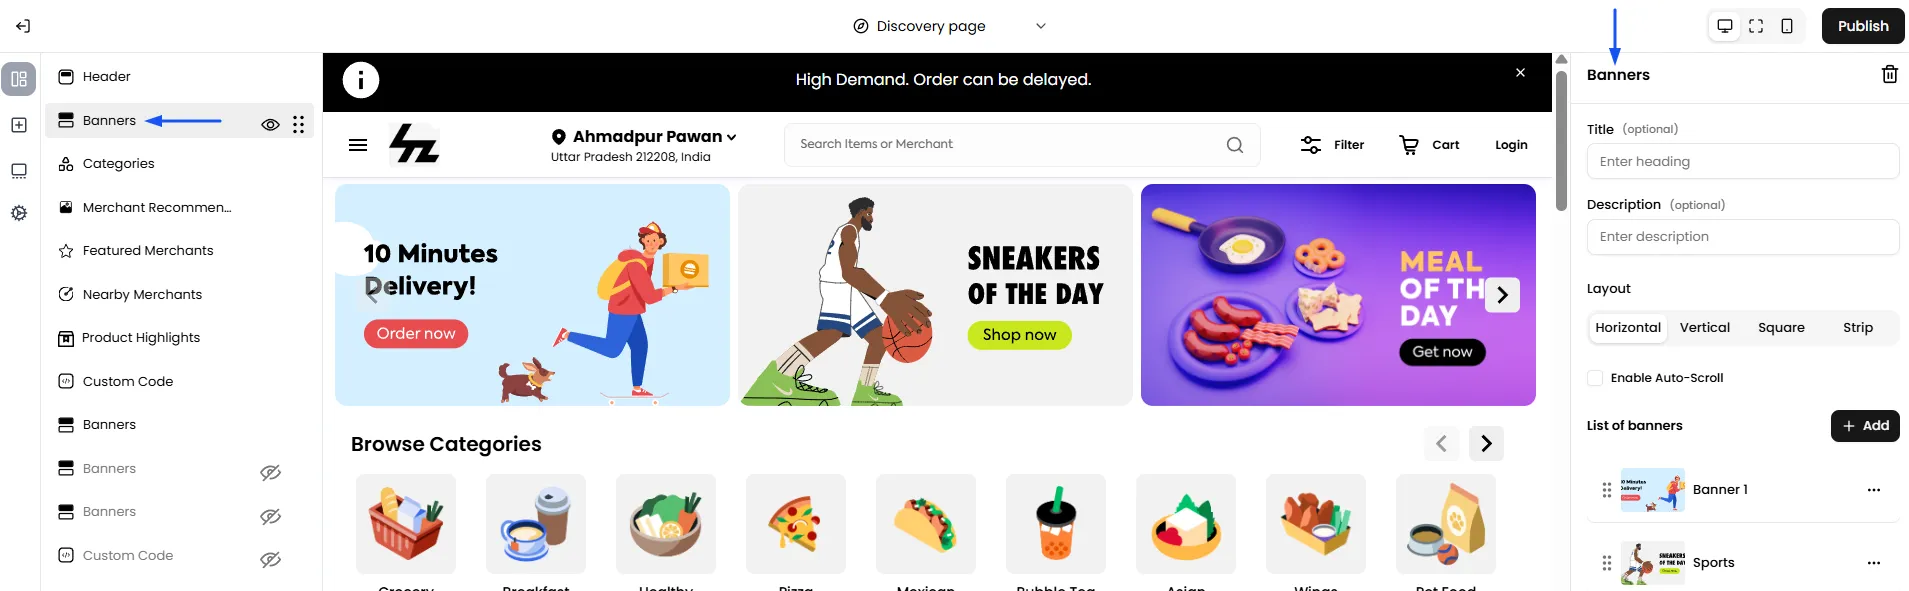
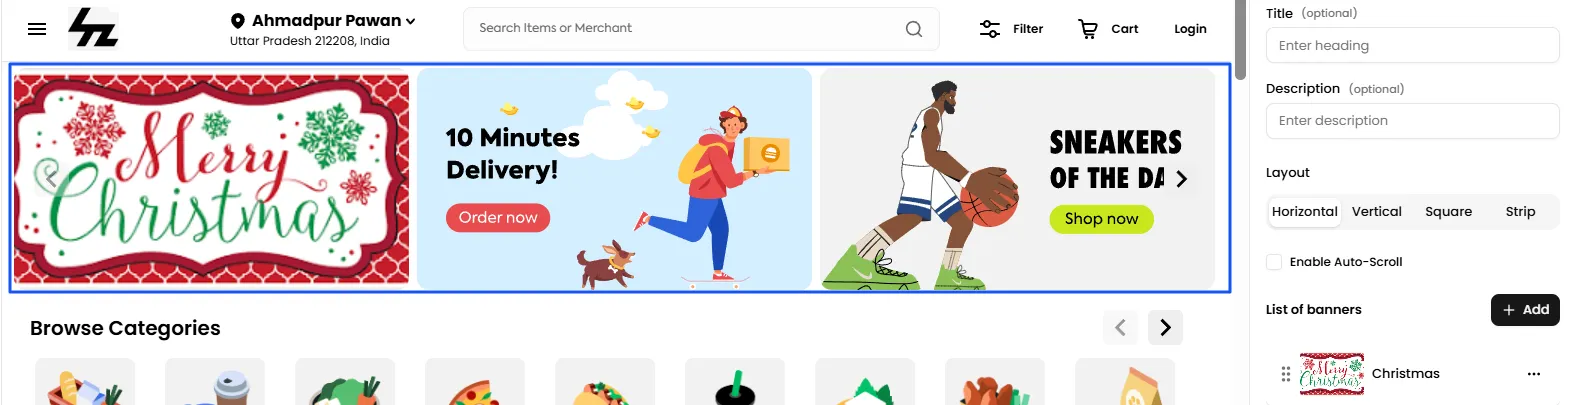
First, click on Banners in the main section list on the left. This opens the control panel for the entire banner area.
Title & Description
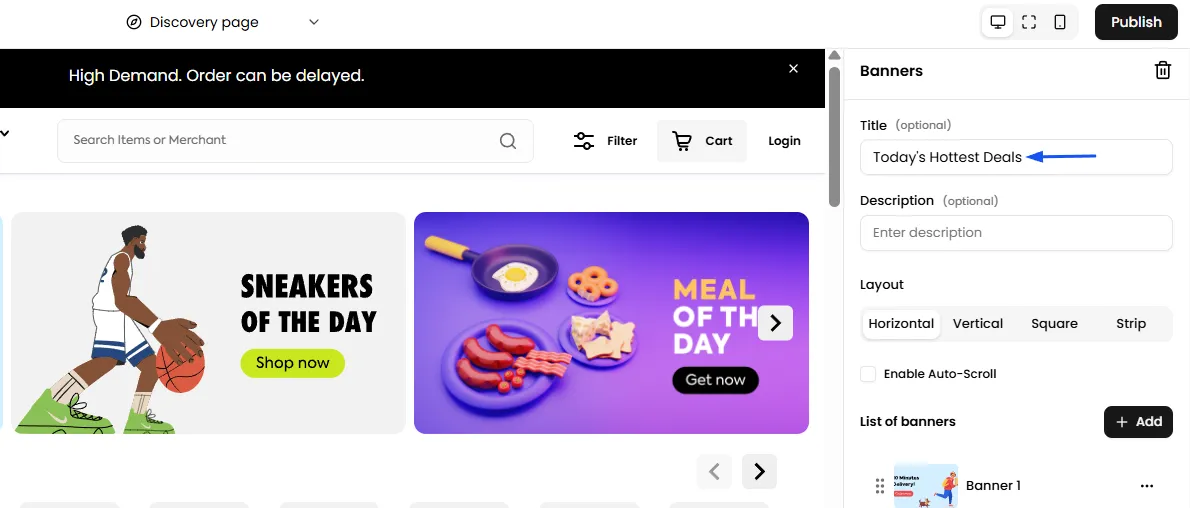
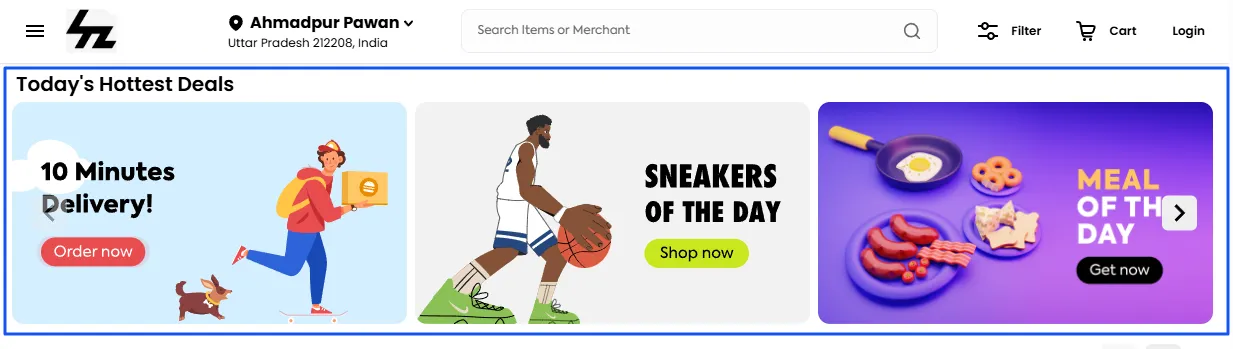
These are optional headings that appear above the banner slideshow on the Merchant Page.
Layout
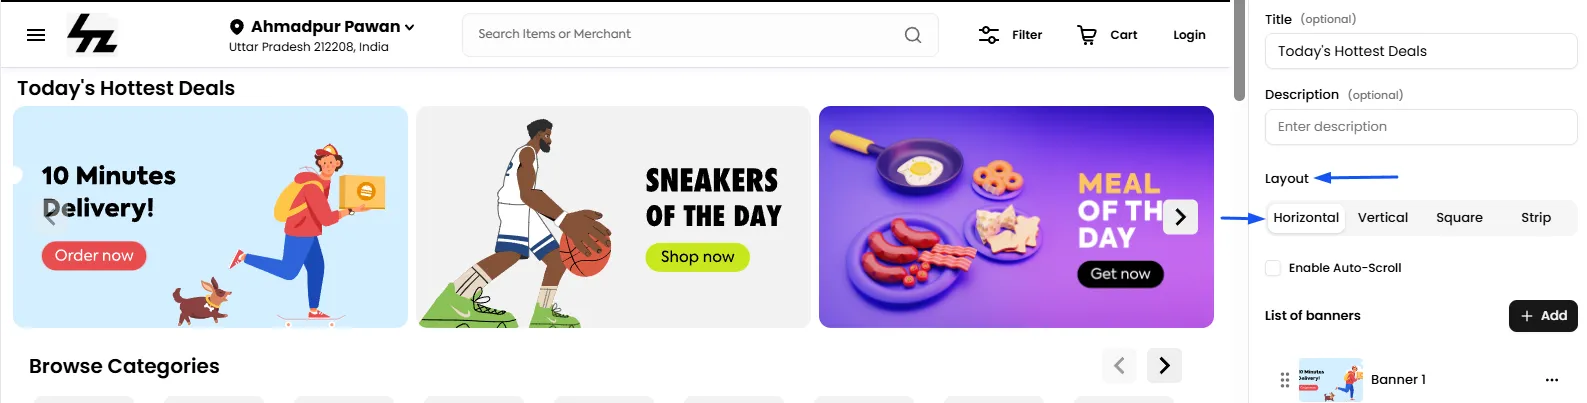
This controls the shape and orientation of your banners. Choose the layout for your banners from four options: Horizontal, Vertical, Square, or Strip, depending on how you want the banners to appear.

Auto-Scroll Banners
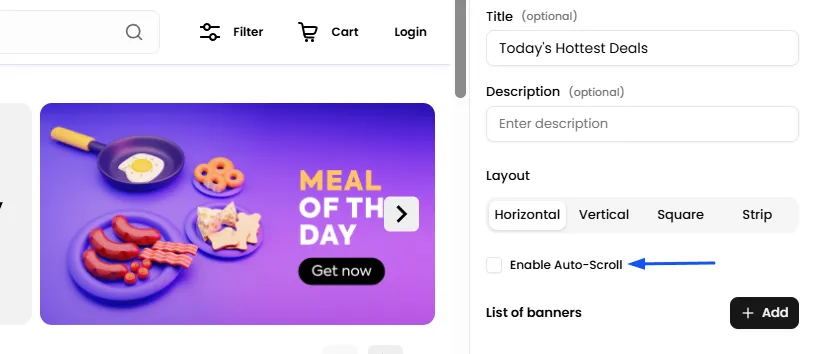
Enable the toggle if you want the banners to scroll automatically, creating a dynamic and engaging user experience.
Banner Upload Checklist
- Shape: Use a widescreen, horizontal (16:9) image.
- File Type: Standard images (PNG, JPEG, GIF), vectors (SVG), or videos (MP4) are supported.
- File Size: Must be under 1 MB.
How to Add and Edit an Individual Banner
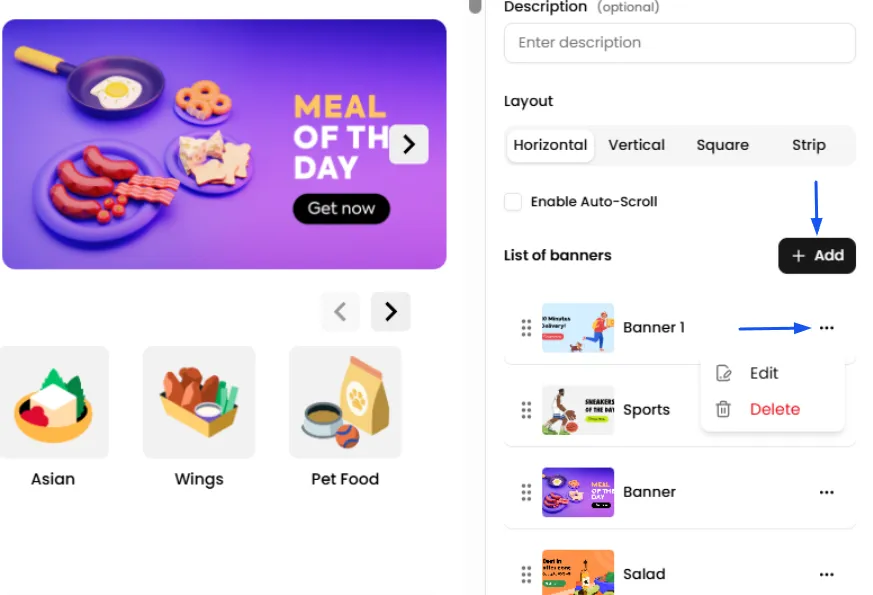
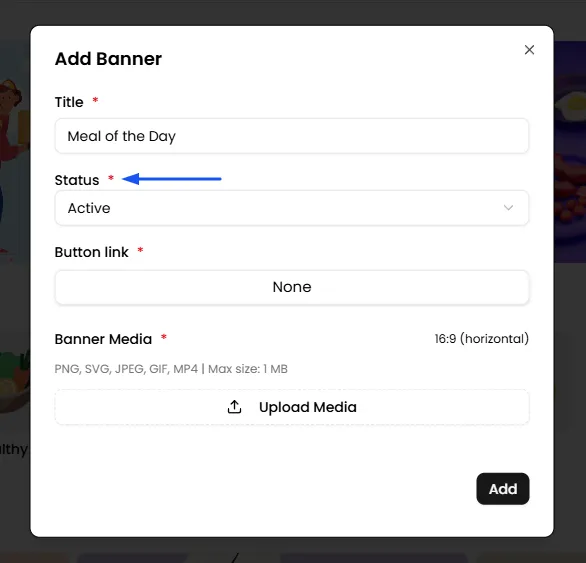
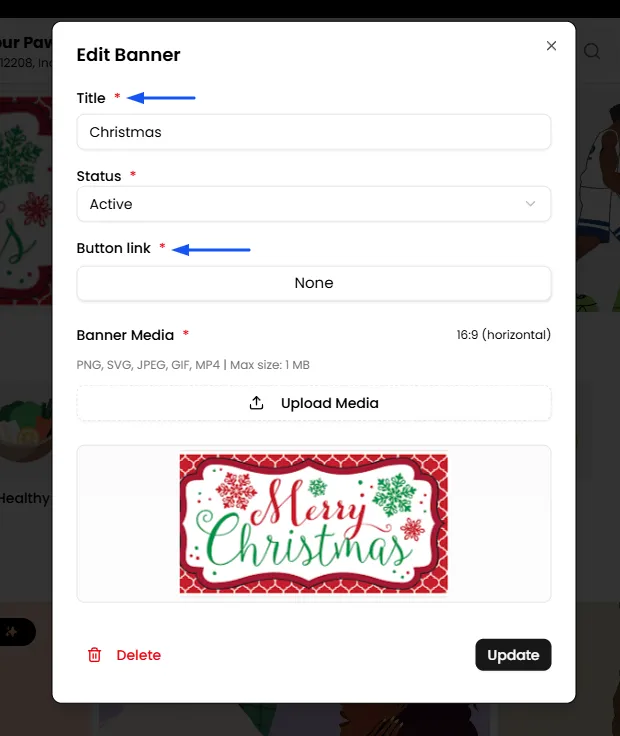
You can either click Add to create a new banner from scratch or edit an existing one.
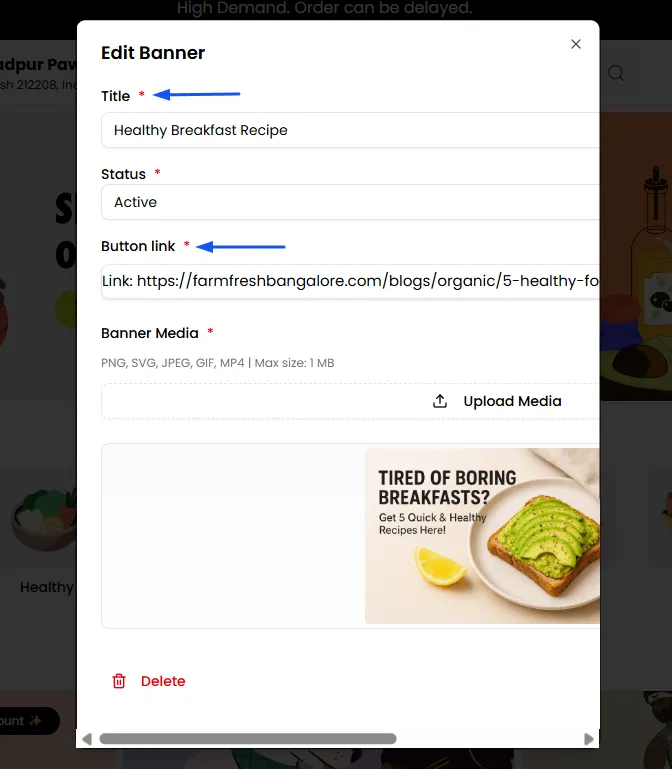
Title: A name for the banner that is for your internal reference only.
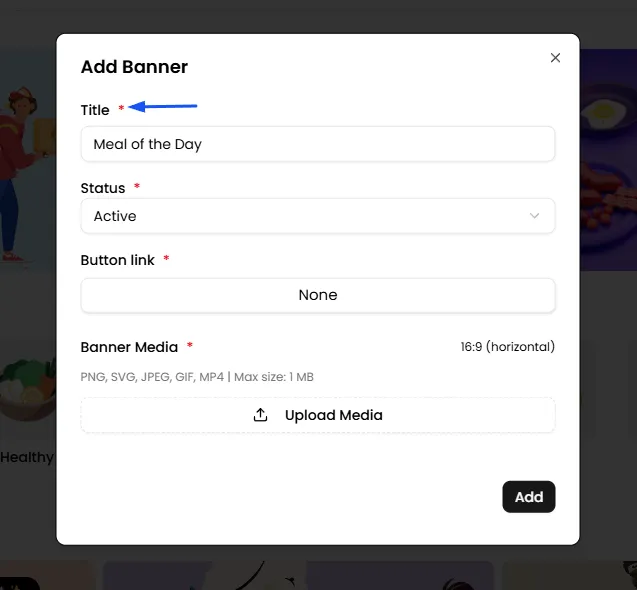
Status: Controls whether the banner is live or hidden.
Button link
This is the most important setting for any banner. It determines what happens when a customer taps on it.
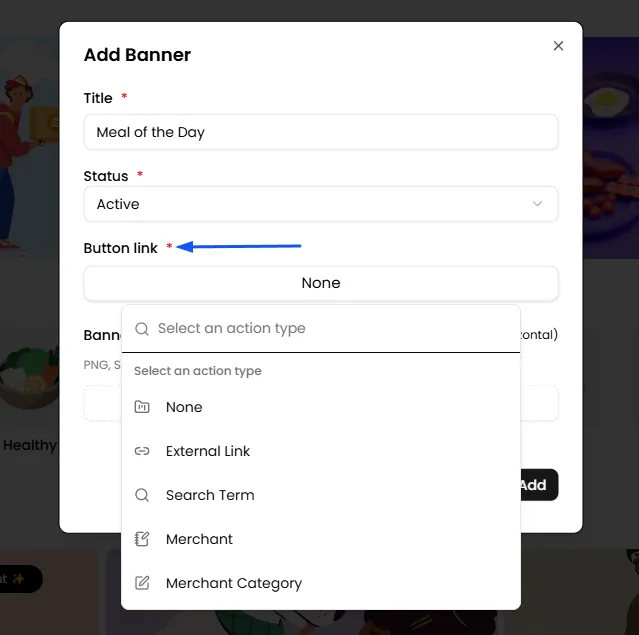
- None: The banner will not be clickable. Solely used for presentation purposes.
- External Link: Sends the customer to a specific webpage outside of your app or website.
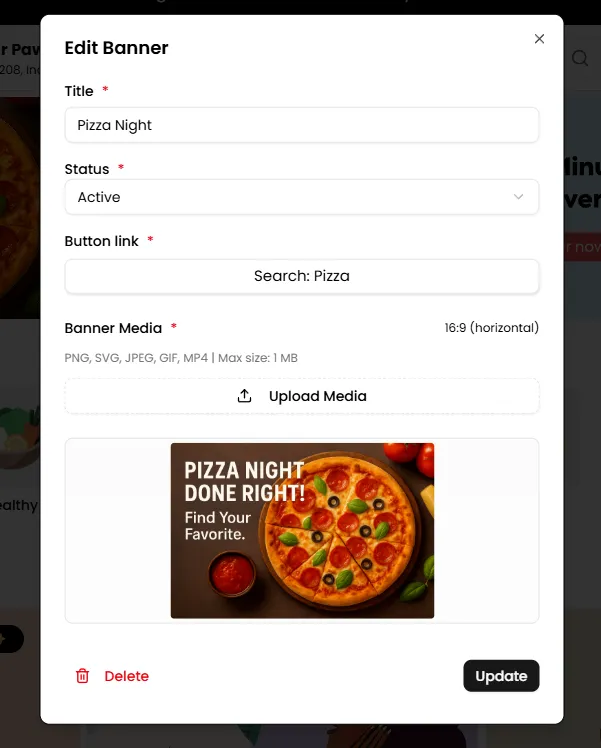
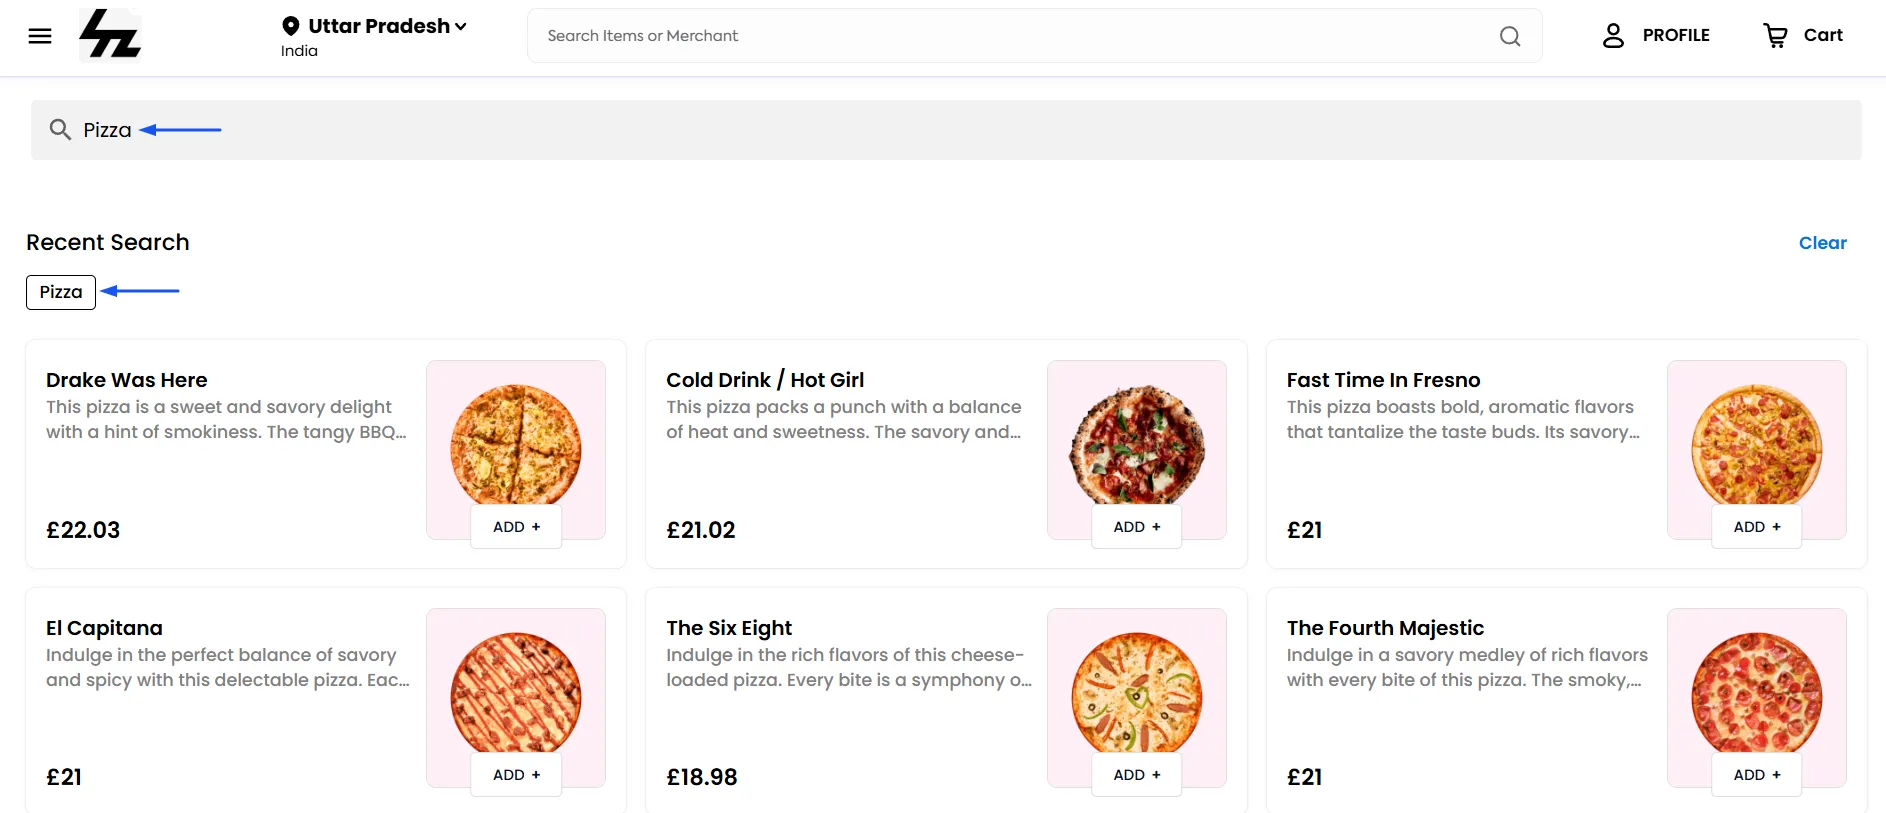
- Search Term: Takes the customer to the search results page for a word or phrase you define.
- Merchant: Takes the customer directly to a specific merchant's storefront.
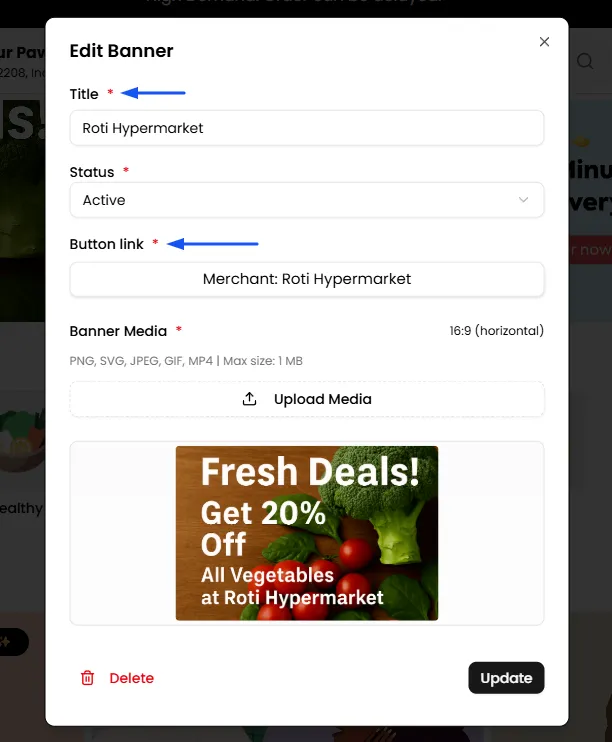
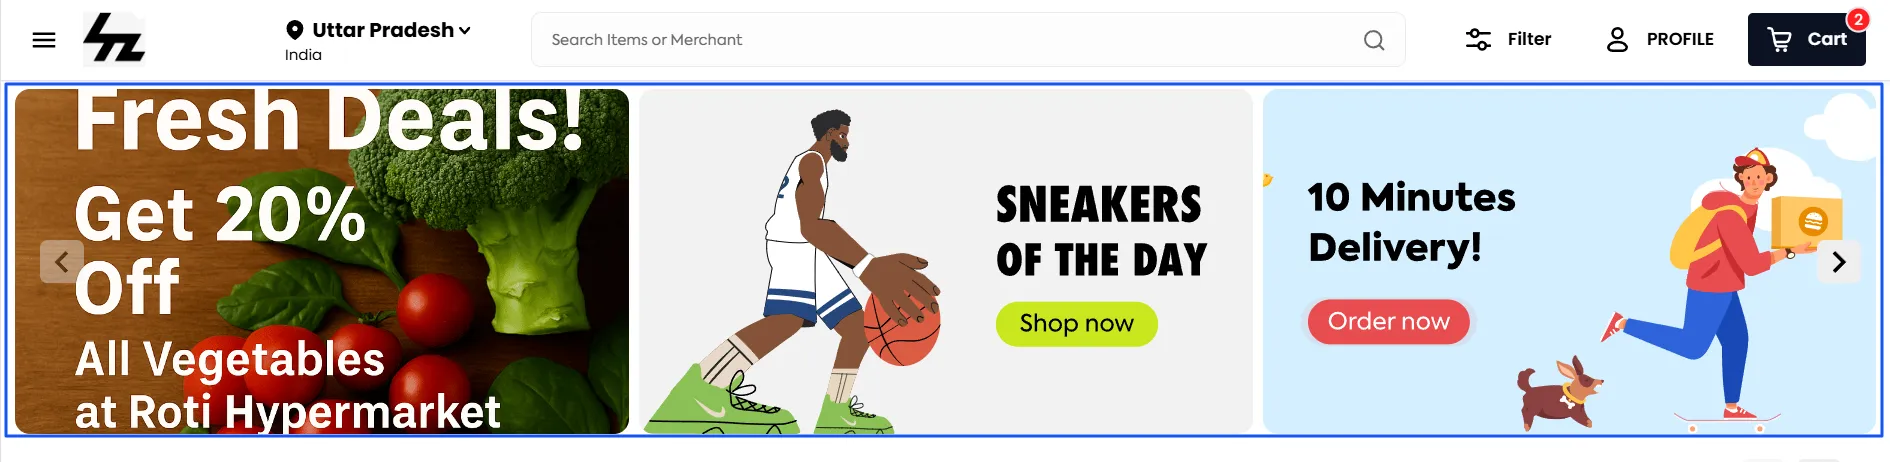
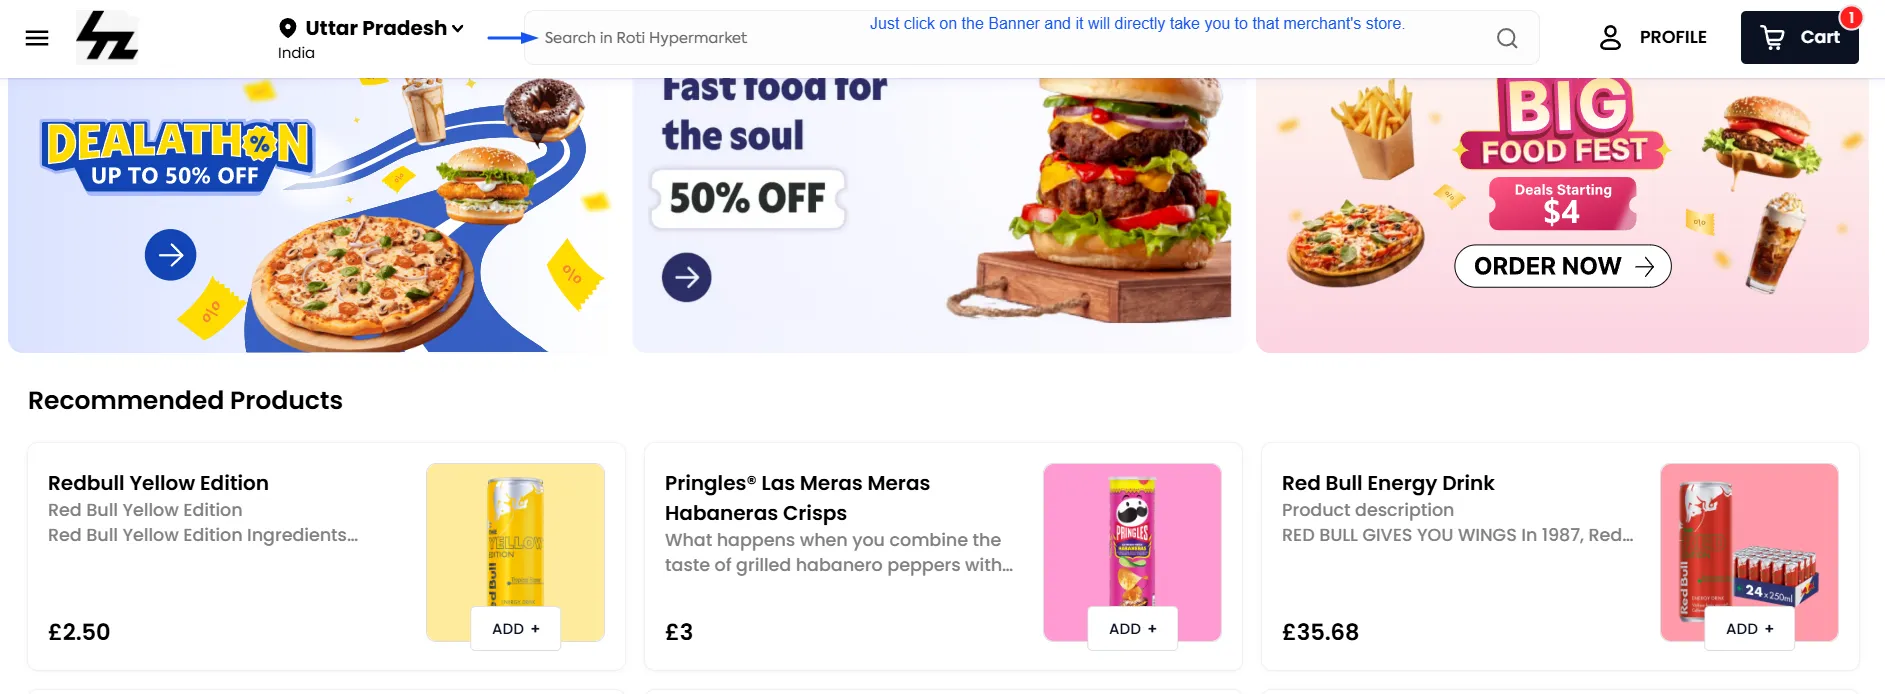
- Merchant Category: Takes the customer to a page showing all merchants that belong to a specific category.
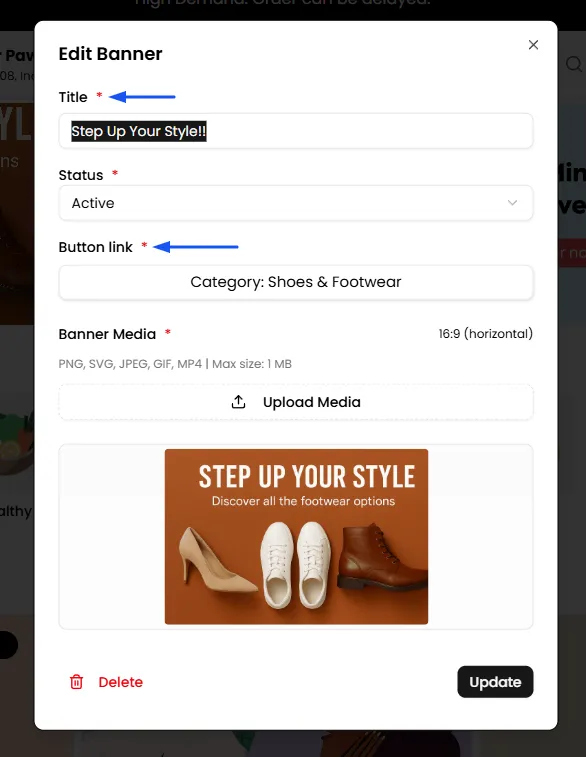
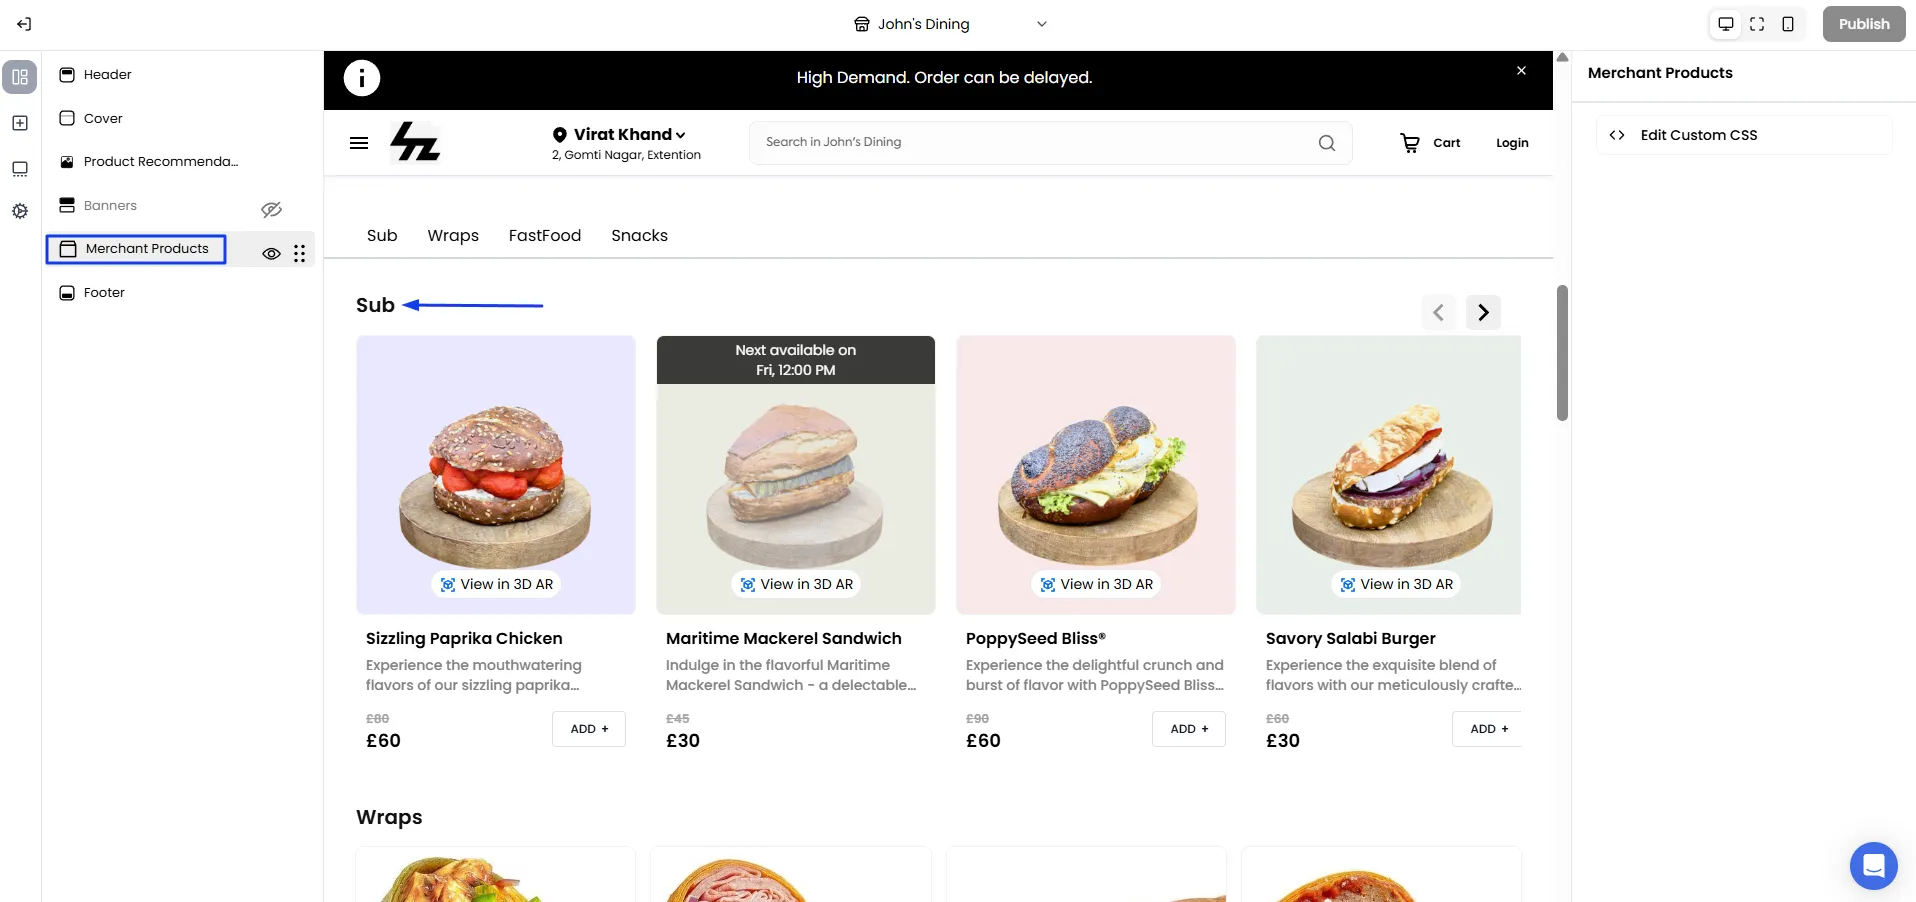
Merchant Products
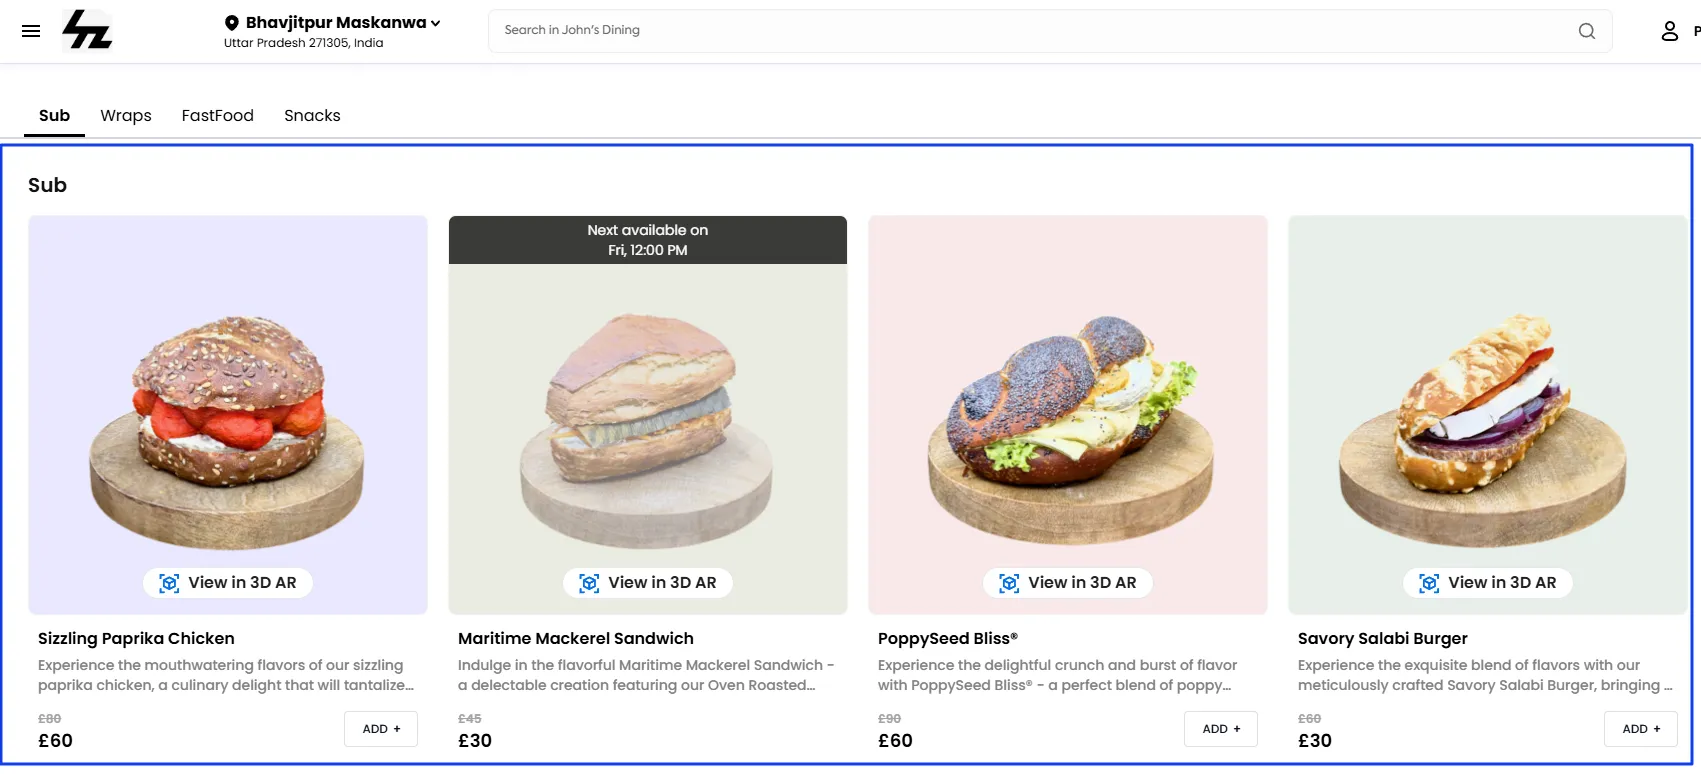
The Merchant Products section is the main body of the store. This is where the merchant's entire catalog is displayed, neatly organized by their own product categories, allowing customers to browse and add items to their cart.
Add Elements
This section enables you to enhance your store by adding extra components, such as banners (to showcase offers), Custom Code (for advanced HTML/CSS changes), Product Highlights (to feature key products), and Image with Text blocks (for visual storytelling).
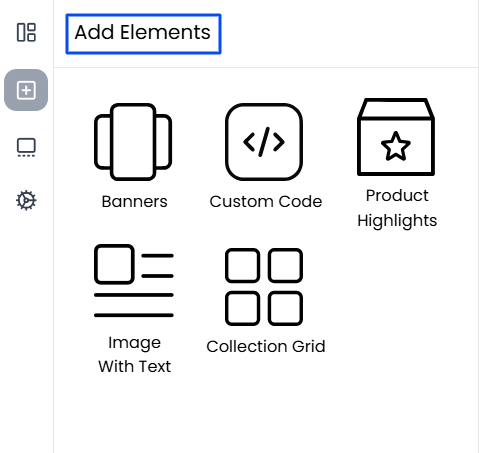
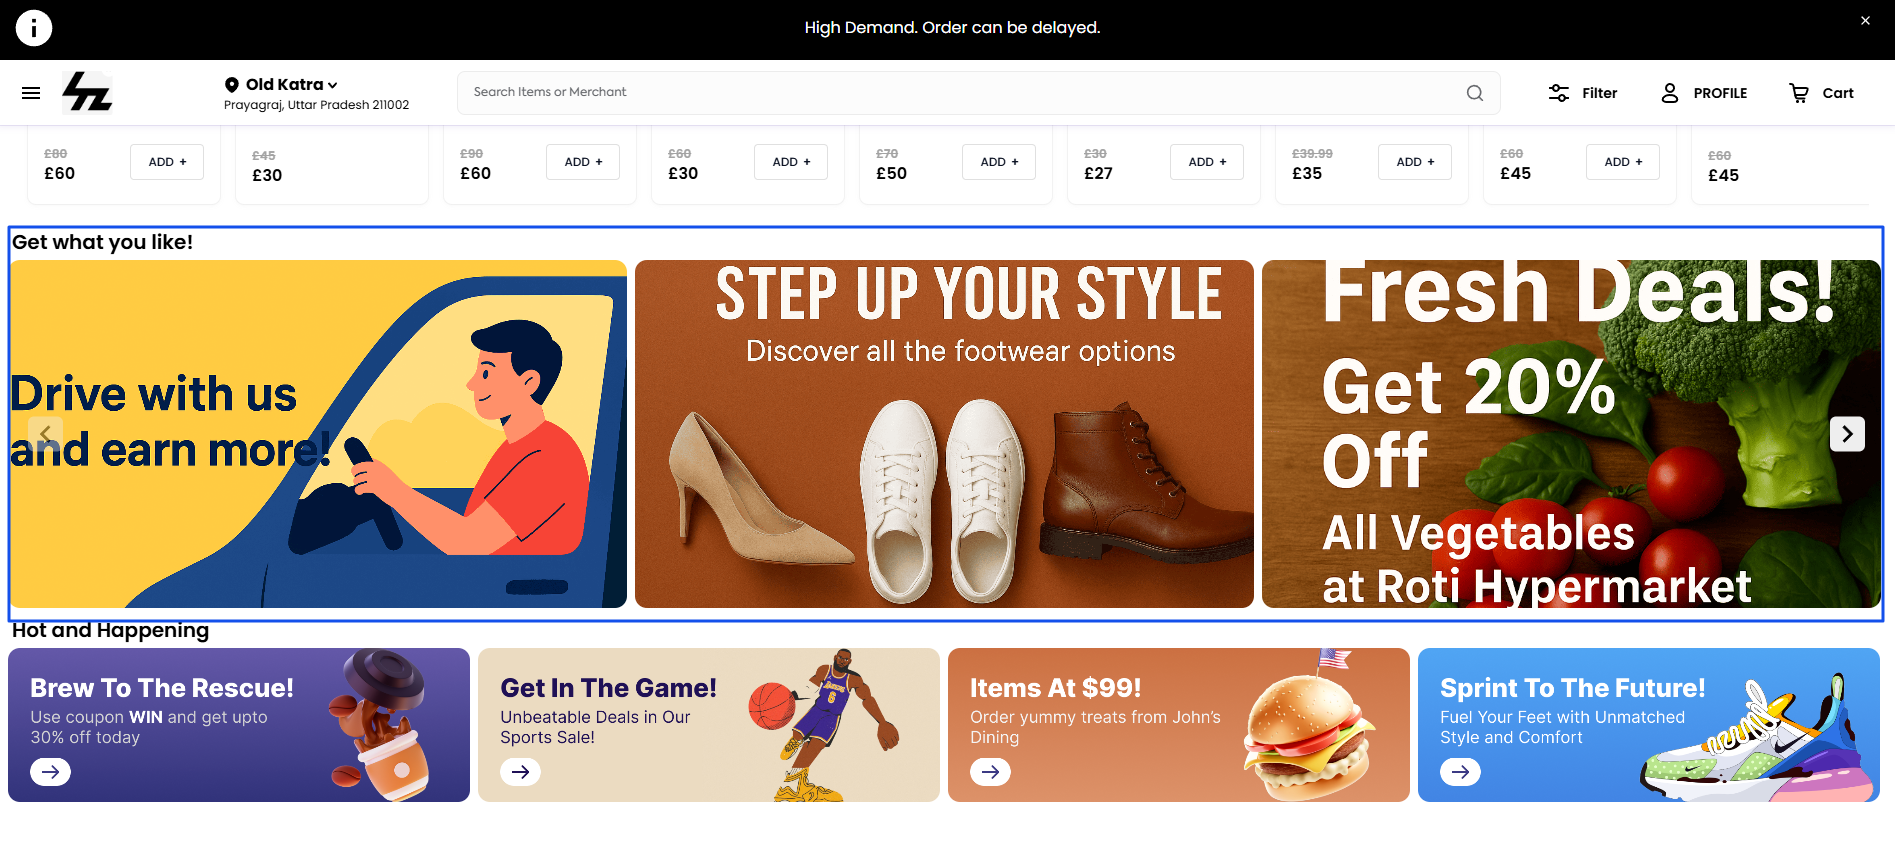
Banners
This adds a new, independent "Banners" section to your page. The ability to add more banner sections allows you to place targeted advertisements and promotions at different points in the customer's browsing journey. Learn more in the detailed guide.
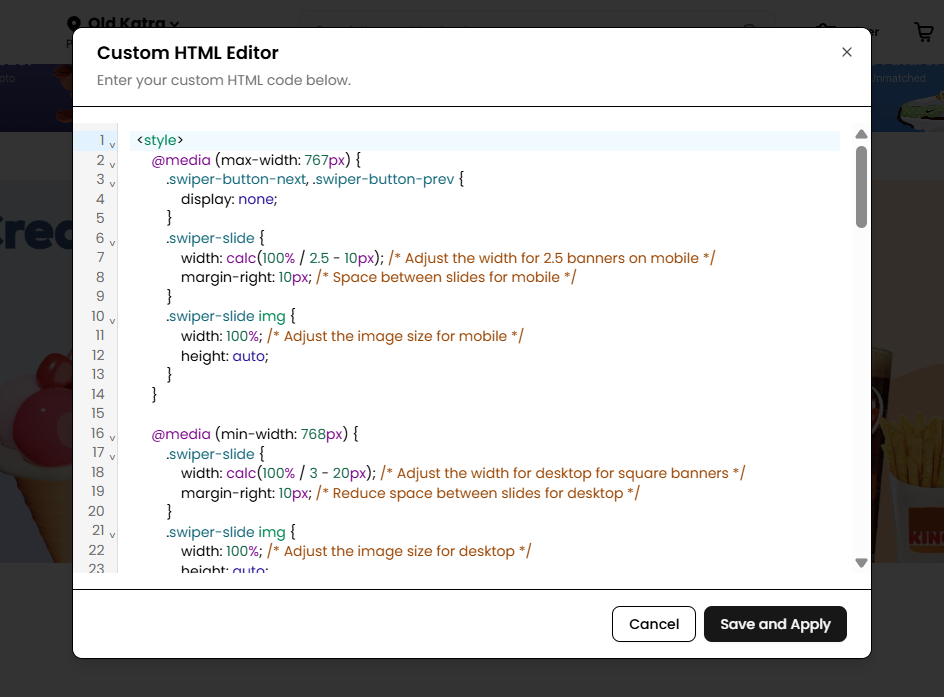
Custom Code
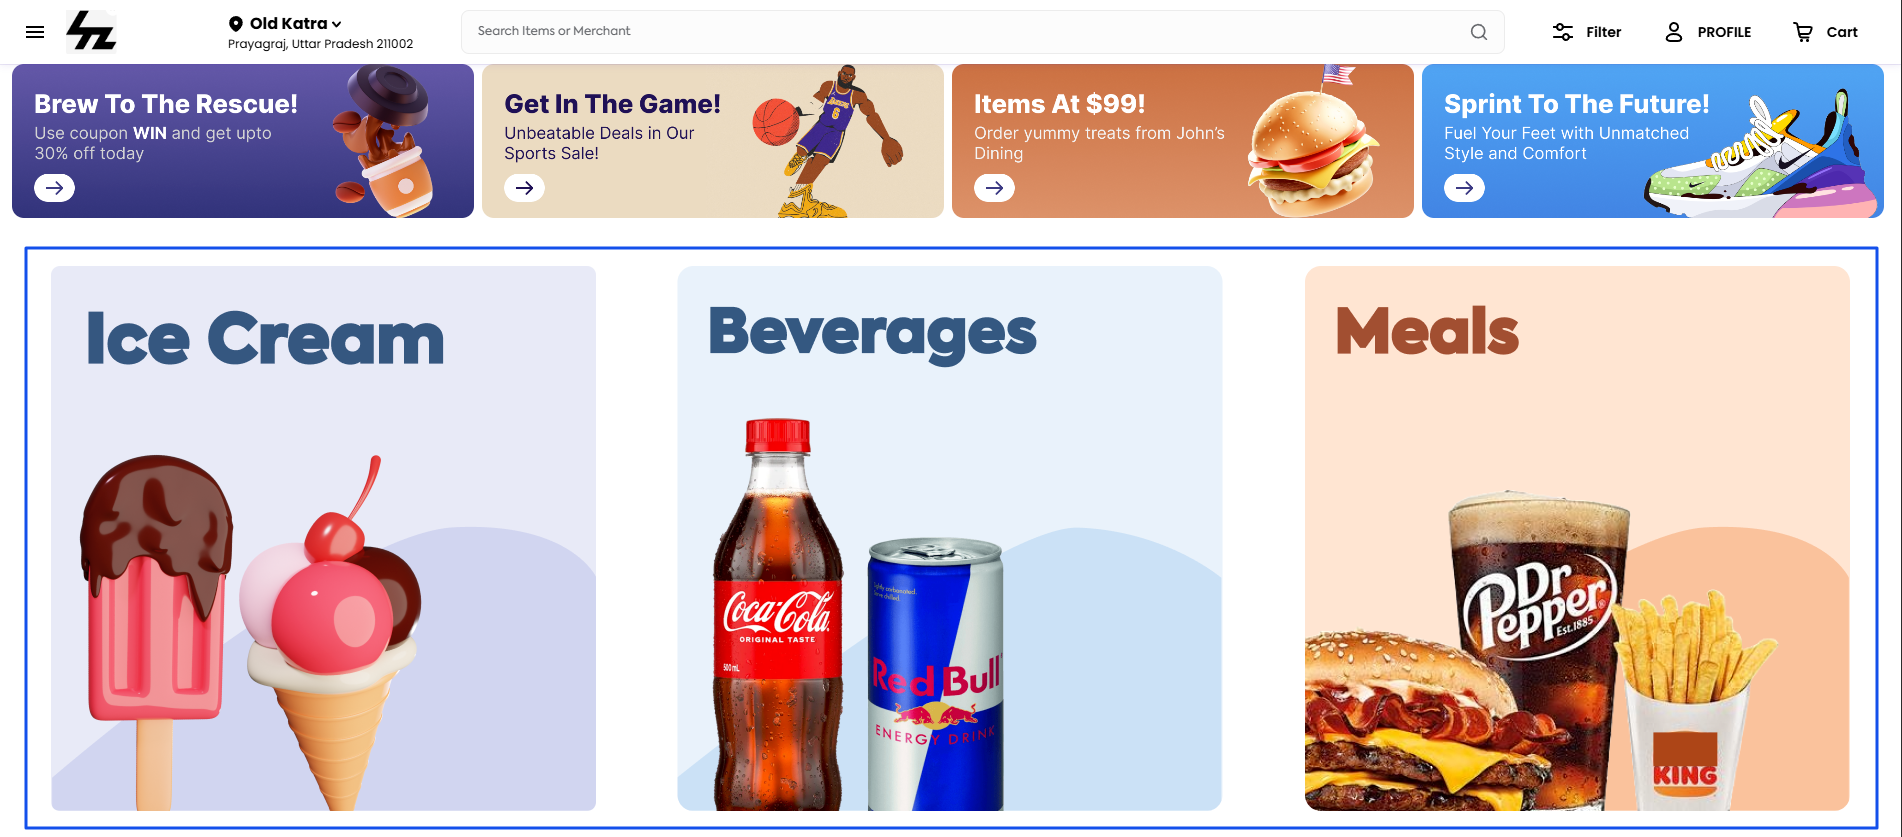
This adds a blank section where a user can insert custom HTML and CSS code to build a unique content block from scratch, such as enlarging the category icons or changing their style to match your design. Learn more in the detailed guide.
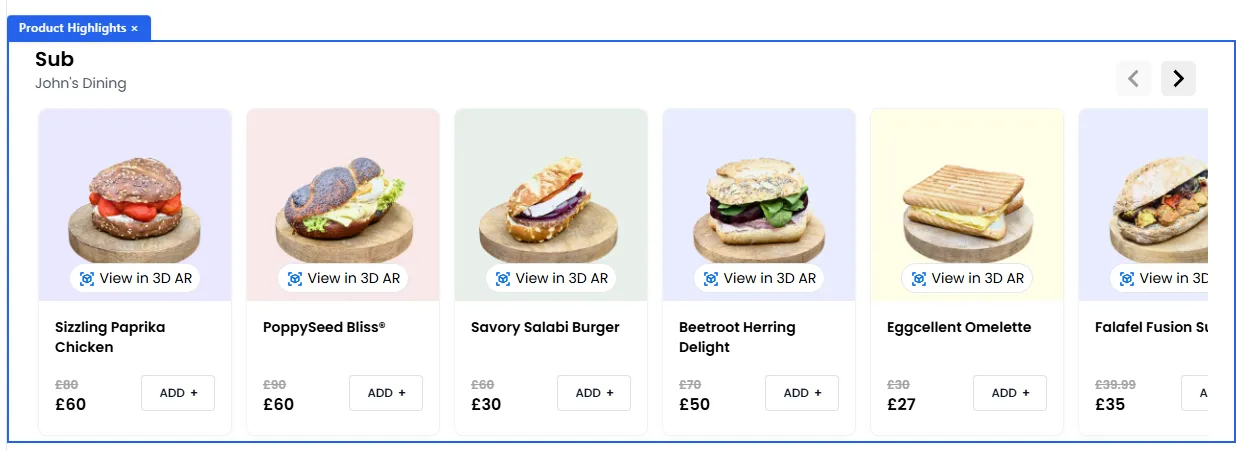
Product Highlights
The Product Highlights feature adds a curated, swipeable list of specific products from a single, designated merchant. It allows you to shift the focus from a store to its specific products. Learn more in the detailed guide.
Collection Grid
Once you select the "Collection Grid" feature from the Elements list, it will appear in the section stack. This section is designed to create main categories and link subcategories under them, making it particularly useful for Grocery, Pharmacy, or stores with a large number of items. Learn more in the detailed guide.
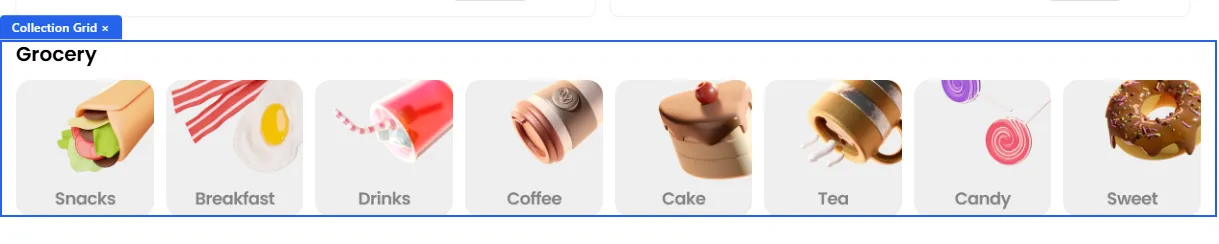
Image With Text
A simple but incredibly versatile element that creates a professional-looking content block with an image on one side and a heading and text on the other. It's perfect for breaking up a long page of products and merchants with engaging storytelling. Learn more in the detailed guide.