Studio
The Studio feature makes it easier to create professional, high-quality product imagery without requiring design skills or external image-editing tools. With Studio, you can use AI to generate completely new images from a simple prompt or enhance existing product images from a merchant's catalog. This makes it easier to create premium product visuals, improve the presentation of your catalog, and create images that better match your brand or campaign. Whether you want to place a product in a lifestyle setting, create a clean studio-style background, improve lighting, or give an existing image a more premium appearance, Studio lets you do this directly.
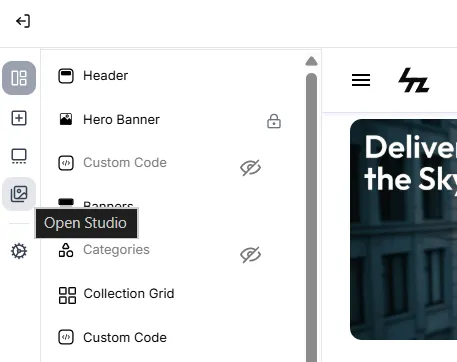
Accessing Studio
- From the Admin Panel, go to Theme Builder and navigate to Studio from the left-hand menu.
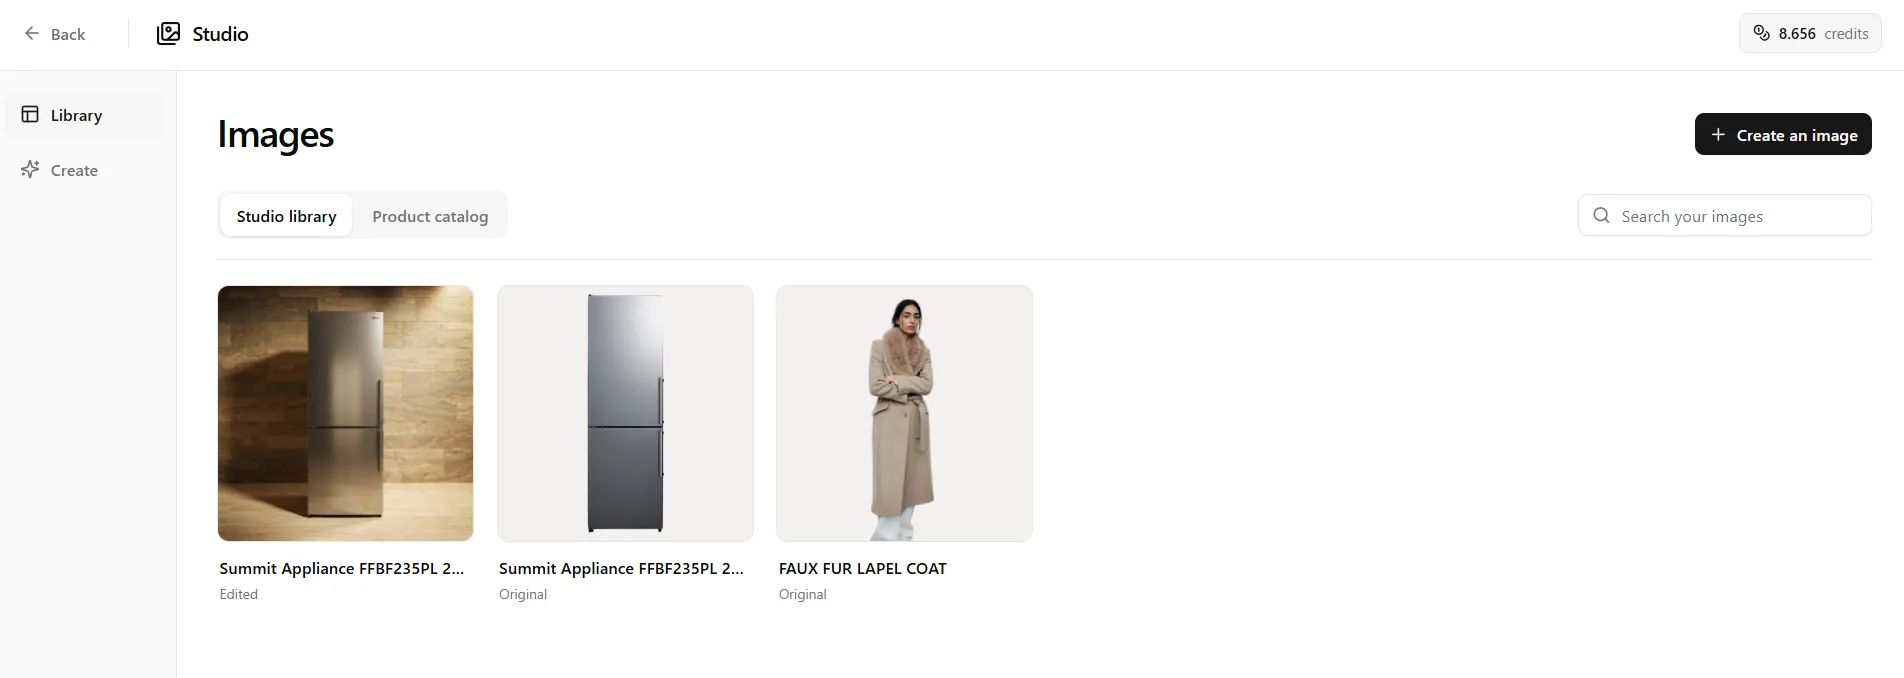
- The Studio Library displays the images that have already been generated or added to the library.
- Use the Product Catalog tab to browse product images available for your merchants.
Note: Studio is accessible exclusively to Admin users.
Studio Library and Product Catalog
Studio provides two main ways to manage images:
Studio Library
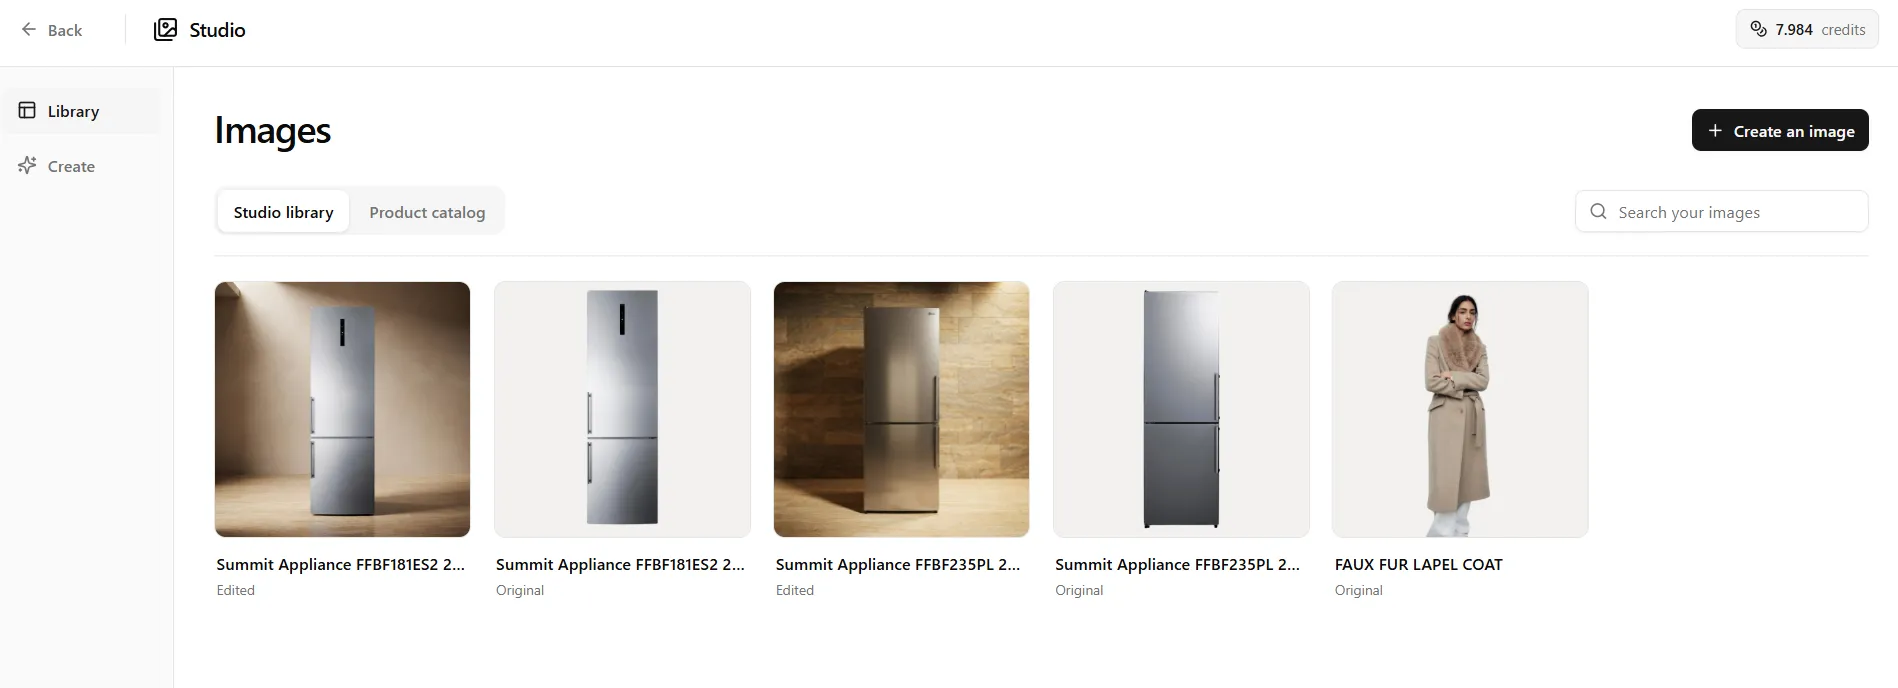
The Studio Library contains images generated or managed through Studio. You can use the library to view and access your generated images.
Product Catalog
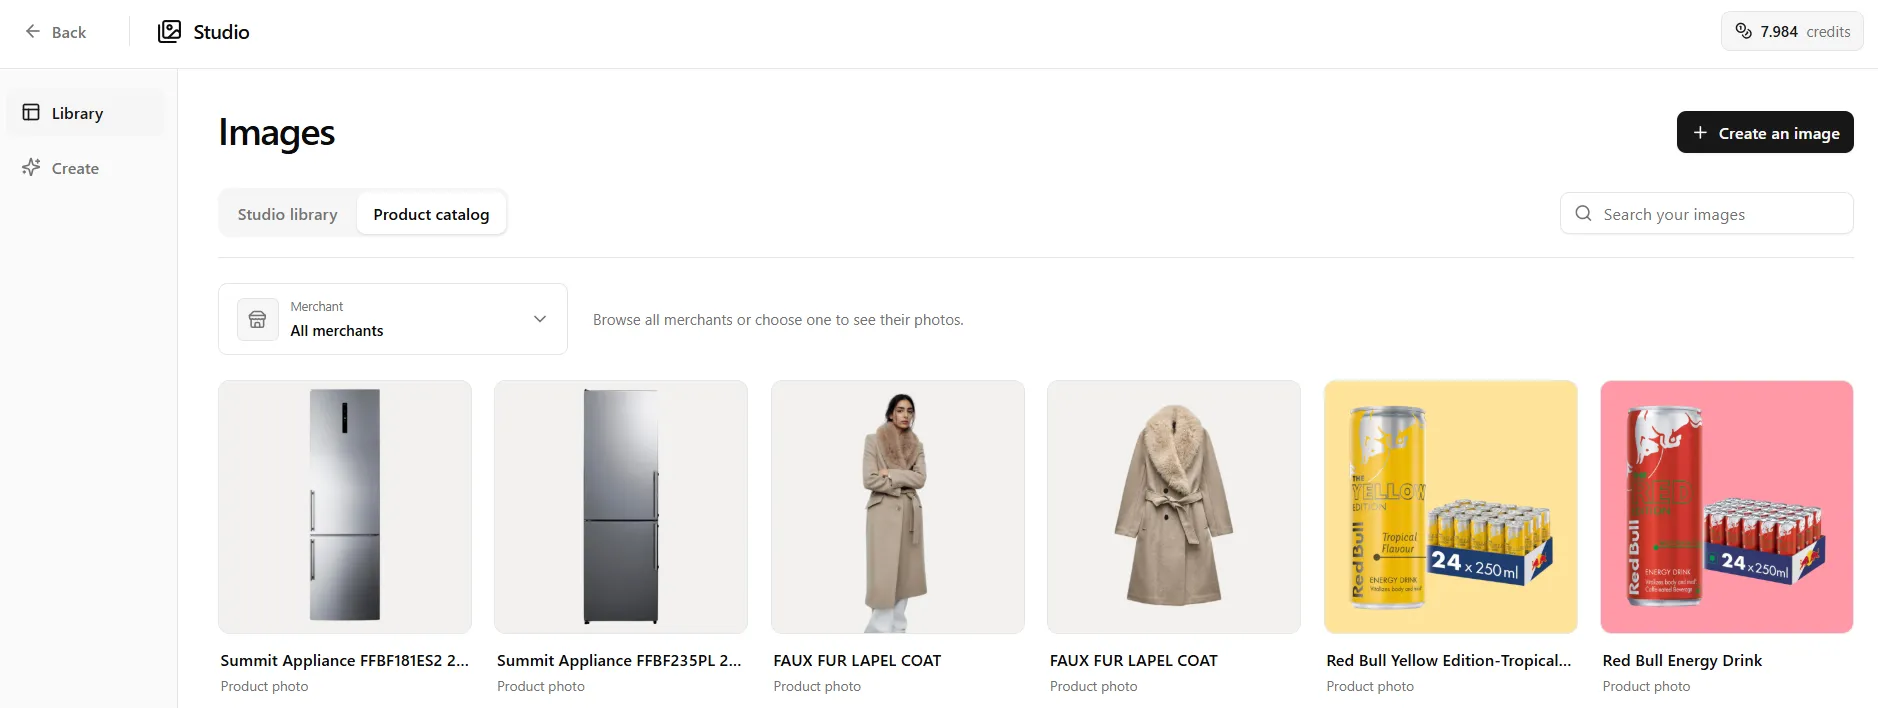
The Product Catalog allows you to browse product images by merchant. This is useful when you want to select an existing product image and create an enhanced version of it.
Generating a New Image
You can create a completely new image without selecting an existing product image.
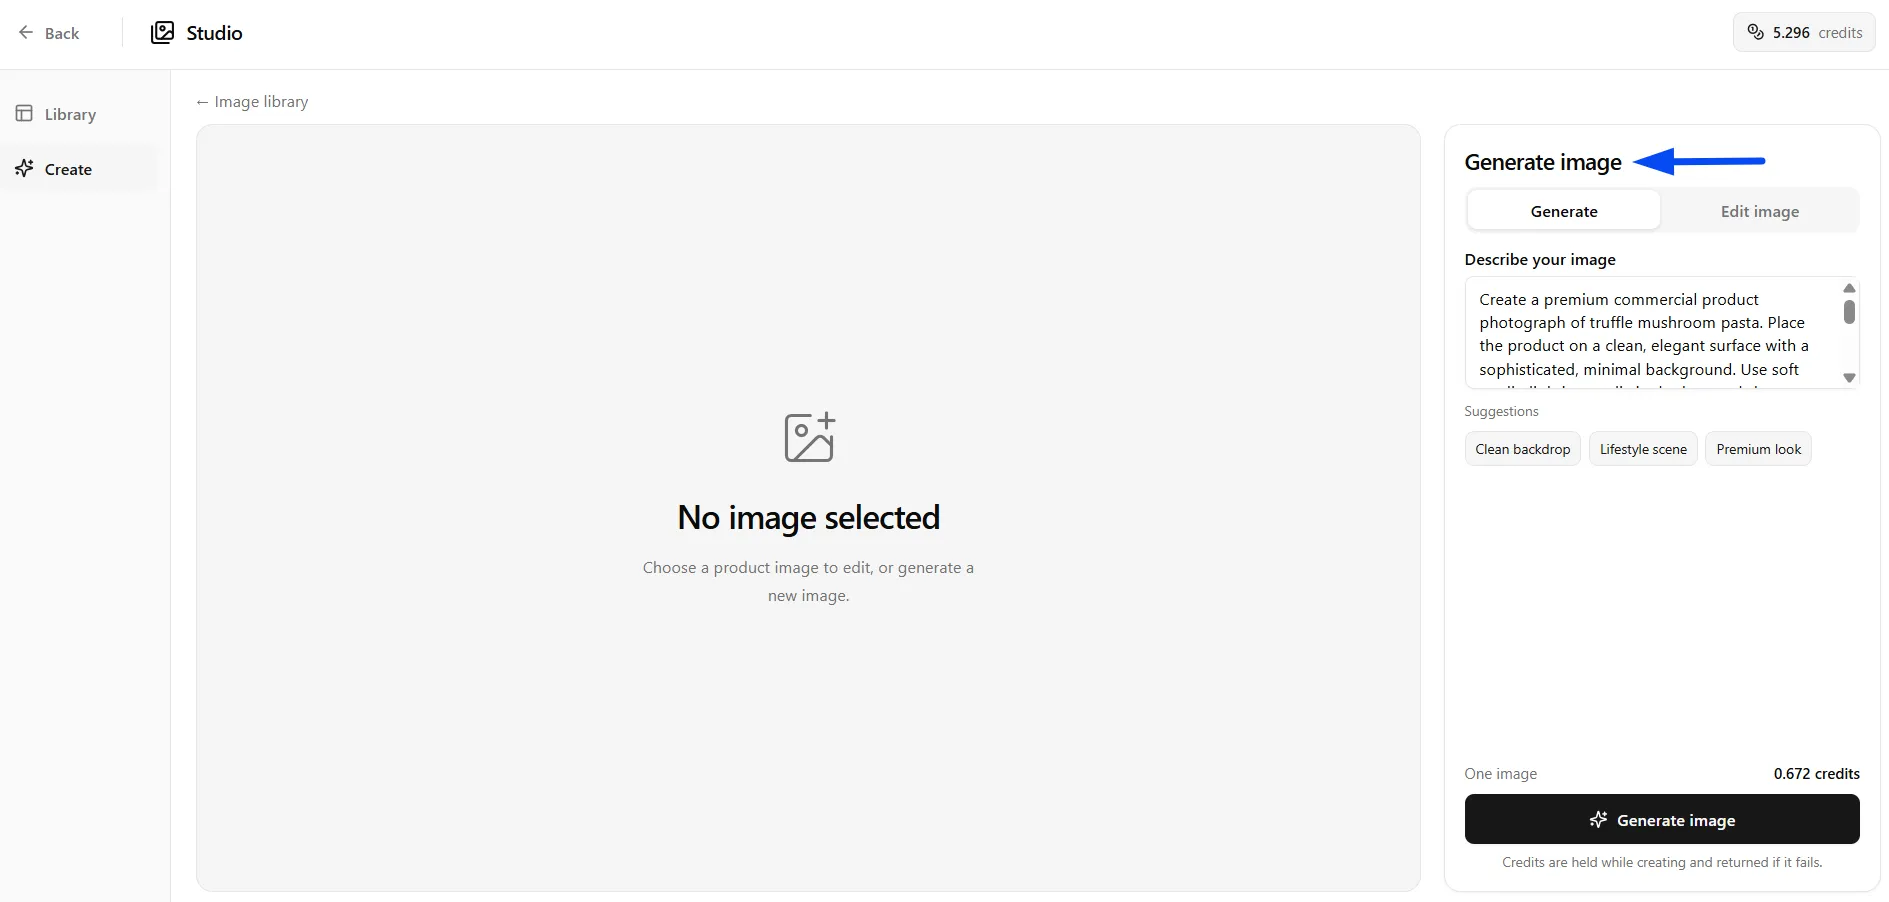
- Open Studio and click on the Create option to create an image.
- Enter a prompt describing the image you want to create.
- You can use the suggested options, such as Clean backdrop, Lifestyle scene, or Premium look, when prompting to create an image.
- Once the prompt is defined, you can then click on Generate image.
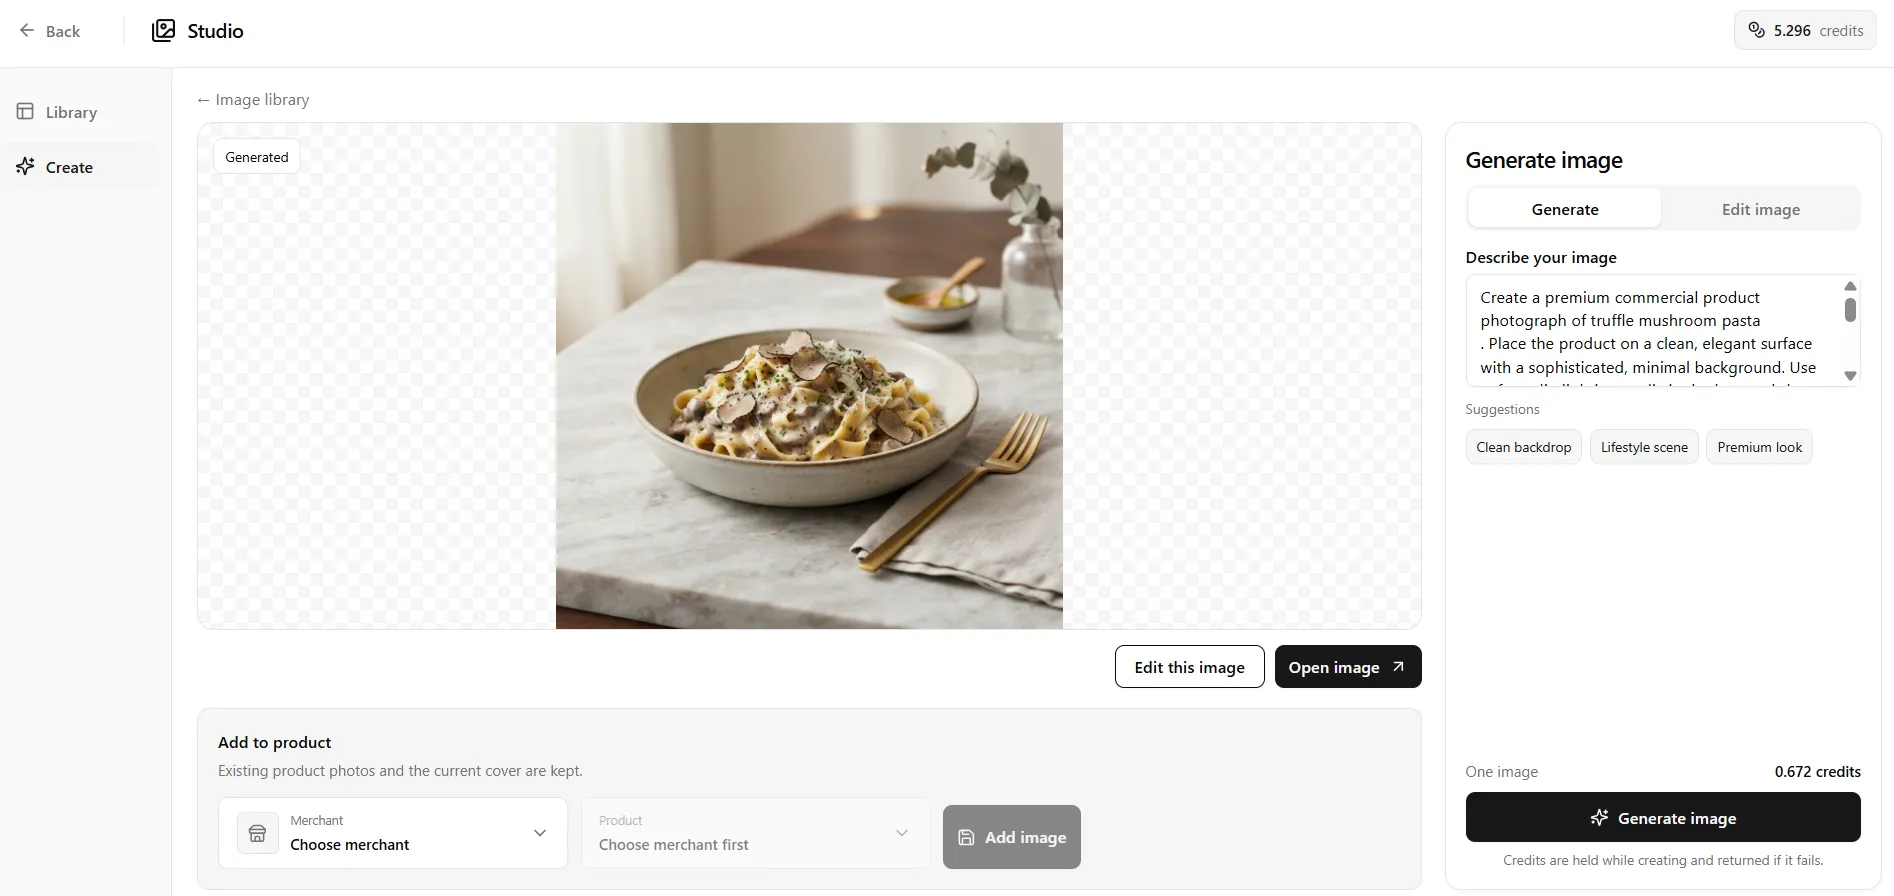
Once the image is generated, you can preview it and use it as required.
Note: Creating or editing an image costs approximately 0.66 credits. The required credits are held while the image is being generated and are automatically returned if the generation fails.
Note: Every account receives $10 worth of complimentary credits. Once the complimentary credits are exhausted, you can purchase additional credits as needed.
Editing an Existing Product Image
Studio also allows you to enhance images that are already available in a merchant's product catalog.
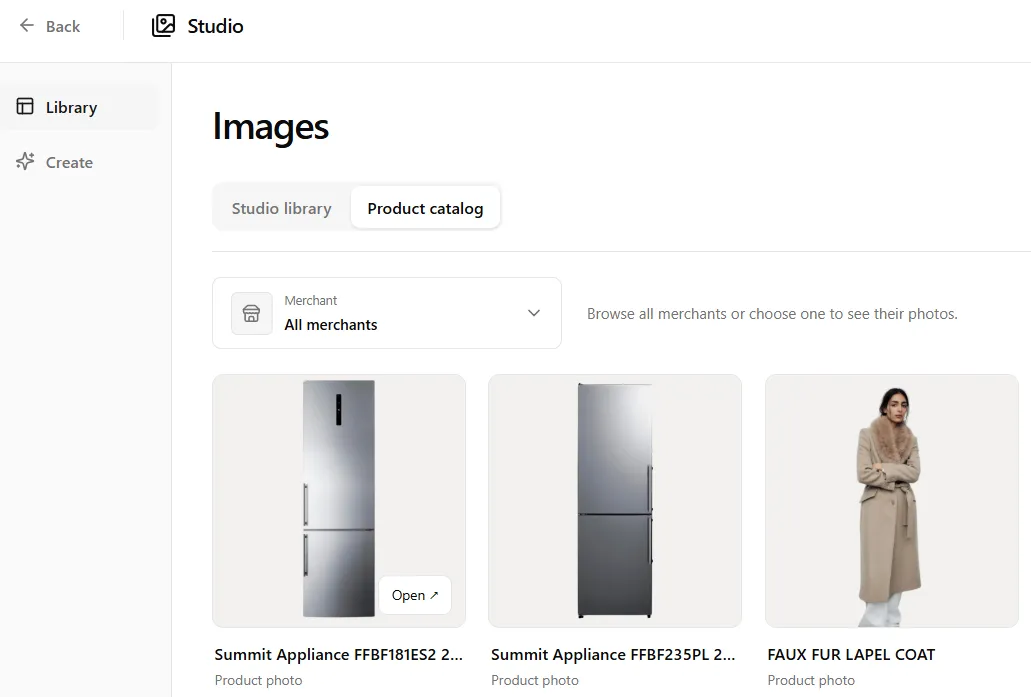
- Open Studio and select the Product catalog tab.
- Select the required Merchant or choose any of the products from all merchants
- Browse and select the product image you want to enhance.
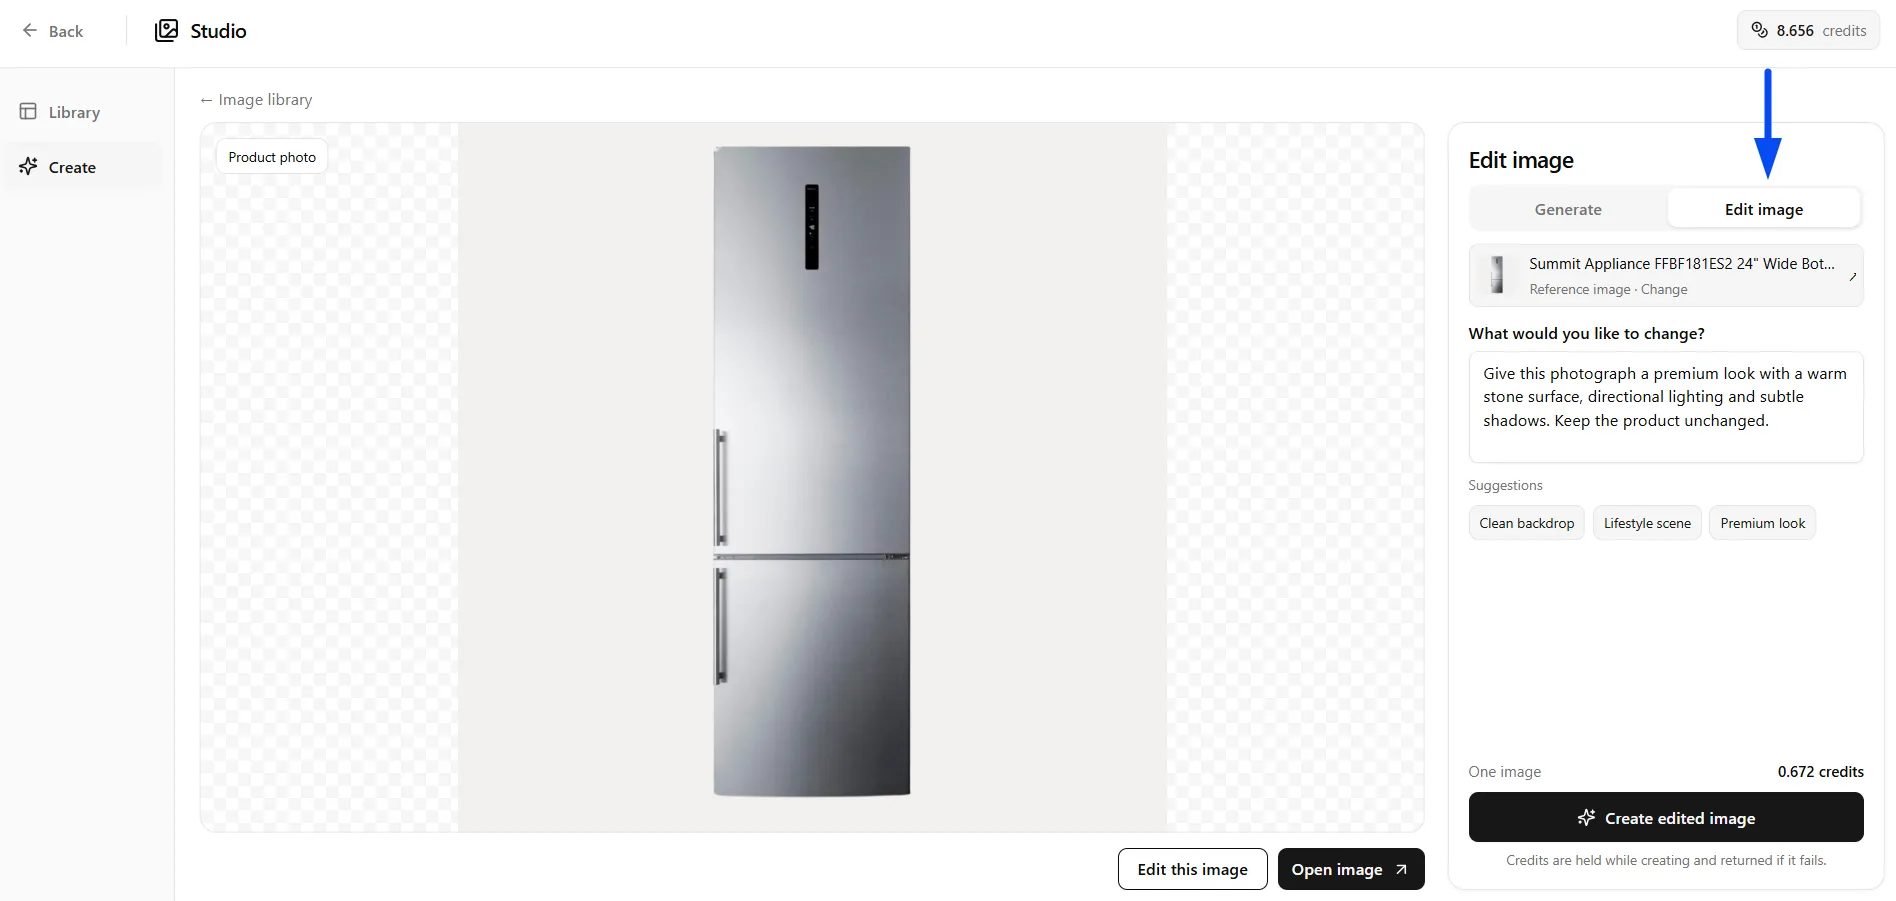
- Click on the image and open it for editing.
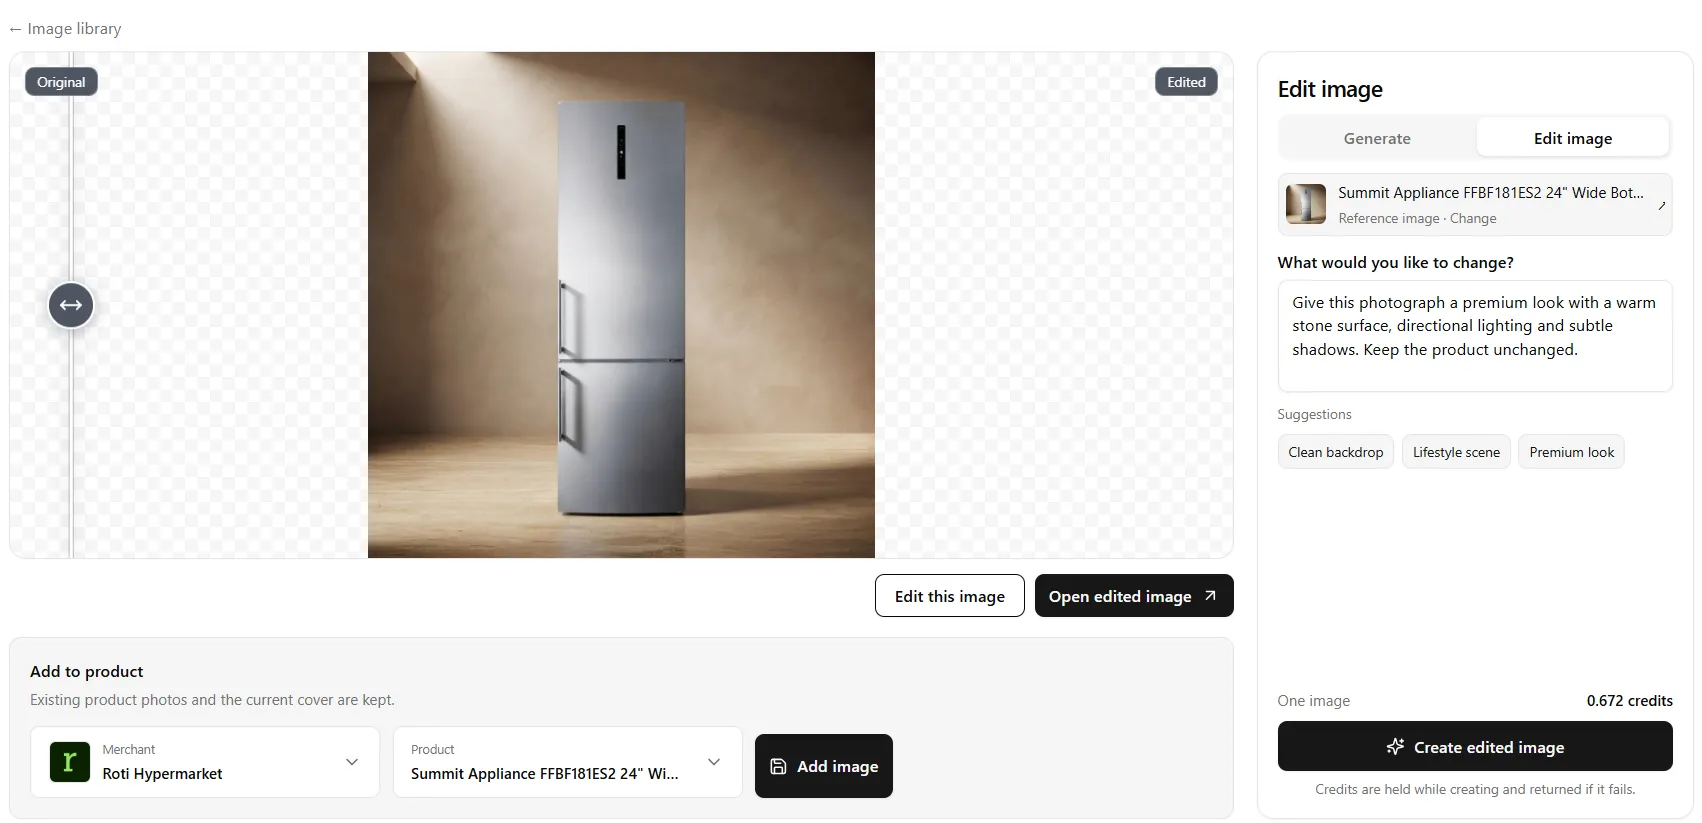
- You can then refine it via the prompt and create the edited image.
- Once the image is created, it will be automatically saved to the Studio Library, where you can use it later, or you can also directly add it to a merchant’s product.
Create a 3D Model from an Image
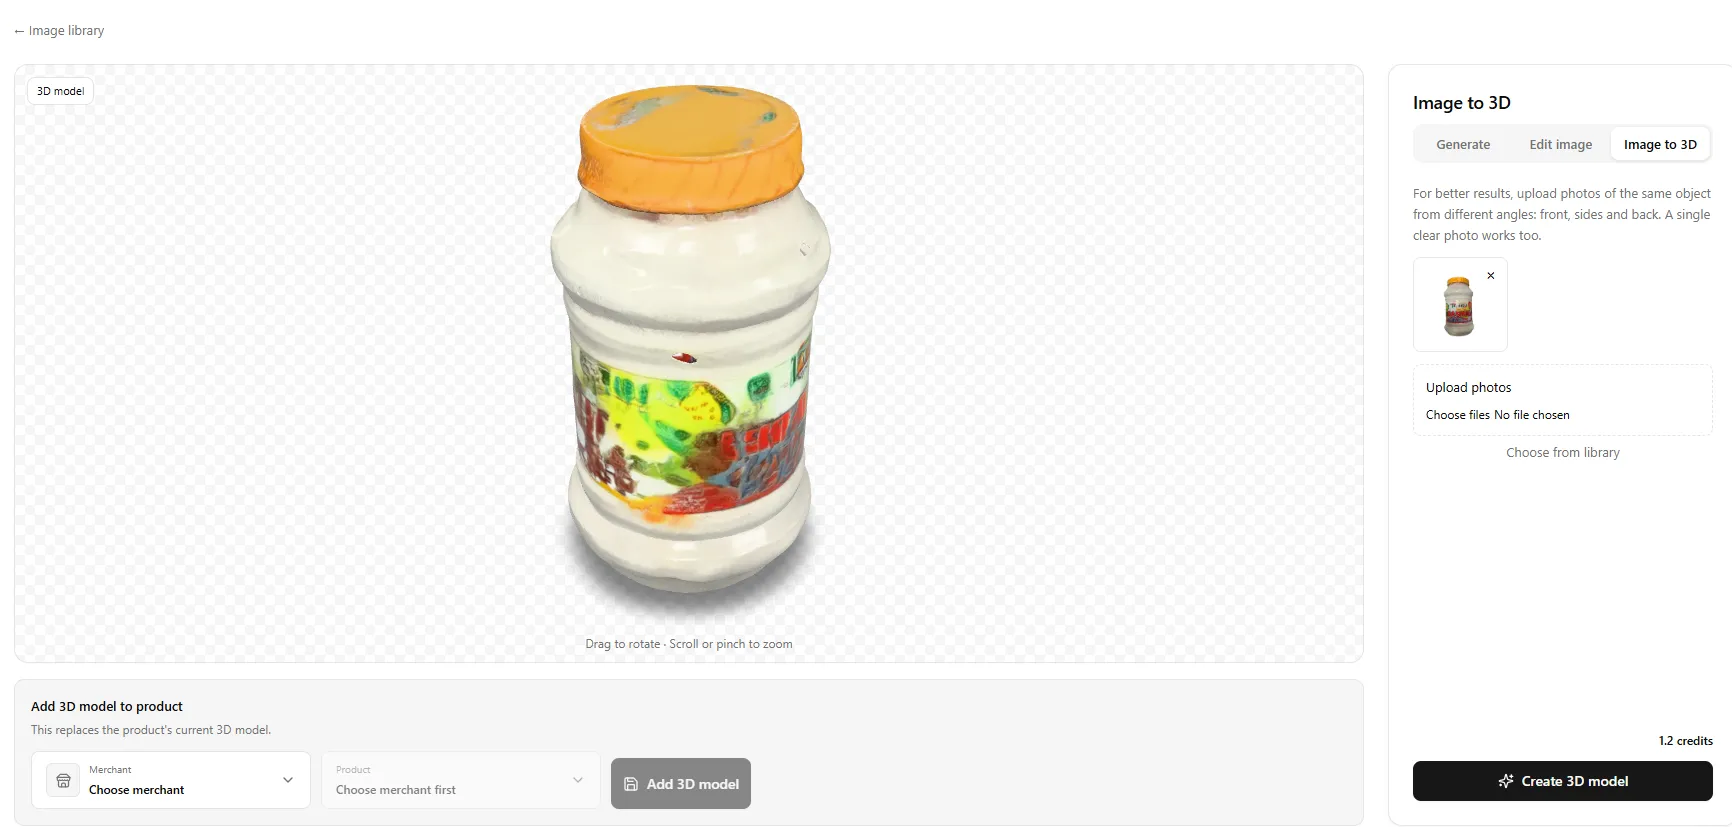
The Image to 3D feature allows you to create an interactive 3D model of a product using one or more product images. You can upload photos from different angles or select an existing image from the Studio Library.
You can rotate and zoom the generated 3D model to view the product from different angles, and add it directly to a merchant’s product.
Note: The number of credits required to create the 3D model is displayed before you generate it.
How to Create a 3D Model
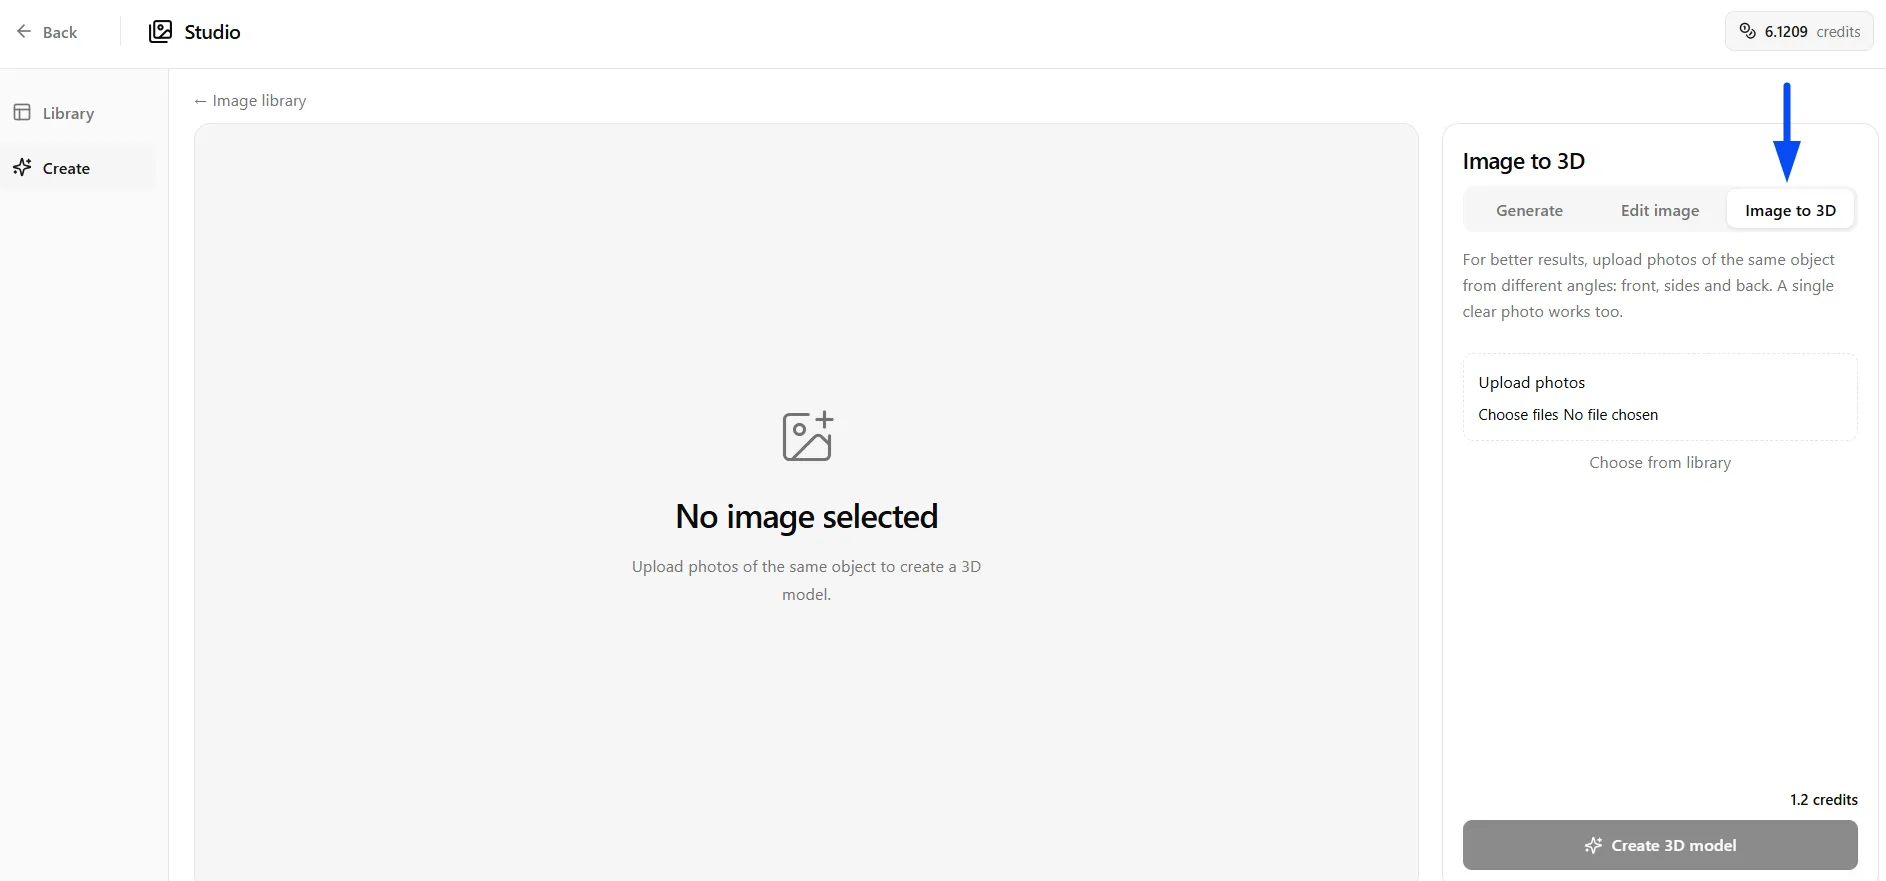
- From the Studio, click Create and select Image to 3D.
- Upload the product image(s) you want to use.
- Alternatively, click Choose from library to select an existing image from the Studio Library and review the selected images.
- Click Create 3D model.
Note: For better results, upload photos of the same product from different angles, such as the front, sides, and back. You can also use a single clear product photo.
Note: Creating an Image to 3D model costs 1.2 credits per generation.
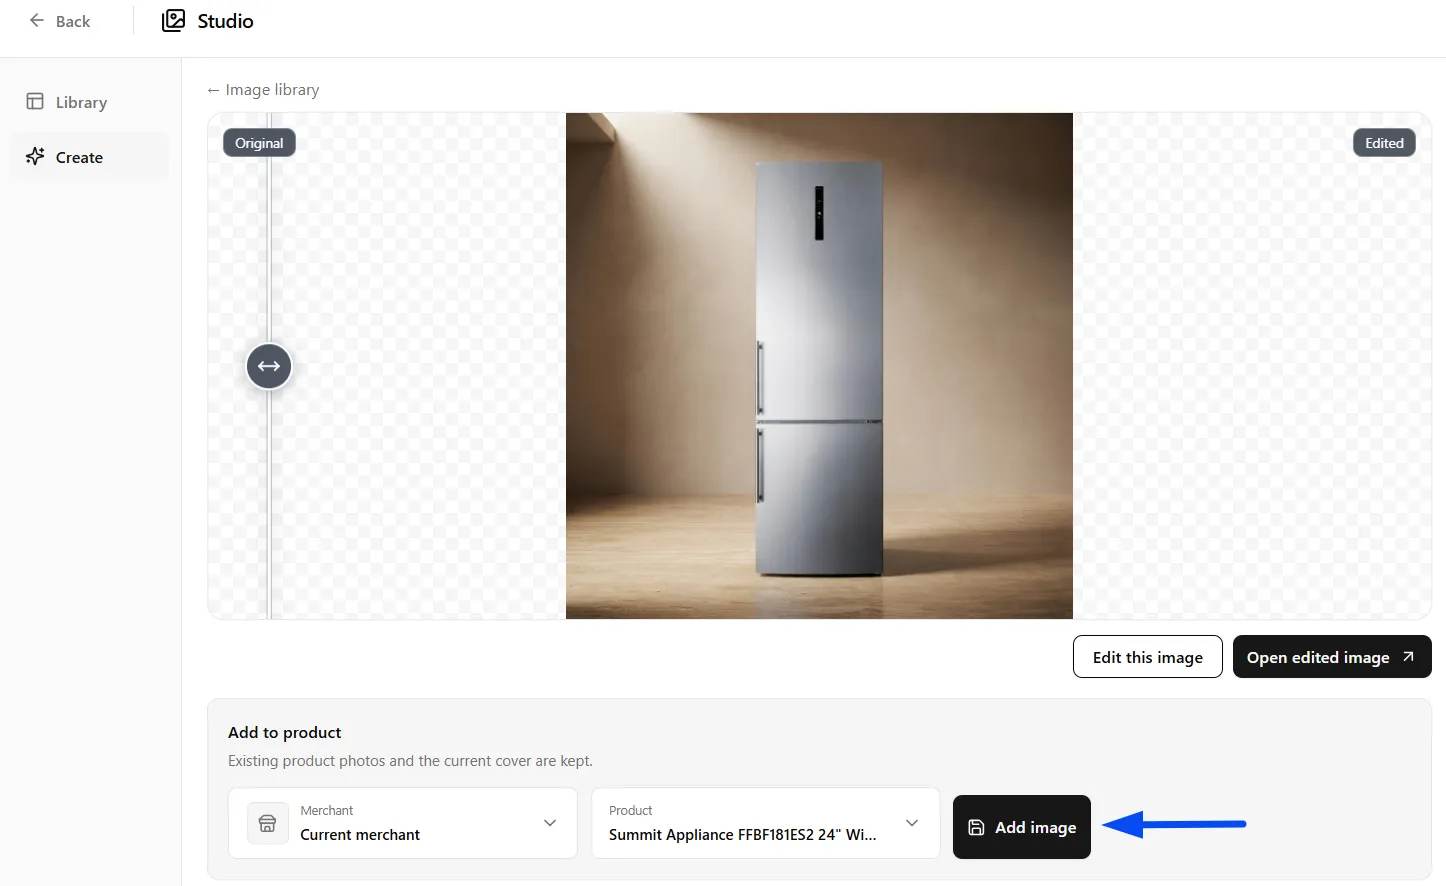
Adding an Edited Image to a Product
After creating an edited image, you can add it to the relevant product directly from Studio.
- Review the edited image.
- Under Add to product, select the required Merchant.
- Select the relevant Product.
- Click Add image.
The edited image will then be added to the selected product, along with the existing product photos